
Your session has timed out. Please log in again
Please review the latest changes in your cart
Your session has timed out. Please log in again

Remember when you were in school and Valentine’s Day comes around, you got a ton of cards and candy from your Valentine? That feeling of having so many warm and loving wishes makes our hearts melt. You can recreate that wonderful feeling by creating your own Valentine Mailbox with the help of the P-touch Embellish.
This is a fun project for the whole family. Each person can decorate their own Valentine’s Day Mailbox and you can leave cards and candy for them to fill up the mailbox.
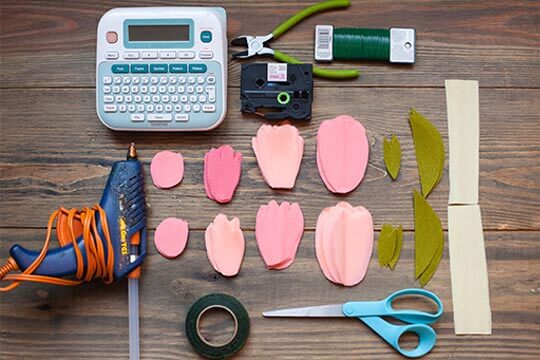
Materials:
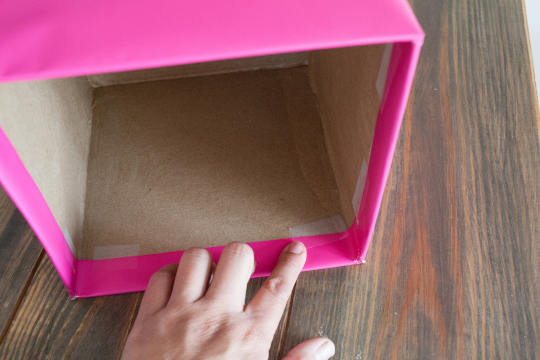
Wrap the square cardboard box with wrapping paper and tape it along the inside to hide the blemish.

Cut the front of the cereal box. Measure the width of the cereal box to fit over the square box like a roof. Wrap the cereal box with the same wrapping paper. Use hot glue to hold the roof in place.
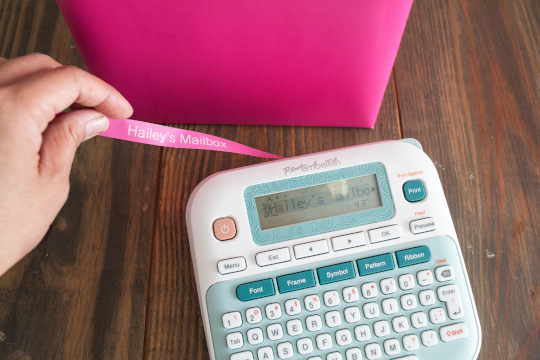
Use the P-touch Embellish ribbon and tape printer to create a personalized message for your mailbox.
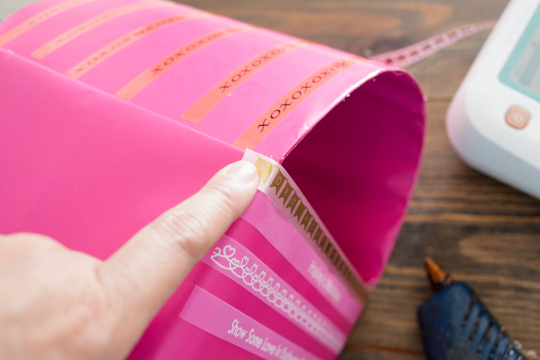
Continue to use the ribbon and tape to decorate as much as you like around the mailbox
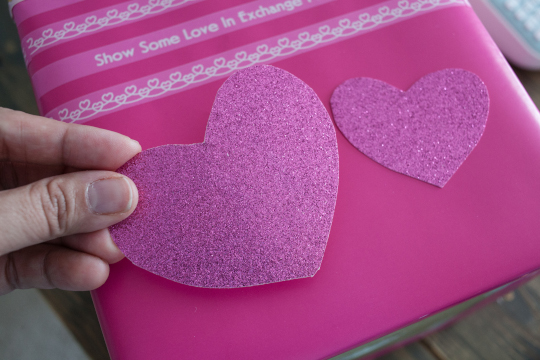
Cut hearts using the glitter cardstock to add more love to the decoration.
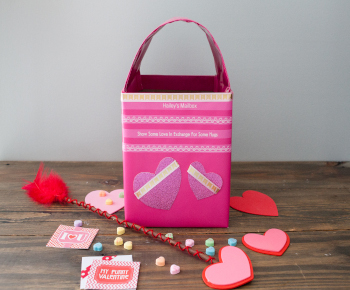
The best part is after the mailbox is completed! Now you can start writing sweet messages to your Valentine and drop it in the mailbox.
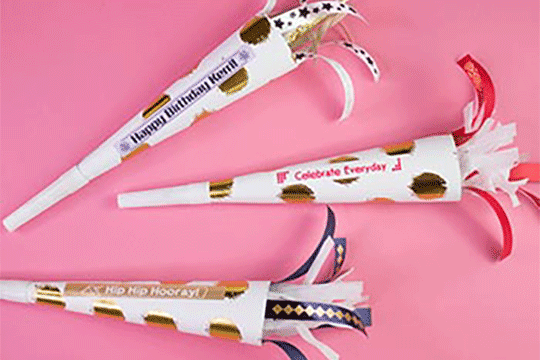
Ready to be loud and proud with this DIY party horn? Stand out and personalize any occasion with the P-touch Embellish.
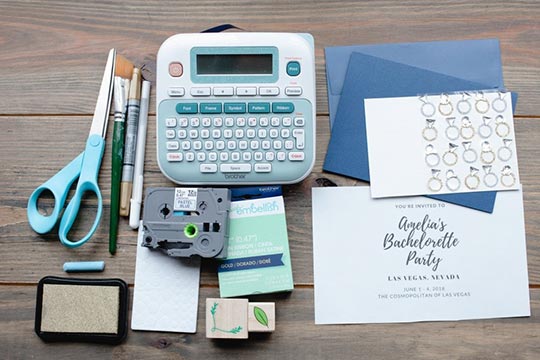
When it's time to send out the invitations, set the tone for an extravagant weekend with a classy DIY invitation. This decorative invitation can be made using some basic crafting supplies and the Brother P-touch Embellish ribbon and tape printer.
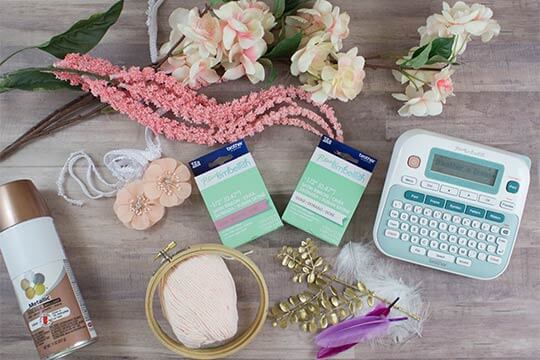
Dream Catchers are the perfect addition to any room and will hopefully bring sweet dreams! Add a personalized touch to your dream catcher with a few easy steps using the P-touch Embellish.
The happiest day of her daughter's life can be expensive! This Mother of the Bride corsage is made of fine crepe paper to give the peonies a life-like look and a personalization with the Brother P-touch Embellish.