PRIDEful Custom Baseball Hat

Make the moment with pride with this wonderful Love is Love Hat with the ScanNCut DX SDX85.
Materials:
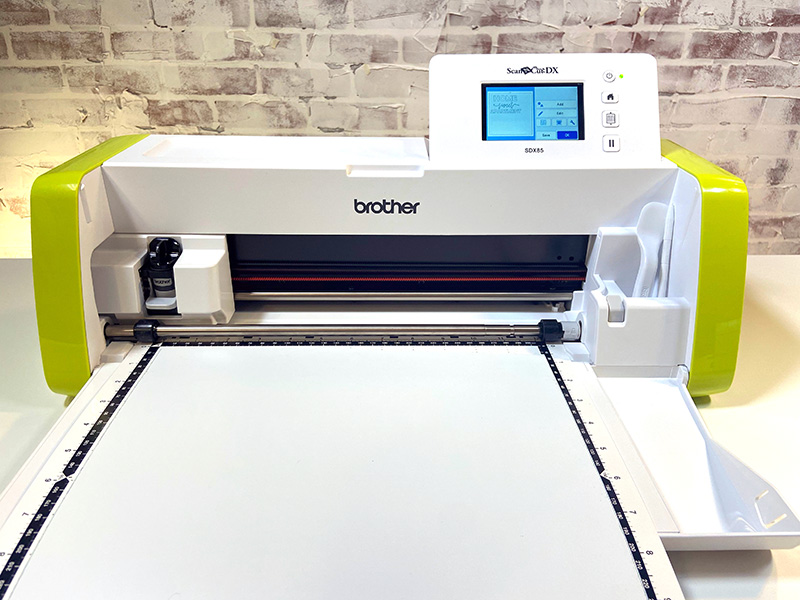
• ScanNCut DX SDX85
• ScanNCut DX standard mat
• Hat
• Heat transfer vinyl
• Ruler
• Scissor
• Iron
• Roller Tool (optional)
• Pick Tool (optional)
• CanvasWorkspace
• Lettering font of your choice

Steps:
1. Measure the area where you would like the design to appear on the hat.

2. Create / size to the area on the hat for ‘Love is Love’ with the font of your choosing via CanvasWorkspace

3. Retrieve data on the ScanNCut DX SDX85 machine to select the font design created.

4. Place the heat transfer vinyl with plastic facing down on the standard mat.
5. Scan in background to locate exact placement of the material on the mat.

6. Drag and place design over the material.

7. Make sure to select the mirror option for the design.

8. Select the half cut setting to only cut through the heat transfer vinyl, leaving the plastic in tack.
 9. Select cut.
10. Remove the cut vinyl from mat.

11. Peel vinyl to reveal cut out design.

12. Weed out additional vinyl.


13. Place design over desired position on hat.

14. Iron on design to the hat. Note: Let cool before removing plastic covering.

15. Remove plastic covering revealing the cut out design.


Related Projects
Stay Connected
* Required fields
