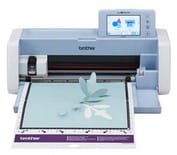
How to Make an Advent Calendar with your Brother ScanNCut DX
-Brother Crafts Blogger
I have always liked advent calendars. There's something magical about opening that little door or pulling out that tiny drawer each and every night as you count down to Christmas. For most of my life I've had pretty run-of-the-mill supermarket advent calendars -- made from cardboard with a glittery Christmas scene printed on the front, and behind each little door is a chocolate. Yum!
However, once I had a child, I knew that I wanted to tackle making a custom advent calendar for him.
Supplies:
• ScanNCut DX
• Auto Blade
• Standard Mat
• Internet Connected Computer with access to CanvasWorkspace
• Colored Cardstock – red, green, yellow, black
• Patterned Cardstock – neutrals
• Hanging Calculator Holder
• Wet Adhesive
During the planning phase of this project, I had to take into consideration the fact that he'll be two at the beginning of December. So it needed to be easy for a two-year-old to open. And I needed it to be big enough to hold treats like rubber dinosaurs, stickers, and little cars -- all the things he's into right now -- rather than candy. And so this is what I came up with:
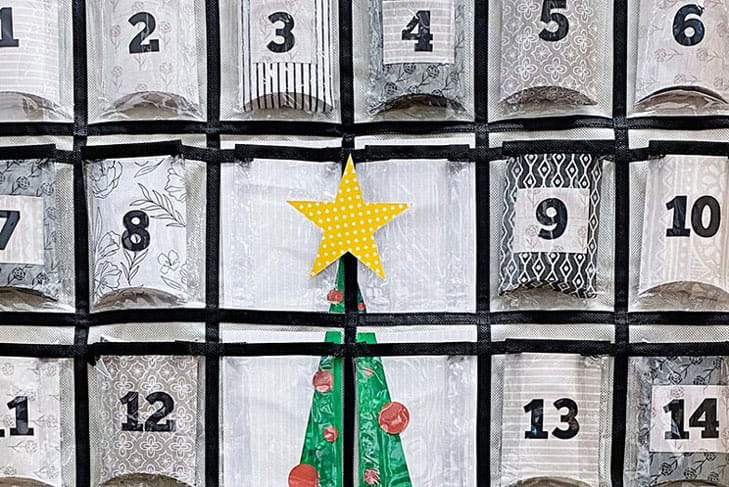
Here are some details about the project in case you’d like to make your own:
• The base of the project is a classroom calculator holder. I gather that it's meant to hang on the wall of a classroom. If you're a sewer, you could certainly make your own set of hanging pockets.
• To create the boxes, I used the free pillow box file from CanvasWorkspace Online. To find it, simply type "pillow box" into the search bar.
• I resized the box to fit my pockets. (Don't you love how everything is customizable with the ScanNCut DX?)
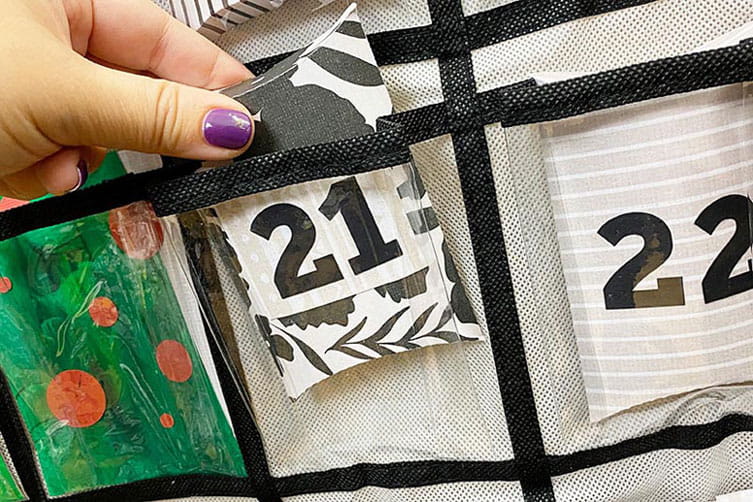
• I chose to use neutrals for my boxes. I didn’t have to do much thinking about pulling all the patterned paper because I used a neutral themed paper pad, which had been pre-coordinated for me by the manufacturer! If you’d rather use traditional red and green for your advent calendar, make your life easy and grab a Christmas-themed patterned paper pad from your local big box store.
• I used CanvasWorkspace for Mac to take a font from my computer and create all of the numbers. Did you know that CanvasWorkspace for Mac and CanvasWorkspace for PC will read all of the TTF fonts on your computer? This makes it super easy for you to create projects with them!
• For the dark envelopes, I added a rectangle in a lighter color so that you would be able to easily see the numbers.
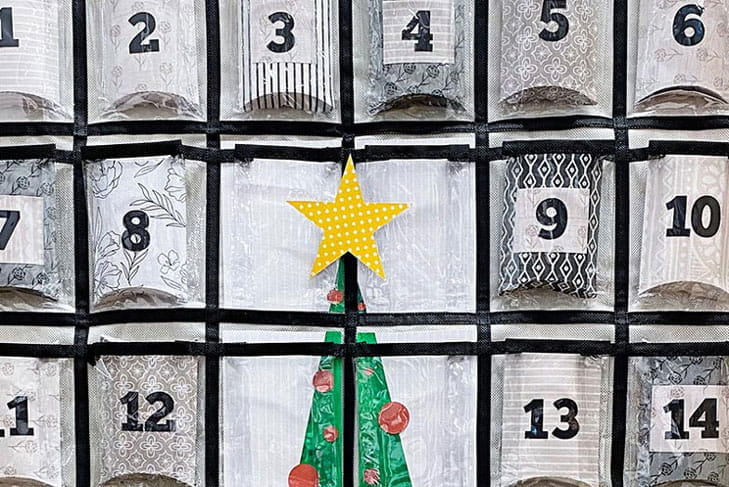
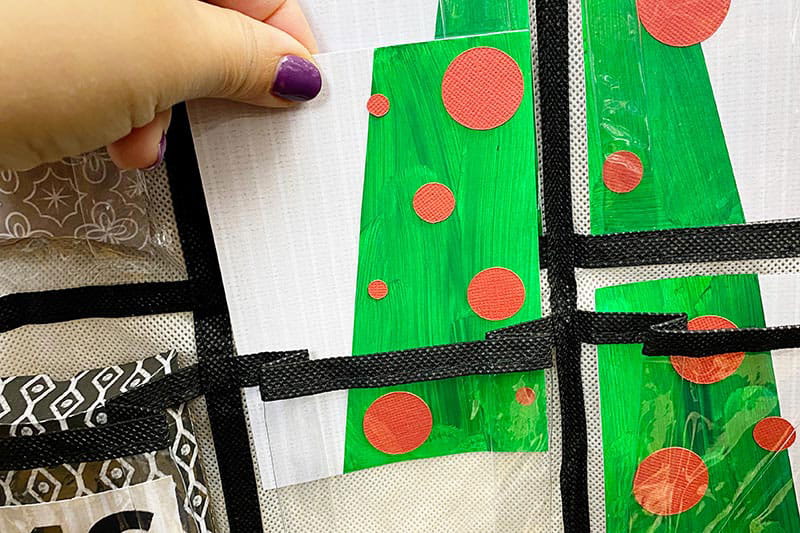
• There were more pockets than I needed for my advent calendar, so I filled the empty ones with a big Christmas tree. The ScanNCut DX made it super easy to cut all of those little red ornaments out of colored paper, not to mention that big polka dotted star!
I’m super excited to see my son’s reaction when I give him the calendar on December 1 and explain how it works. I hope you’ll give this project a try!


