Cupcakes Paper Toppers
Turn Supermarket Cupcakes into Fabulous Birthday Treats With Brother ScanNCut
Supplies:
- Brother ScanNCut DX
- Standard Auto Blade
- Standard Mat
- Book Pages
- Toothpicks
- Wet Adhesive
- Flower Centers
- Scissors
- Cupcakes
I love preparing for any Birthday Months!
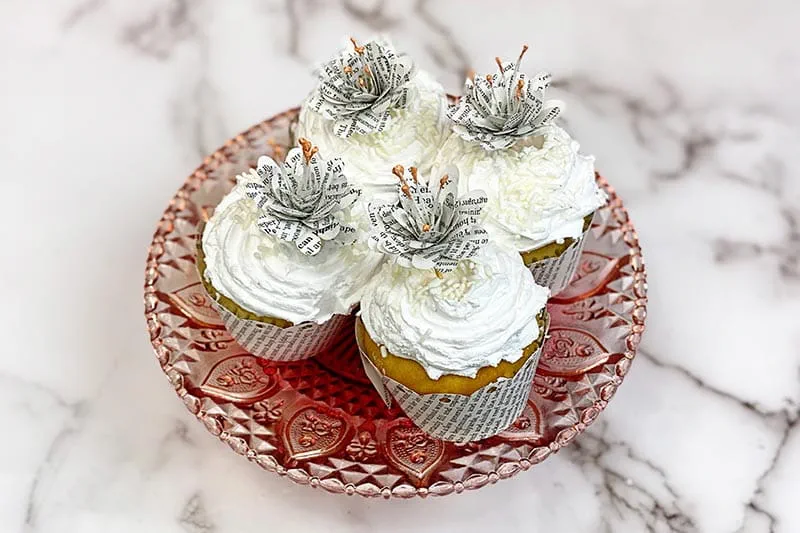
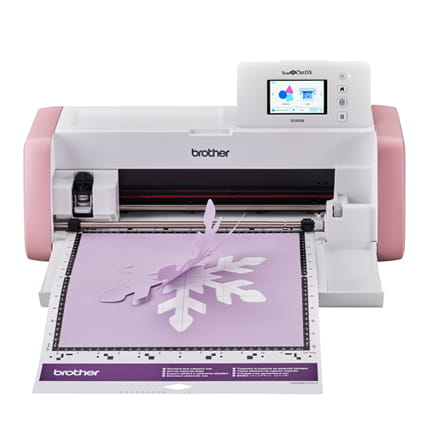
And now I must confess an awful truth: I don't really like cake. I like the look of a cake and I love the look of a cupcake. But I'd much rather simply eat ice cream or a cookie and call it a day. Nevertheless, like I said, I do like the look of cupcakes and there's a certain two-year-old living in my house who can demolish a cupcake in no time at all. So, for my birthday I decided to create a win-win: a crafty project for me and cupcakes for the little guy to eat! I bought an inexpensive pack of relatively plain supermarket cupcakes and gussied them up with book pages I cut using my ScanNCut SDX330D.

As you can see, I cut cupcake wrappers from book pages, and I made flower toothpick toppers from book pages. It's a big improvement over how they originally looked:

The cupcake wrappers are extremely simple to create:
- Find a cupcake wrapper cut file. The ScanNCut can read SVG and FCM cut files.
- Cut it out of an old book page.
I found that a slightly heavier book page cut the best.
As for the toothpick flowers, here's a quick guide to how to put them together:

Cut 5 ten-petal flowers and keep the centers. This is one of the built-in designs in the ScanNCut DX 330D and many other models of ScanNCut.

Cut the flowers as you see in the photo:
- 1 petal & 9 petals
- 2 petals & 8 petals
- 3 petals & 7 petals
- 4 petals & 6 petals
- 5 petals & 5 petals

Roll each of the flower sections and use a quick acting liquid adhesive to glue them together, as you see above.
Then all that’s left is to stack the flower pieces on a toothpick and add the center parts in order to create your finished flowers!


If you need video instructions for these flowers, I did a tutorial on How To Make Paper Flowers from Book Pages on YouTube.
It’s truly amazing to see what you can do with a few old book pages when you’ve got a ScanNCut at your side!

Thanks for stopping by, and enjoy this sweet project!


