Curve Your Text in CanvasWorkspace
I think you’re going to be excited about a fabulous new feature that you've been asking for for years: the ability to curve text in CanvasWorkspace. This function has been added to CanvasWorkspace for PC and CanvasWorkspace for Mac. Find the instructions for CanvasWorkspace for Mac in this video:
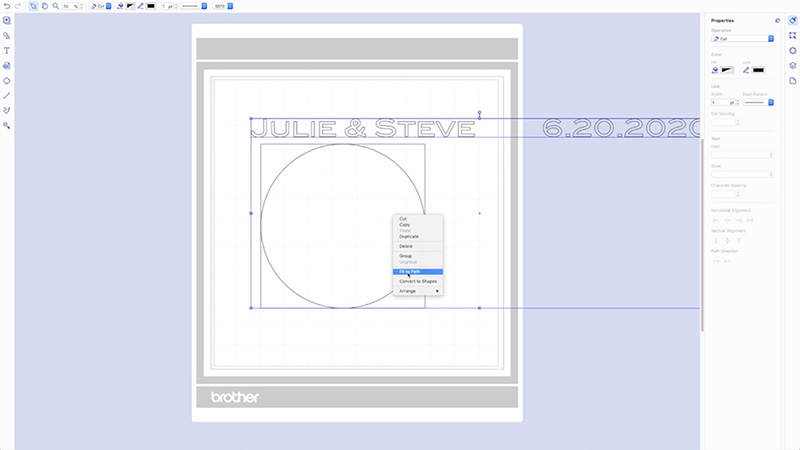
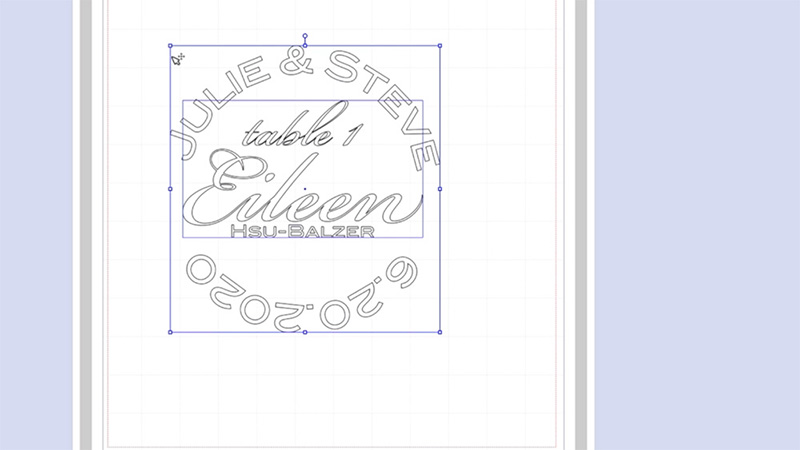
In essentials you choose a shape and some text and then “fit to path.”
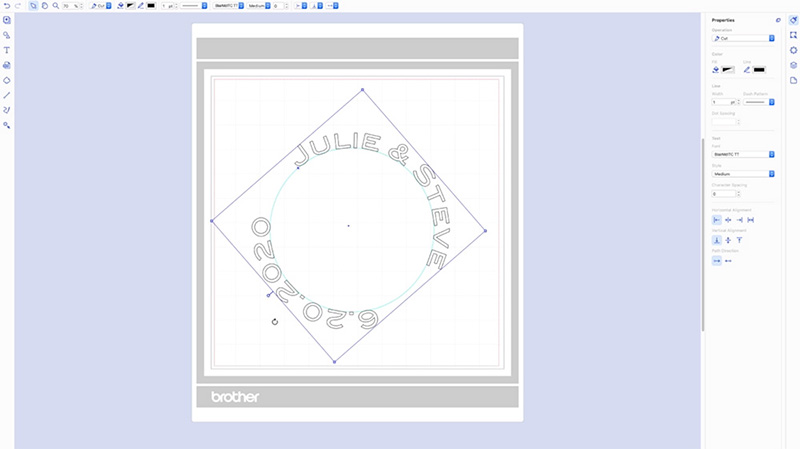
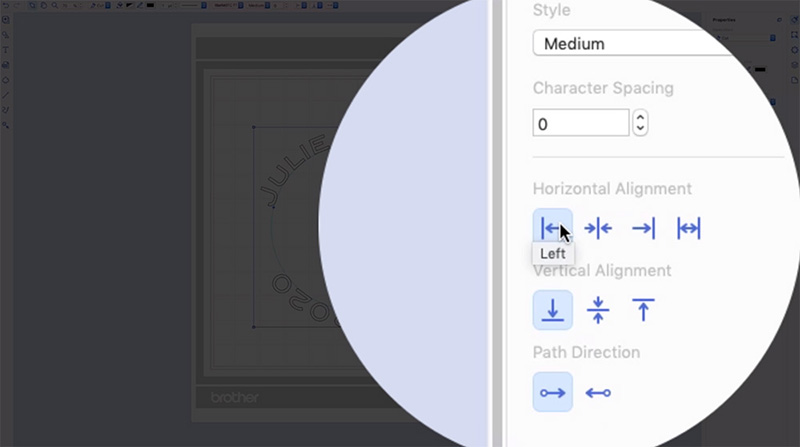
You can make as many adjustments as you like:
And even add more text to create a larger design:
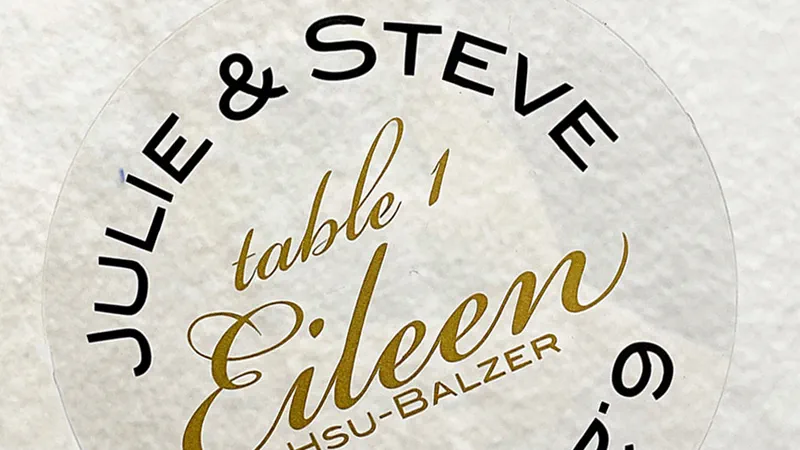
And here is the clear place card I shared in the video:
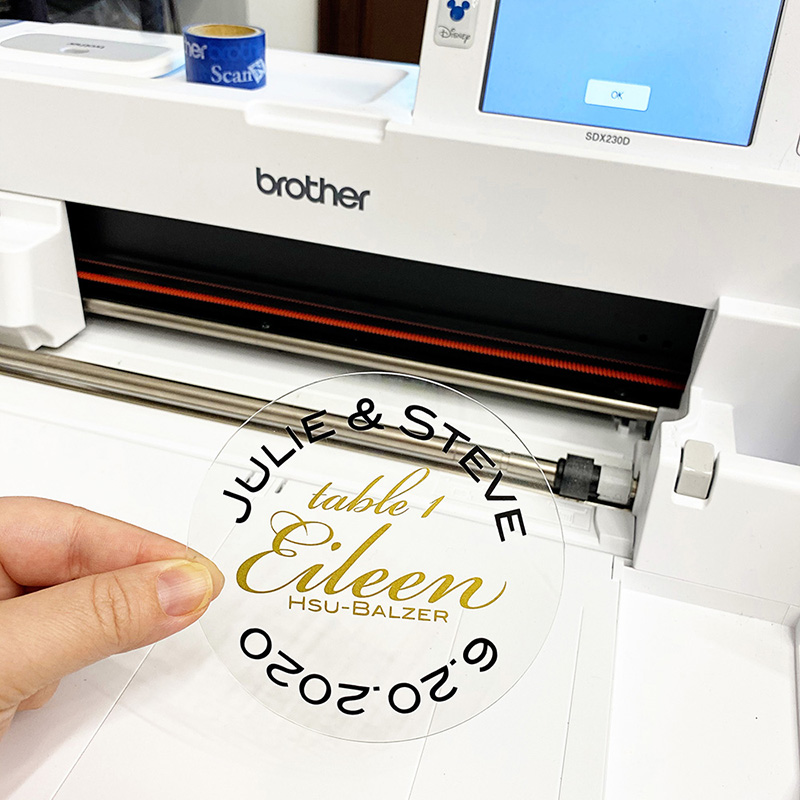
I also like it with a line of acrylic paint across the back:

This is a great wedding DIY, but it would work for any party. I cut the circles from heavy stencil plastic using my ScanNCut, but you can also buy all kinds of pre-made acrylic shapes. All the text was cut from vinyl using the half cut function on my ScanNCut DX machine.
I hope you’ll try curving some text. It’s lots of fun!
Related Projects
Stay Connected
* Required fields