DIY Trendy Santa Mask
We're all wearing masks nowadays, so why not make them fun and trendy! Learn how to make this super trendy DIY Santa Mask for this holiday season!
Materials:
- ScanNCut DX SDX85
- ScanNCut DX standard mat
- Fabric
- Heat transfer vinyl
- Ruler
- Scissor
- Iron
- Roller Tool (optional)
- Pick Tool (optional)
- CanvasWorkspace
- Create your holiday design
Steps:
1. Measure the area where you would like the design to appear on the fabric
 2. Create and size the design to the area on the fabric with your design via CanvasWorkspace
 3. Retrieve data on the ScanNCut DX SDX85 machine to select the design created

 4. Place the heat transfer vinyl with plastic facing down on the standard mat

5. Scan in background to locate exact placement of the material on the mat
6. Drag and place design over the material
7. Make sure to select the mirror option for the design
 8. Select the half cut setting to only cut through the heat transfer vinyl, leaving the plastic in tack
 9. Select cut

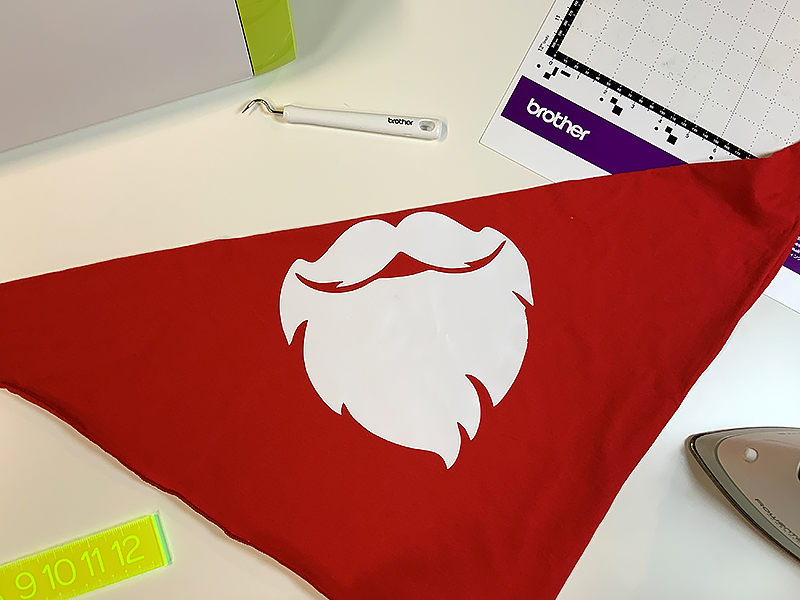
10. Remove the cut vinyl from mat
11. Peel vinyl to reveal cut out design
 12. Weed out additional vinyl
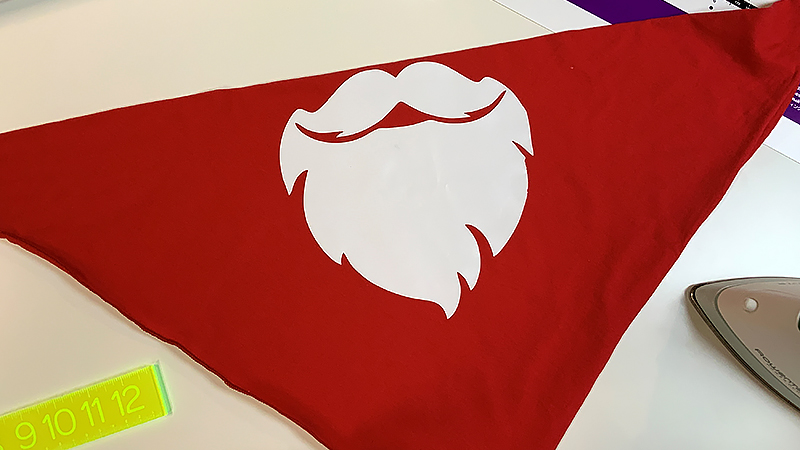
 13. Place design over desired position on fabric
 14. Iron on design to the fabric
 Note: Let cool before moving plastic covering
15. Remove plastic covering revealing the cut out design
Note: Let cool before moving plastic covering
15. Remove plastic covering revealing the cut out design
CLICK HERE FOR PDF!
*For more information on face coverings visit the CDC website.
Related Projects
Stay Connected
* Required fields