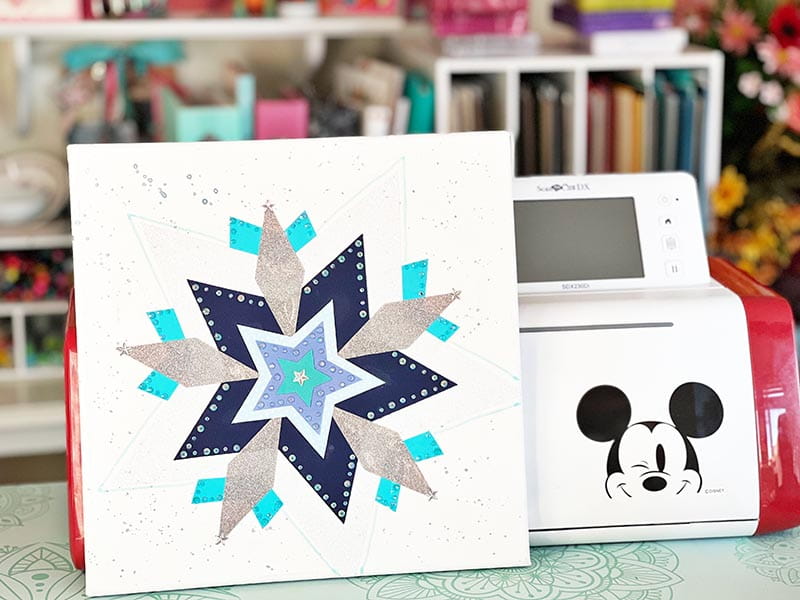
How to Make a Canvas for Disney's "Frozen"
- Brother Crafts Blogger
Supplies:
-Brother ScanNCut230Di
- Standard Mat
- heat transfer vinyl
- fabric
- cardstock
- adhesive
- rhinestones
- iron
- 12” canvas
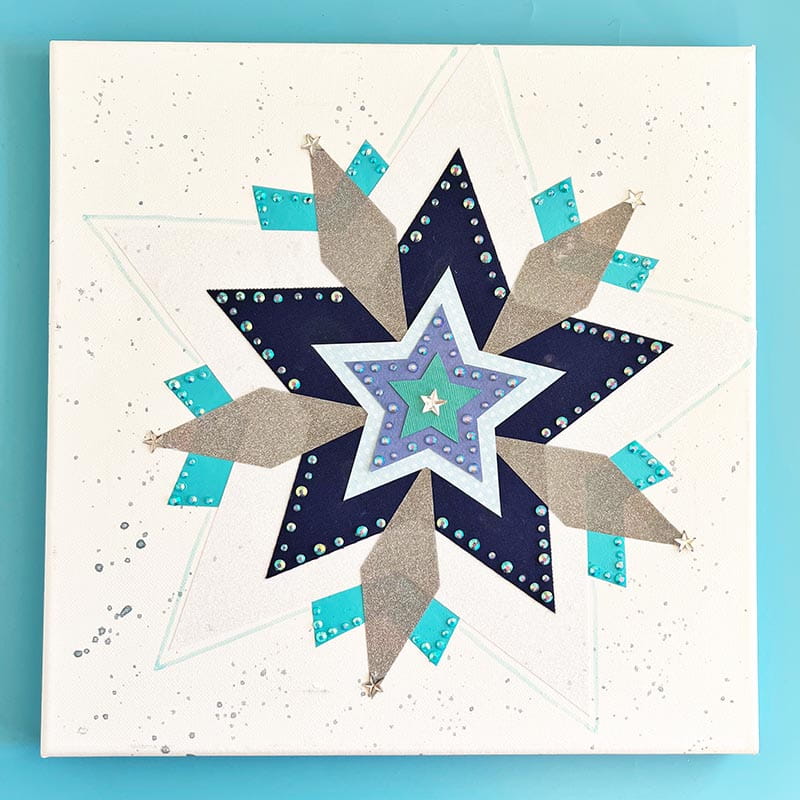
There are some amazing designs in the ScanNCut SDX230Di, but among my favorite is the Frozen patterns that can be used as quilt blocks, cards, or even as designs on a canvas! While we usually think of paint with regards to canvas, there are many mediums and materials that work well with this.
For most of the vinyl and heat transfer, instead of the usual method I turned the canvas over and ironed from the back side. This helped me get a smoother result, and also it really made my designs turn out nicely! When working with something like a stretched canvas, that isn’t flat and solid, you’ll need to get creative with heat transfers.
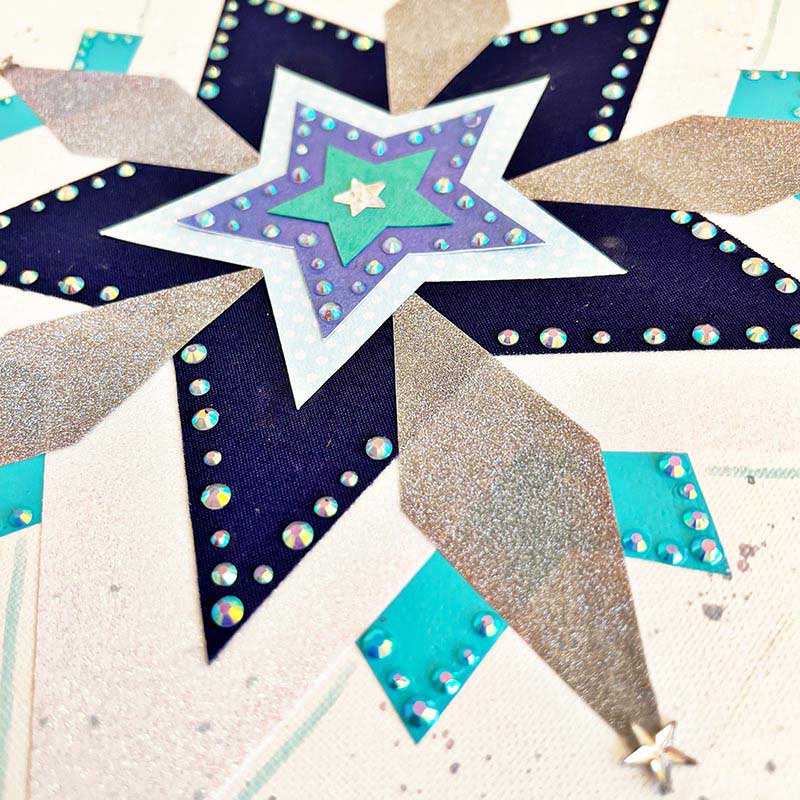
One of the things I recommend, when building a design like this, is to start with an idea of colors/materials, then keep evaluating as you go layer by layer. For this project I had to cut items individually (due to size), so I was able to compare the colors, textures, and decide if my original plan was a good one as I went along. Something goes wrong? Not a problem! Just cut a different material for that layer if you don’t like it. A project like this we are not committing until the end and everything is very flexible.
A tip I have to share with you about a project like this is to keep your material layers in mind. I made sure any heat transfer vinyl or fabrics were below the glued layers, which made my work a lot easier as some of the papers can scorch with too much heat. If you aren’t sure about something – try a small material test first and ensure compatibility with heat, or other materials you may be working with.
Big or small, fancy or simple above all else have fun with all of the built-in designs your machine offers and enjoy the creative process.
Related Projects
Stay Connected
* Required fields
Follow Us
- Product Support
- Product Support Assistant
- Terms of Sale
- Product-Registration
- Search Supplies/Accessories
- Ordering & Shipping Information
- Ordering & Account FAQs
- View Order Status
- Warranty & Extended Warranty Information
- Recall Information
- Return Policy
- Security Support Information(Opens in a new tab)
- Contact Brother
