Fun Printable Sticker Decorations
Personalize your laptop, books or walls with the fun and creative Printable Sticker Starter Kit.
You will need:
- Sticker Starter Kit, inkjet printer, ScanNCut, Auto Blade, Low-Tack mat
- Laptop_Stickers.pdf

Steps:
1. Open up the Brother Sticker Starter Kit, and review the instructions. Activate the kit in CanvasWorkspace if you haven’t already.
2. Using CanvasWorkspace, navigate to the Premium Function tab in the project creation screen (where you can design your own projects!) and click on the pattern tab. Here, you can choose from a range of included patterns and customize them to your liking.
3. Once you’ve selected the patterns and modified any text, etc. Download a PDF of the cutting pattern to your laptop.
4. Print out the PDF at full size on the sticker paper using an inkjet printer.
5. Use the laminate sheet in the kit to laminate the designs onto the paper.
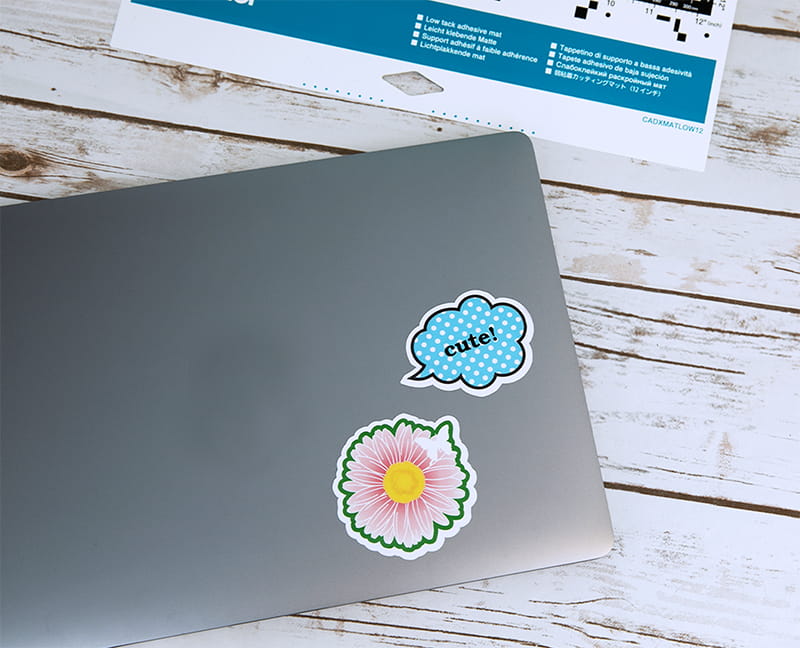
6. Affix the laminated sticker sheet to a low-tack mat.
7. Use the Direct Cut function on the machine to scan the designs into the machine.
8. Make sure the offset cut settings are adjusted to an outline width that you like.
9. Adjust the cutting function settings to “Half-Cut”
10. Cut out the designs.
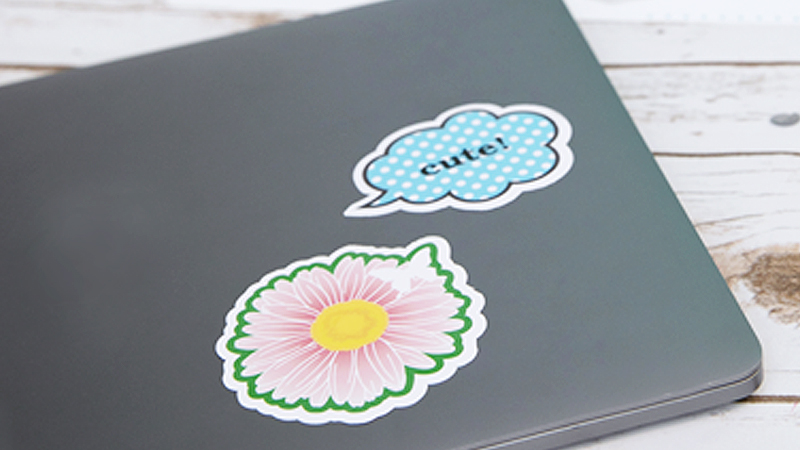
11. Peel off each design and attach to your laptop (or any other item).
Voila!
Related Projects
Stay Connected
* Required fields