Home Sweet Apartment Sign
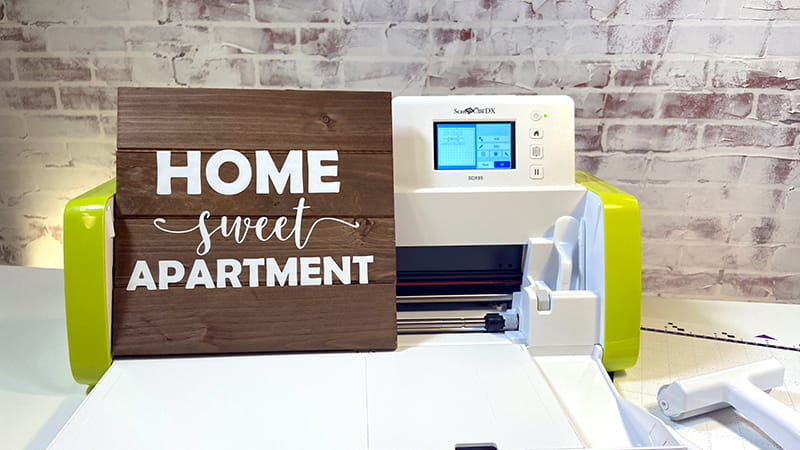
Make the moment special and create a warm and inviting Home Sweet Apartment Sign with the ScanNCut DX SDX85.
Materials:
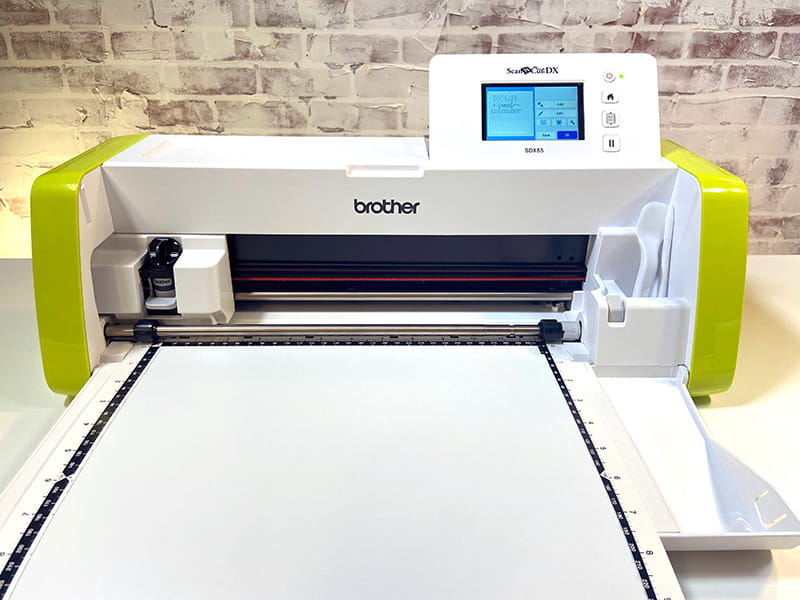
- ScanNCut DX SDX85
- ScanNCut DX standard mat
- Wooden sign
- Craft Vinyl
- Grid Transfer Tape
- Ruler
- Scissor
- Roller Tool (optional)
- Pick Tool (optional)
- CanvasWorkspace
- Lettering font of your choice

Steps:
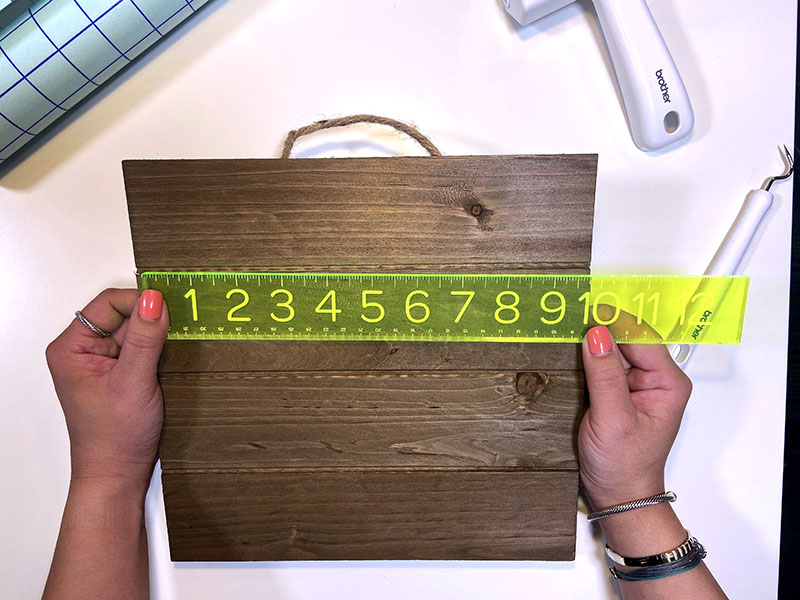
- 1. Measure the area where you would like ‘HOME SWEET APARTMENT’ to appear on the sign.
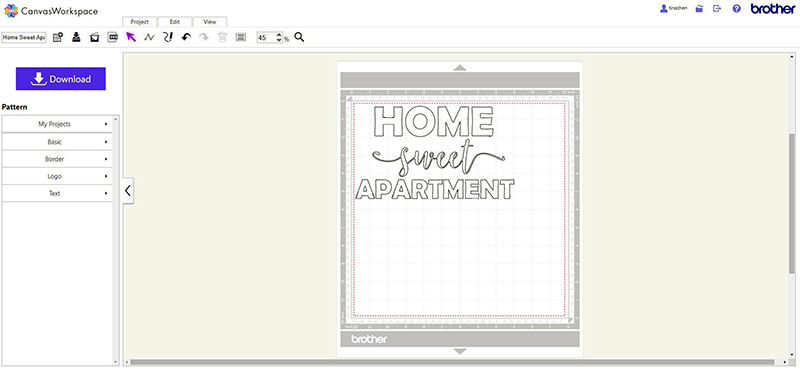
- 2. Create / size to the area for the wooden sign of ‘HOME SWEET APARTMENT’ with the font of your choosing via CanvasWorkspace .
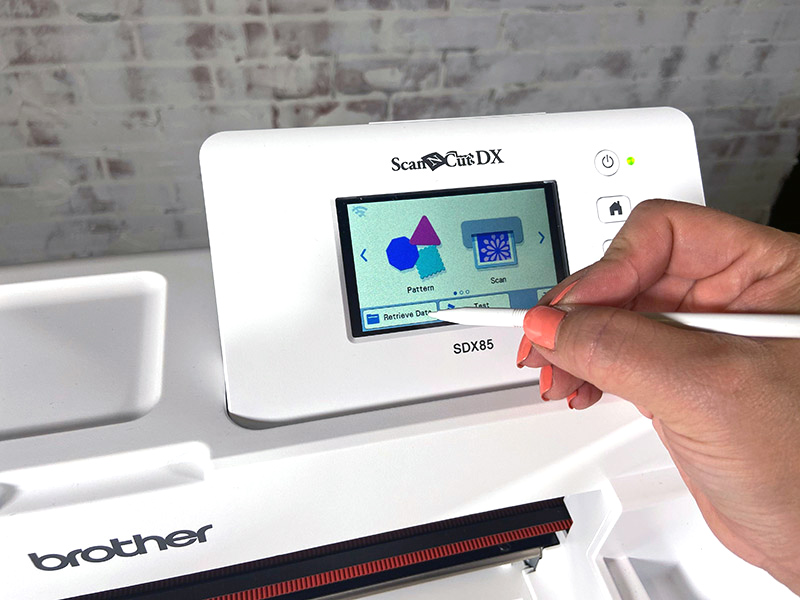
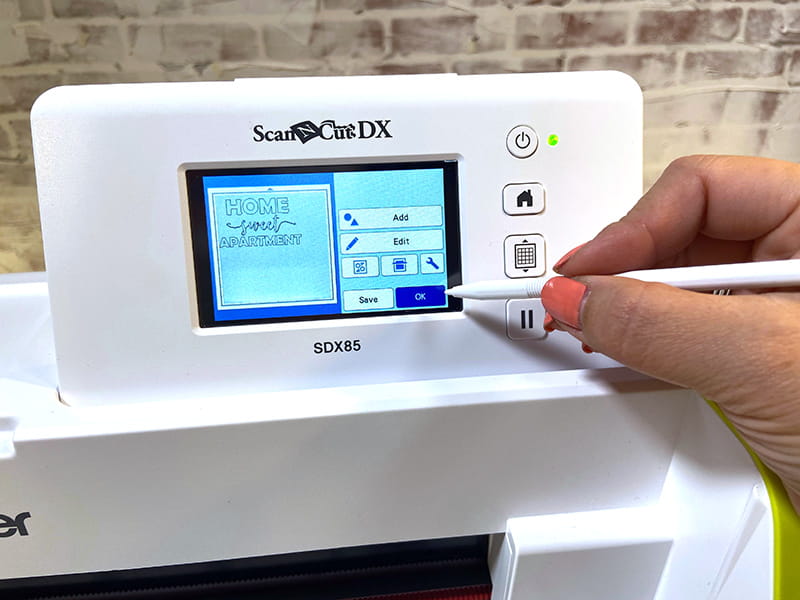
- 3. Retrieve data on the Brother ScanNCut DX SDX85 machine to select the font design created.
- 4. Place the color vinyl facing up on the standard mat.
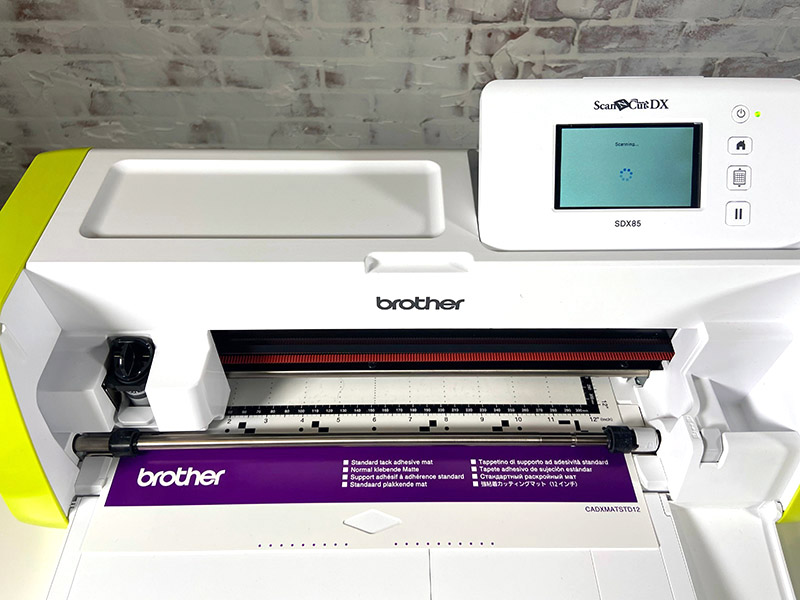
- 5. Scan in background to locate exact placement of material on mat.
- 6. Drag and place design on the vinyl material.
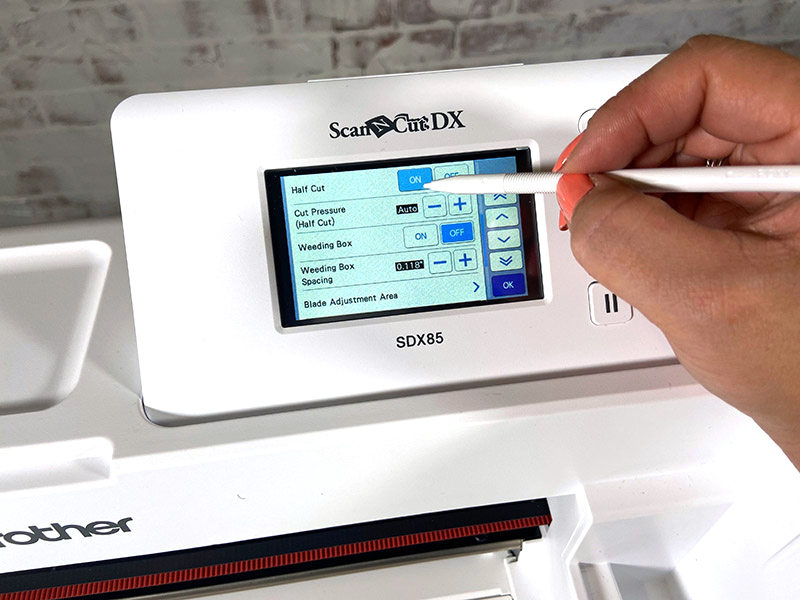
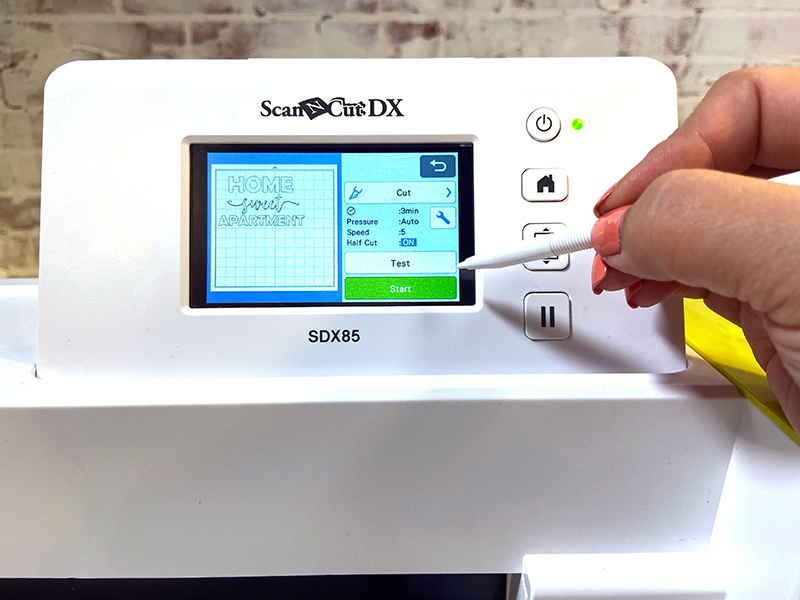
- 7. Select half cut setting to cut only through the adhesive vinyl, leaving the backing in tack.
- 8. Select cut.
- 9. Remove cut vinyl from mat.
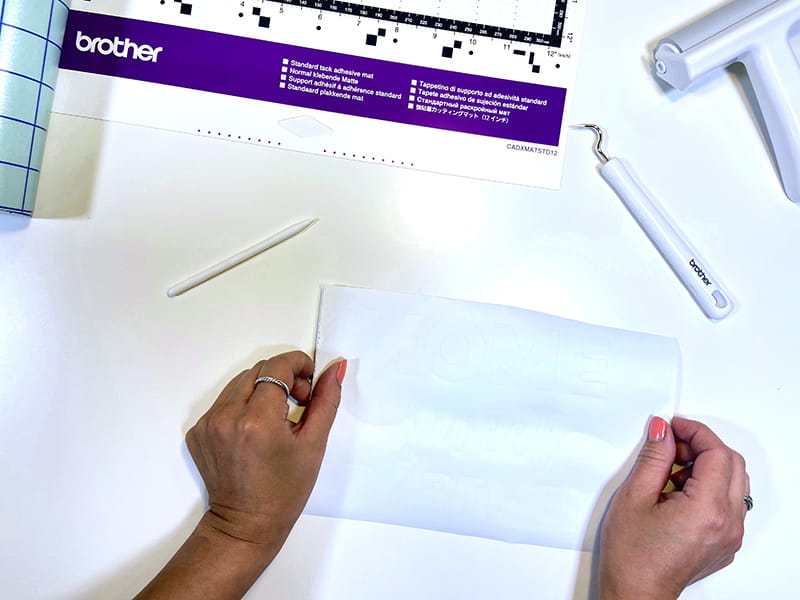
- 10. Peel vinyl to reveal cut out design.

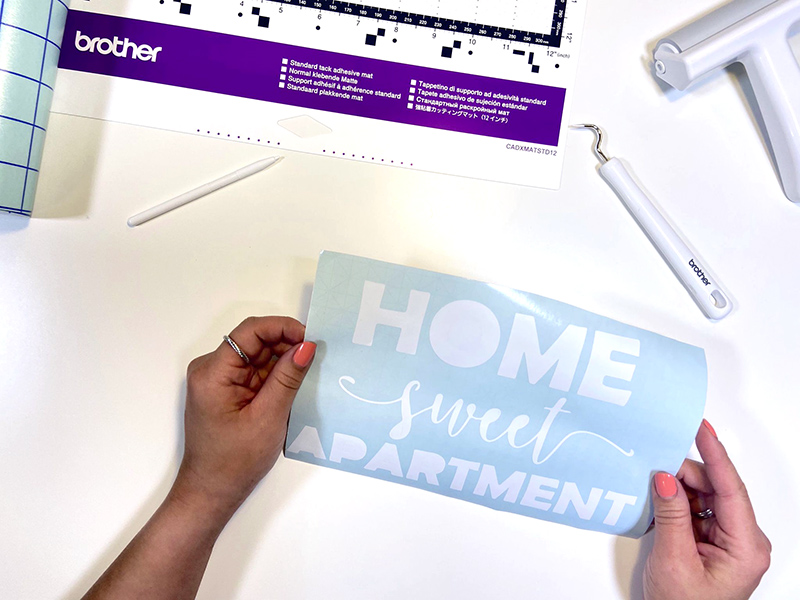
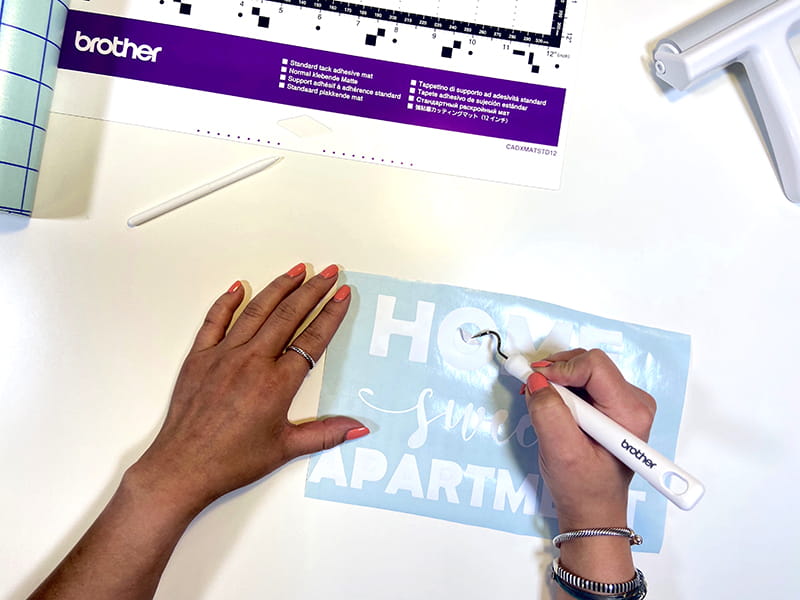
- 11. Weed out additional vinyl.
- 12. Size / cut transfer paper.
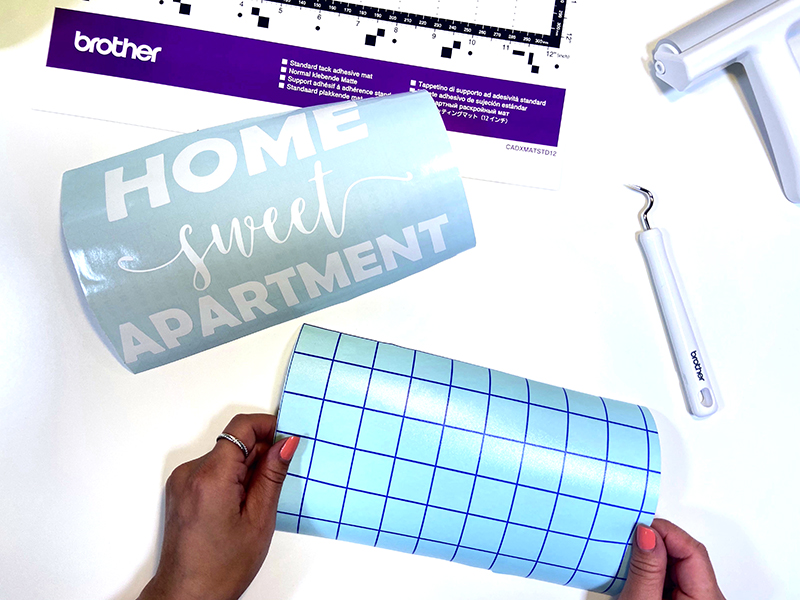
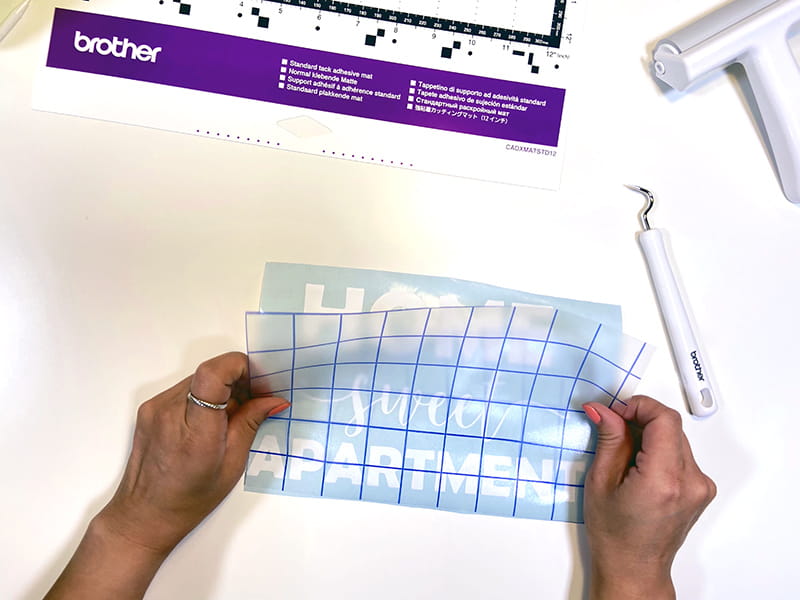
- 13. Place transfer paper over design and lift design.
- 14. Place transfer paper with design over desired position on the wooden sign.
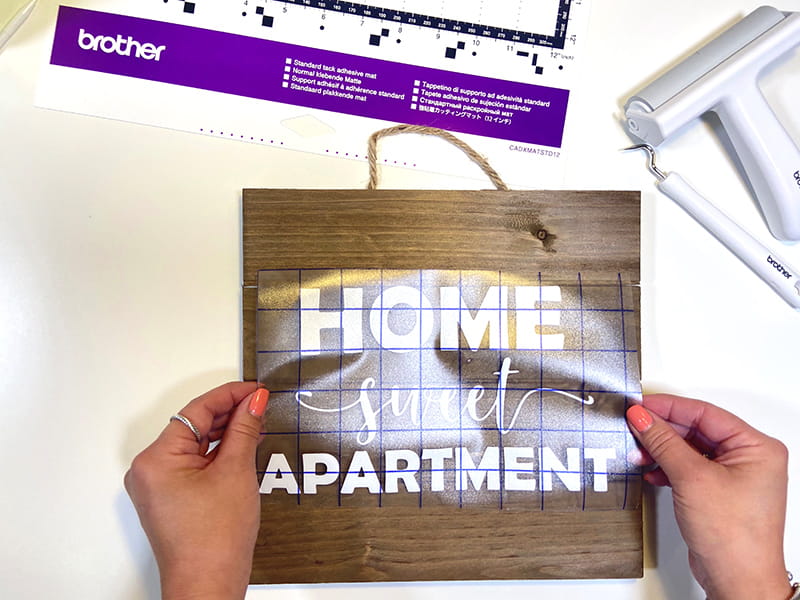
- 15. Stick in place.

- 16. Remove transfer paper leaving behind the cut out design.
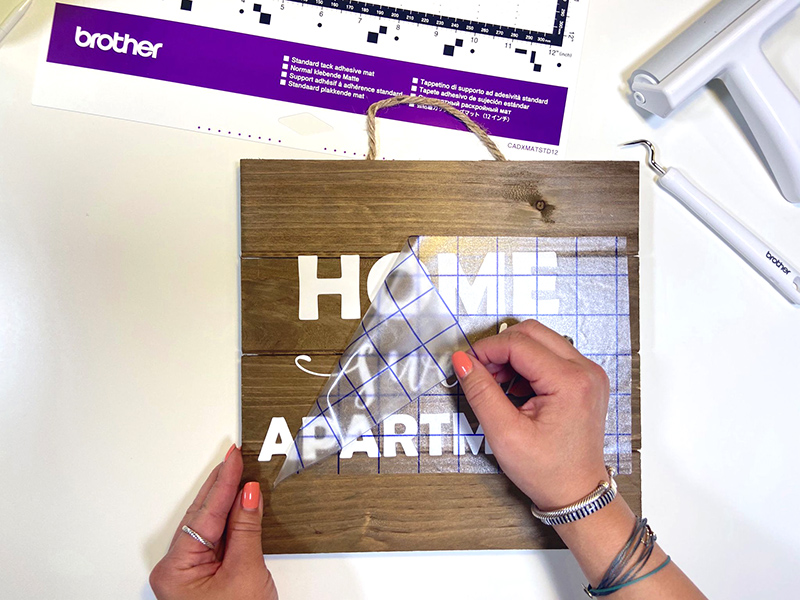
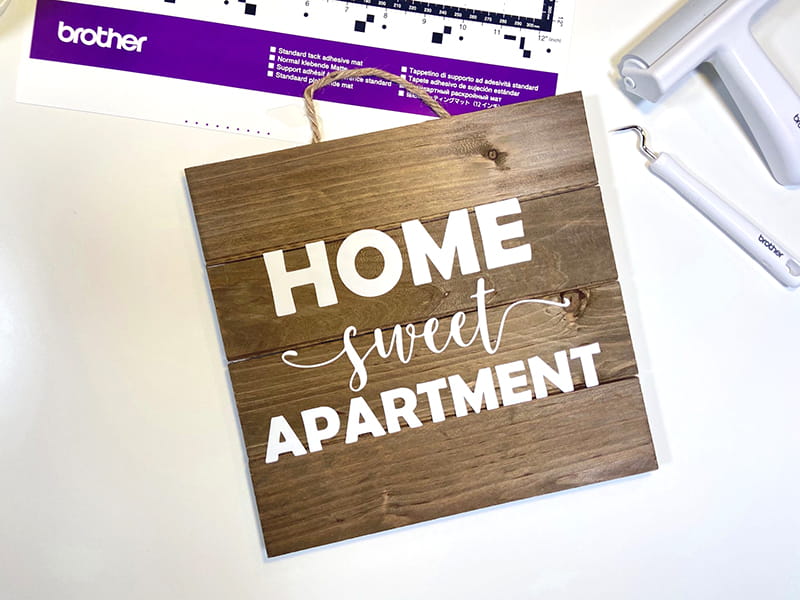
Ready to be displayed! Where will you put your DIY ‘Home Sweet Apartment’ sign?
Related Projects
Stay Connected
* Required fields