Paper Watermelon Fan
Create A Delightful Summer Fan With Your Brother ScanNCut
When I was a kid, I remember taking a piece of paper and folding it into an accordion to create a fan. Do you remember making those as kids? Those were the days! Now, those little fans didn’t generate enough air to keep me cool in the summertime, but they were fun to make. The child in me still fondly remembers those little fans, so I decided to update them with a grown-up twist. Now, you can cool off in style – without spending much money.
Curious about the cost of fans available for purchase online, I was taken aback to find some priced at around $150. Why shell out that much when you can craft your own fan with just a few basic tools? With the assistance of my trusty Brother ScanNCut, I can ensure consistently sized pieces for a custom fan that will help you stay cool this summer - all without breaking the bank.
Remember that other materials can be used to create a custom design. Here are some examples of materials that you may want to try when making a fan.
Other material options:
- Faux Leather
- Thin wood
- Fabric
- Plastic Sheets
- Downloadable Cutting Files :
Other material options:
- Brother Cutting Mat 12x24
- Brother ScanNCut
- Gluestick
- Hot glue gun
- 4 colors of 12x12 cardstock (clack or dark green, pink, cream, pink)
- Old fan
- Ribbon
- Washi tape (Optional)
Instructions for how to make a watermelon fan paper craft
- Download the cutting files. Set up your design space by opening up one file at a time. The cut files should already be arranged.
Note: You will need to close the Brother CanvasWorkspace space to open up each file. - Place each color on your Brother cutting mat and cut out each file with the corresponding colored cardstock.
- You should have four shapes cut out. Each shape should have several quantities of cut-outs.
- Let’s start to assemble the watermelon slices.
• Take the base of the watermelon and rub glue over the entire front side.
• Place the green rind at the bottom.
• Place the pink watermelon above the rind.
• Rub a bit more glue on the area below the pink watermelon and add the white rind. - Now that you have one slice of watermelon assembled repeat step 4 twenty-eight times.
- Take your fan and remove the old fabric. Recycle or discard.
- Your fan should have about 16 sticks connected to itself. Skip the first (the widest one) and glue each slice of watermelon to it, making sure that it is glued with the pointed side down.
- When the front side is complete, flip the fan over to the backside.
- Take your ribbon and glue the ribbon onto each stick one at a time. Be sure that there is enough slack for each stick to fold over the other. That way, when you want to open and close the fan, the ribbon has enough slack to allow it.
- Take the remaining watermelon slices, and glue them to the back side of the watermelon. As you are doing this, make sure that the corner of each slice is arranged on top of each together as a fan should look.
- Glue the first and end pieces to the first and end slices of watermelon. That’s it. (optional: Glue a watermelon slice on top of the end pieces.)


And that’s it! Now that you know how easy it is to use your Brother cutting machine to create a handmade fan, it’s time to get inventive! Make different fans in assorted materials, patterns, and colors. Family and friends will love this fun and fashionable way to beat the summer heat. What fans will you create?

Tags
Shop this Project
No ScanNCut DX? No problem! Shop our full line of cutting products and get crafting!
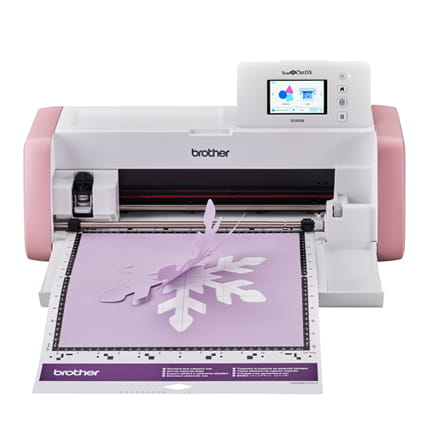
Brother ScanNCut DX
- 251 Built in Designs
- True Auto Blade, no manually adjusting blade pressure settings
- 600 DPI built-in scanner with on screen editing
Related Projects
Stay Connected
* Required fields