Tips and Pointers to Help You Be a ScanNCut Expert!
Julie Fei-Fan Balzer is a paid consultant for Brother ScanNCut USA. My Mom's friend Laurie recently bought a
ScanNCut2(Opens in a new tab)
from HSN.
So Mom
volunteered me to go over to Laurie's house and give her some tips and pointers
to help make her into a
ScanNCut expert(Opens in a new tab)! I was happy to oblige and I figured I'd
pass the tips I shared
on to you too!
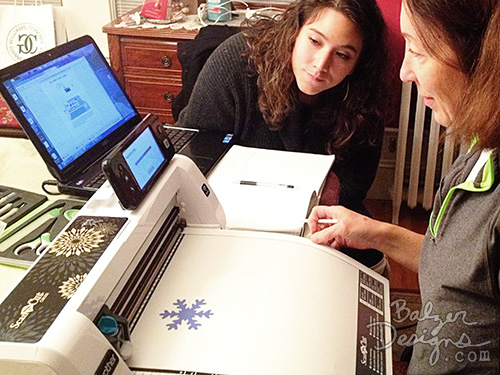
Tip One:
Learn the difference between "Scan to Cut Data" and "Direct Cut."
In the photo above you can see that we're scanning a snowflake die cut into the
machine.
This is "Scan to Cut Data" -- we're creating a cut file from that
snowflake which we want to manipulate (i.e. resize, etc.).
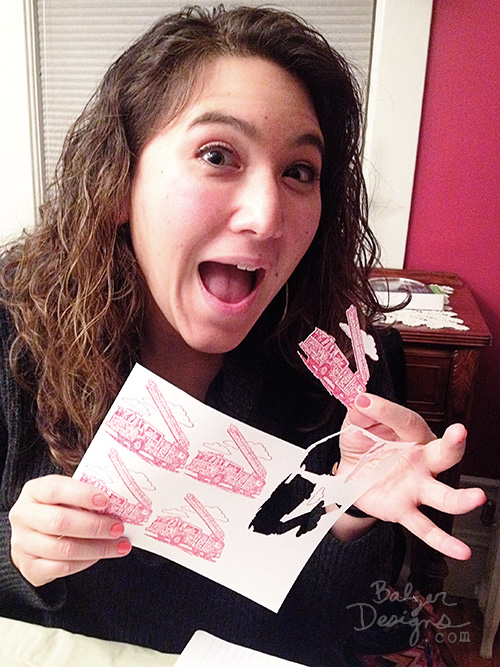
In the photo above I'm holding up a stamped image that we "Direct Cut."
Direct
Cut cuts out exactly what you see.
It creates a cut file that you can't manipulate
or save.
It is whatever the scanner sees.
Tip Two:
Get online with
ScanNCutCanvas(Opens in a new tab).
It's free and it opens up the
possibilities for what you can do with your ScanNCut.
Plus it's free unlimited
cloud storage for your cutting files!
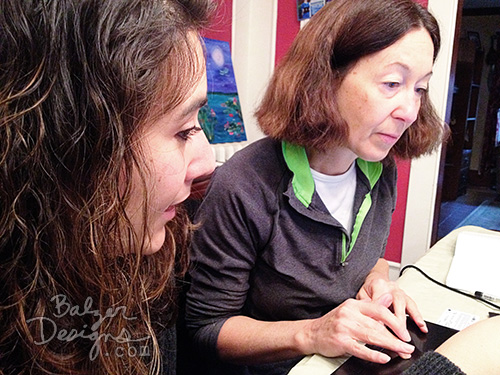
It's a little difficult to tell in the photo above, but Laurie is on her PC and I'm
helping her register for a free ScanNCutCanvas account and set up the wireless
activation for her ScanNCut.
We are using a computer (Mac and PC both work),
but you can also use a
mobile device with ScanNCutCanvas.
I use my iPad most
of the time.
Tip Three:
Use the right mat for the job.
Mats are expensive, so I know it's
tempting to just use one mat for everything.
But the mats matter.
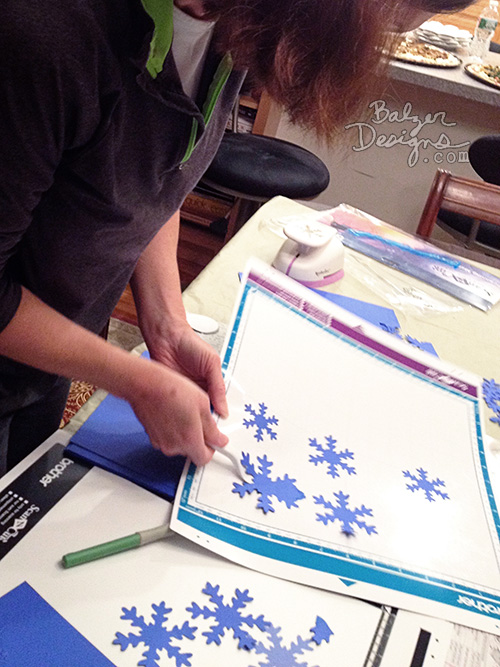
In the photo above you can see Laurie working to get the snowflakes off of the
Standard Mat that came with her machine.
The adhesive
was a bit too strong for
the thin cardstock we were using and so it was tough to pull things off.
Here's
your quick guide to mats:
- Black/Scanning Mat: For scanning only.
- Blue/Low Tack Mat: For scanning or cutting super delicate papers like
tissue paper. - Pink/Medium Tack Mat: For cutting paper.
- Purple/Standard Tack Mat: For cutting heavier materials such as stencil
plastic or stamp material. - High Tack Fabric Support Sheet (applied onto your mat): For cutting
fabric.
issues, contact them at 1-877-BROTHER (877-276-8437), Monday through
Friday from 9am – 6pm. I promised Laurie that the good folks at Brother would
help her and I know they’ll help you too! It was fun to help Laurie explore her
ScanNCut(Opens in a new tab).
She kept saying, "It can do
that?!"
It excited me about the machine
all over again! It really is a magical
make-anything-you-want machine! Talk to you next week!
Related Projects
Stay Connected
* Required fields