Adjusting Basting Stitch Distance
You have loaded your design and prepared your 8” x 8” hoop per the design instructions. You select the basting stitch option from your embroidery machine to secure the background fabric to the stabilizer in the hoop. But wait, per the message on your embroidery machine our design no longer fits – it says to use a larger hoop. What happened???? How do you fix this without going to a larger hoop??? Review the steps below to learn how to adjust the distance between the basting stitch and embroidery design.

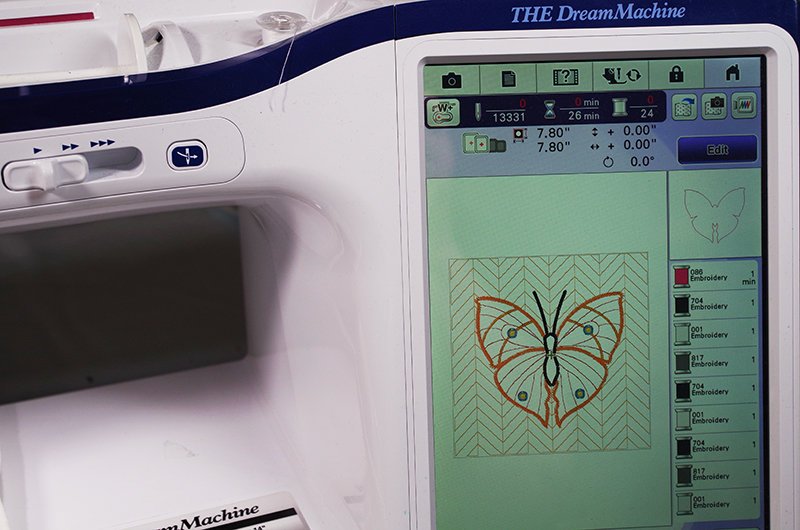
 In this example, I loaded the Quilted Butterfly Block. The size of the design is 7.80” x 7.80” which will fit into an 8” x 8” hoop just fine.
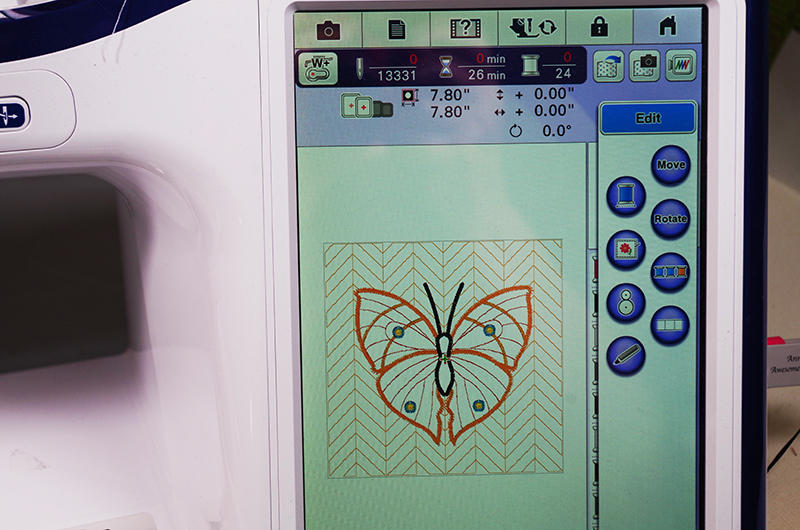
 Click on the Edit button to display some additional Icon options. Click on the Basting stitch option icon (the one with the flower and box around it.) Once this icon is selected the size of the design is increased based on the distance value between the design and the basting stitches. In this case the design has increased to 8.19” x 8 17”. Thus, no longer fitting into the 8” x 8” hoop. Unselect the Basting Option, the design size should be the original size of 7.80” x 7.80”.

 To review and change the “Embroidery Basting Distance”, click on the menu icon at the top of the screen (the one that looks like a piece of paper with a bent corner). Go to Page 8 of 9. The default distance setting is 0.200”. Change this to 0 by clicking on the “-“ symbol and click OK.

 Select the basting stitch icon again, and this time there is NOT an increase in the overall design size.
 This displays the basting stitch that is securing the background fabric to the stabilizer. In this case, the stabilizer is batting that is made specifically for embroidery machines when doing a quilted design in the hoop
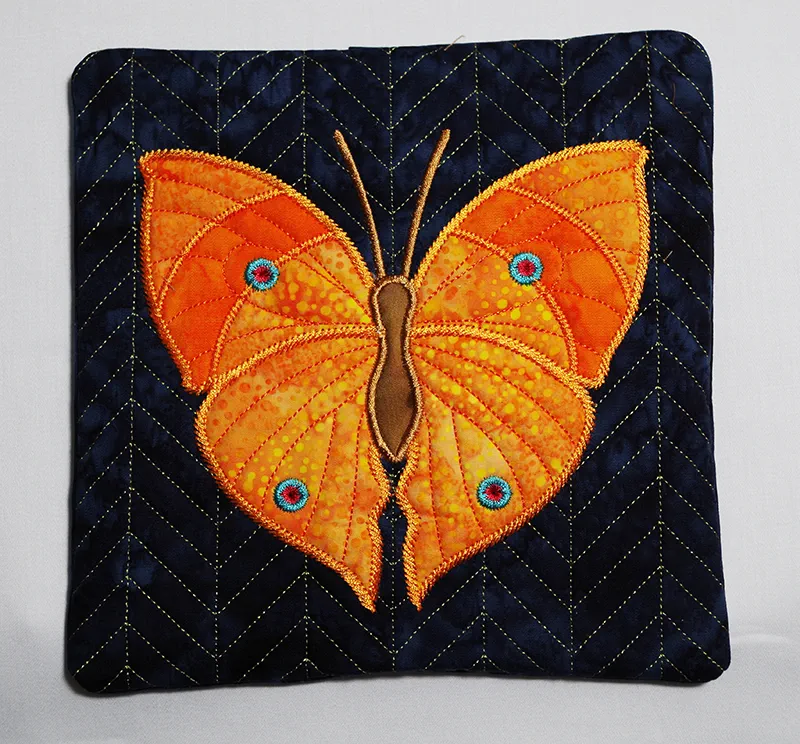
 The finished Quilted Butterfly design is completed. The Basting stitches are in the same location as the outer quilting stitches. Trim the basting stitches away as needed.
 I tend to use the basting stitch to secure the background fabric to the stabilizer. The main reason is that if I hoop the background fabric as well and tug at it to make it flat, I may end up with hoop burns, meaning that the fabric has stretch and will not lay flat. Also, in this example, the background fabric is smaller than the hoop. If I were to hoop the fabric, I would need to cut a larger piece.
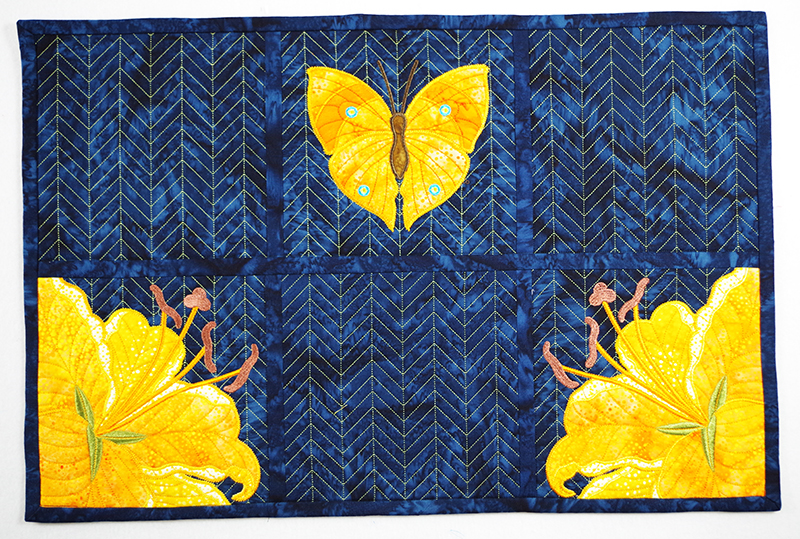
The applique bonus blocks are from Stargazer Lily Block of the Month design and the quilted block is from Quilted Blocks 1. Both designs are available from Anna’s Awesome Applique Designs.

