DIY Free Motion on Denim
 Hello there, Laura here from Trash to Couture.
I love the trend of embroidered denim. It’s a fun way to customize your jeans and it’s easier than you think. You can achieve this look with a basic sewing machine like I did on the Brother XR9550PRW Sewing Machine.
Not only that but you get to create the design you want using a technique called free motion sewing. Free Motion Sewing is a form of sketching or drawing with your sewing machine. This is done by dropping the feed dogs and using a quilting foot. It’s popular in quilting but also great way to applique and embellish fashions. In this tutorial I’m showing you how to free motion on the pockets of your jeans. You can do this on most garments with the right stabilizer.
Supplies:
- Jeans
- Stabilizer
- Marking tools
- Free motion/quilting foot: comes with the machine
- Embroidery thread
- Seam ripper

- Use a seam ripper and remove the stitches of the pocket. Mine had metal snaps at the top corners so I just removed the stitches up to that point. Most denim pockets will have heavy stitching here so if you don’t want to hassle with removing the entire pocket just remove up to that point.

- Use a medium weight stabilizer on the back of the pocket.

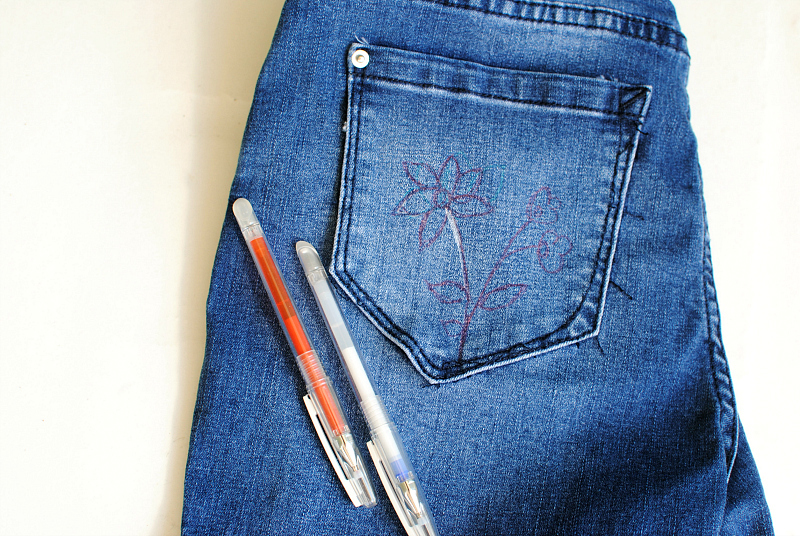
- There are 2 ways of doing this. The first one is use a fabric marking tool and draw the design onto the pocket.

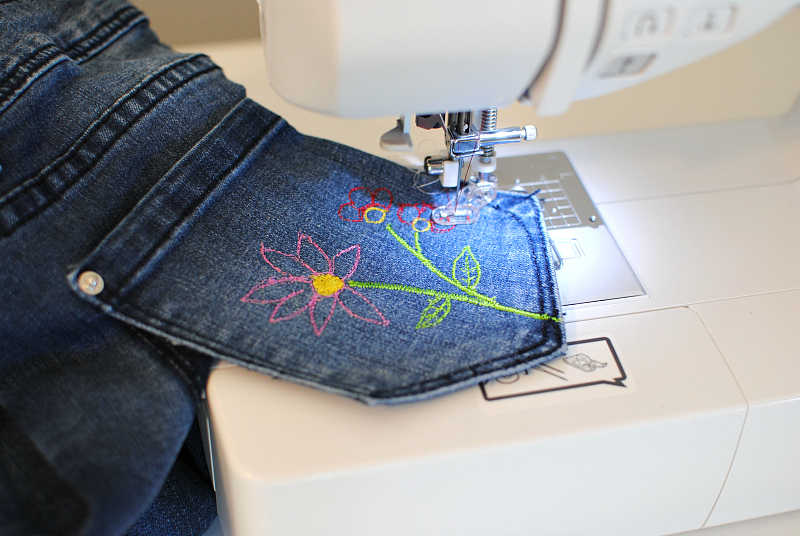
- Set up your machine to free motion: Place the quilting foot on and drop the feed dogs. Use the default straight stitch length.
- Use embroidery thread to enhance the design.
- Like anything it’s a good idea to practice with similar material prior to the final project. Find a point to start and begin tracing the outline with the needle.
Tip: Once you’ve gone over the sketch you can retrace again. Tip: Use the N foot and satin stitch to create bolder edges like I did on the stems. To fill in parts of the design use back and forth motions.
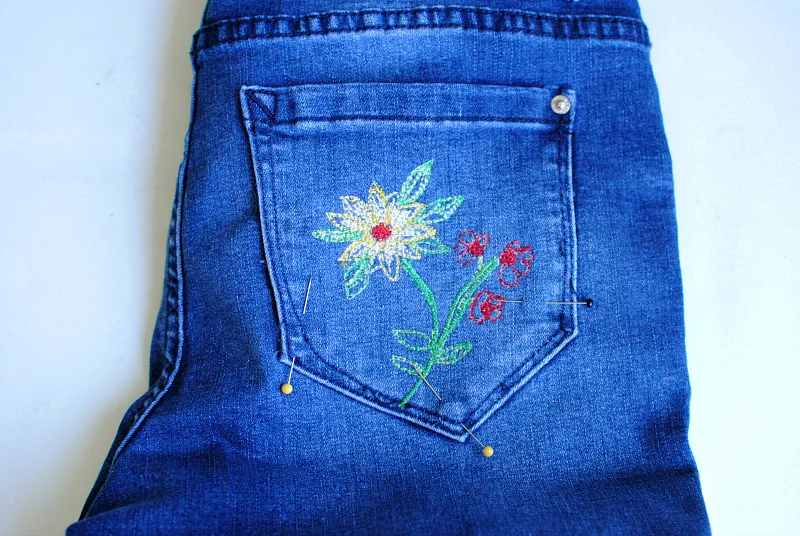
- Pin the pocket back into place. Use similar thread and stitch length to follow the previous stitch marks.

- Now for the other way to do this, which is good for a design with more detail. Use a water soluble stabilizer like this one
with an adhesive backing. Trace the size of your pocket and design onto the stabilizer. Then cut to the size of the pocket. Place the stabilizer adhesive side down onto the top of the pocket. Then trace the design with your sewing machine directly onto the stabilizer.


- Free motion directly onto the stabilizer following the outline. The catch is the stabilizer is water soluble so it will dissolve once it gets wet.

- Once finished soak it in water till the stabilizer dissolves. Once the design has dried you can go over it for some added details.

- Sew the pocket back on.


