DIY Fun Scrunchie Project
If you haven’t already noticed scrunchies have made a comeback in the past couple months. Everyone from my 7-year-old niece to the top fashion bloggers are using them. I grew up in the 90’s so scrunchies are a nostalgic accessory to me. I remember wanting one in every color and print to match my looks. It would have been nice to know how to sew back then and little reasons like this inspired me to learn. Well lucky for you, I’ve come up with a fun, hair-raising scrunchie tutorial. It’s a fun project that requires scrap material and those short ends of elastic you aren’t sure what to do with. Make several in all kinds of prints, colors, and materials… but watch out… you may make a bit too many!
Supplies:
- ¼ yard of fabric (preferably a material with a smooth touch like velvet, satin, or a soft cotton).
- ¼” elastic
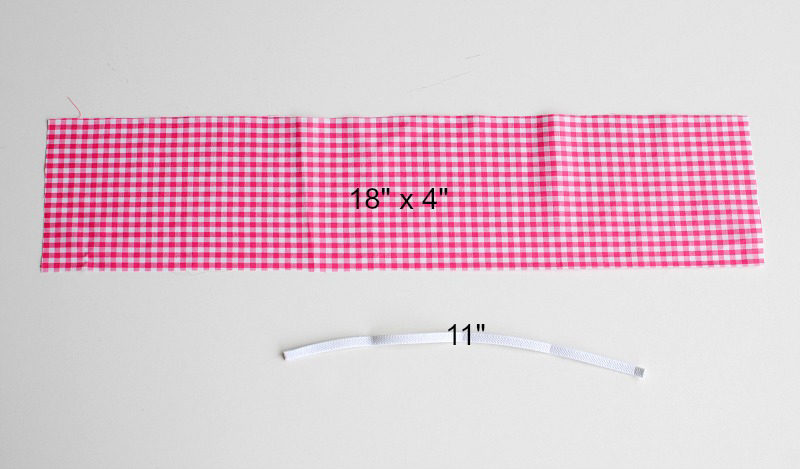
 Start with a strip of fabric that measures 18” x 4”
I used a 1/4” elastic that measured 11” total. You will then knot-it, so you want the additional length for the knot. Depending on your thickness of your hair you may need to shorten or lengthen this.

 Fold the fabric in half right sides together. Sew a ¼” seam allowance leaving 1.5” from the edge on each side.
 It will look like this.
 Flip right side out using a loop turner or safety pin.
 Fold the ends together pinning right sides together. (now you know why the large seam allowance was left).

 Sew the ends together. You will have to adjust as you sew by lifting the pressure foot up after stitching a bit.
 It will now look like this with a 3” gap in the center.

 Use a safety pin to guide the elastic through and securely knot the ends together. You can clip the excess elastic - just make sure it’s very tight, so it doesn’t break when in use.
 Sew the opening close by folding in the seam allowance and edge stitching.

 If you want the bow ties or “rabbit ears” to add follow along below.
- Fold a strip of fabric that measures 11” x 3”
- Mark off a 2” opening at midpoint (the not folded side)
- Sew from the center to the folded corner edge
- Repeat on the other side
- Clip down seam allowance (1/4” or so)
- Flip out through the opening
- Push out corners
- Fold in seam allowance and stitch opening closed
- Knot around the scrunchie (preferably around the scrunchie’s stitched edge)


