Order Up! How to Sew a Waxed Canvas Lunch Bag
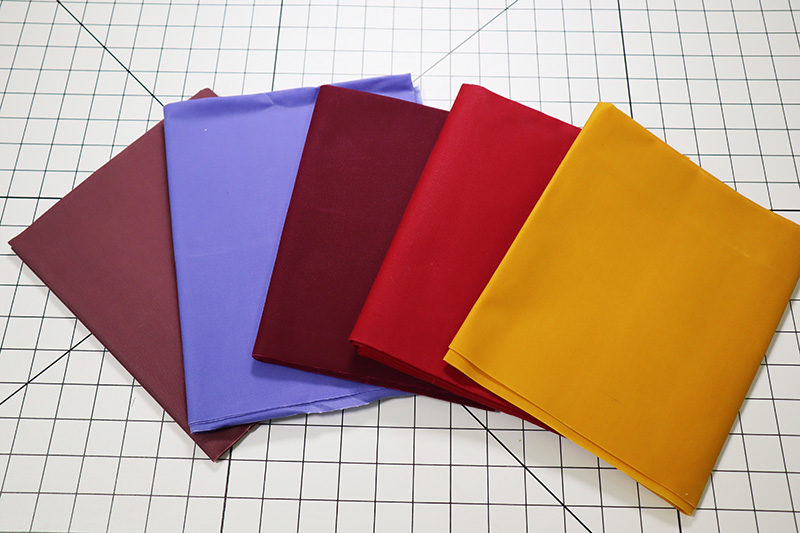
 Have you seen some of the cool items sewn with waxed canvas? Tote bags, zippered bags, grocery bags, lunch bags, just to name a few! Waxed canvas is just that, canvas fabric finished with a wax finish. The fabric is very stiff and comes in a variety of colors.
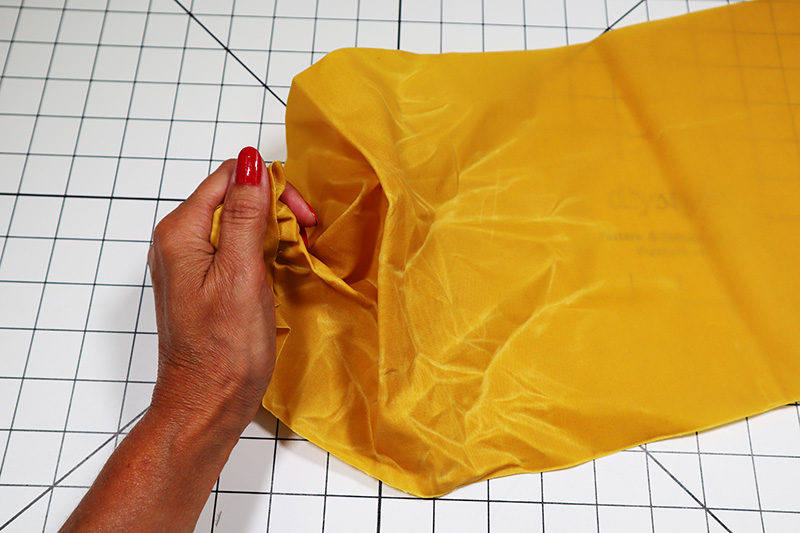
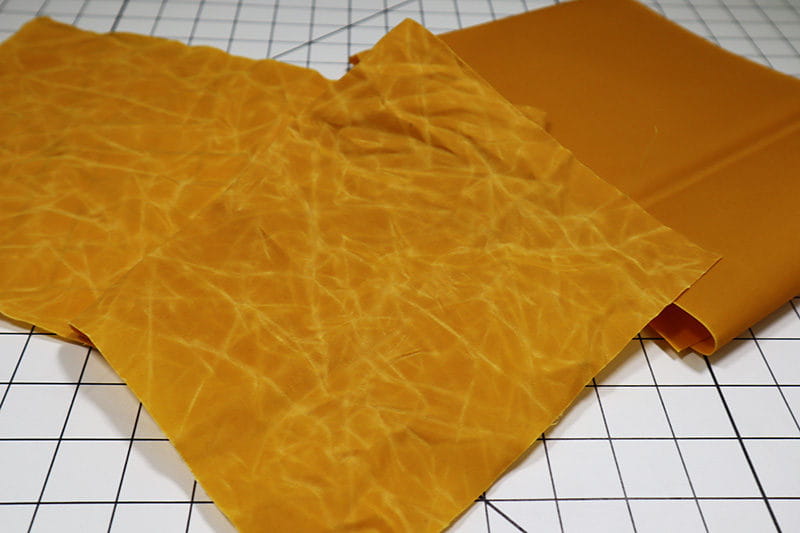
 Now here comes the fun part! The more you handle the fabric, the softer the fabric becomes. Not only that, the solid solid color changes appearance; here's mine takes on a marble effect.

 Let’s sew a reusable lunch bag to get started sewing on waxed canvas.

Designer Tip: Never use an iron on waxed canvas!
Supplies:
- Denim Jean Needle #16/100
- Rotary cutter / quilters ruler and mat or scissors
- Jean thread or topstitching thread
- Universal polyester thread for the bobbin
- Seam gauge or measuring tape
- A piece of waxed canvas 29” by 9”
- I am using THE Dream Machine 2

Disclaimer: #16/100 Jeans Needles is a product from Schmetz and Brother International Corporation makes no representations or warranties regarding this product.
1. Cut a piece of waxed canvas 29” by 9”.
Note: If you want the bag to be larger, increase those measurements. Twist and scrunch the fabric to soften the fabric and create a marbling design.
 2. It is easier to crease the hem for the bag opening before sewing the bag. Starting at one of the 9” ends, turn the raw edge of the fabric ½” toward the wrong side of the fabric. Use your fingernail to create a crease (I am using the edge of my tailor’s clapper). DO NOT use an iron!
 3. Turn the folded edge over another 1”. Create a crease.
 4. Follow steps 2 and 3 for the other 9” end.
5. Set up the sewing machine:
a. Thread the machine with universal polyester.
b. Wind the bobbin with universal polyester thread.
c. Change the sewing machine needle to #16/100 denim jean needle.
d. Change the stitch length to 3.0 or 3.5.
6. Re-open the creases for the hem that you just created. With right sides together, fold the fabric in half matching up the 9” ends. Stitch down the longer sides with a ½” seam allowance. Start stitching at the bag opening and ending at the fabric fold. Before to backstitch at the beginning and end of the seam to secure the threads.


 7. Finger press the side seams open. To create a boxed bottom, line up the side seam with the center of the bottom of the bag; creating a triangle. Stitch across the triangle tip as shown. Depending on how wide you want the boxed bottom of the bag, use anywhere from a 1” to 3” seam allowance.


 8. Thread the sewing machine with denim or topstitching thread in the needle. Use universal thread in the bobbin. Change the stitch length to 4.0.
 9. Re-fold the creases on the opening of the bag.
Optional: If you are using one of the Brother sewing machines with a sew straight laser vision guide, set the needle position to the far-left position and set the laser light to the far-right position.

 10. From the right side of the bag, topstitch with a ¾” seam allowance. If using the sew straight laser vision guide, align the laser with the folded edge of the fabric.
 11. Continue to stitch all the way around the opening of the bag.

 12. Turn the bag right side out.
 13. Tuck in the sides and crease. Fold over the top of the bag and you are finished.
Let me know what you are making with waxed canvas, I might try a trench coat next! Be sure to tag us at #angelawolf #brothersews so we can see your fabulous projects!
Cheers,
Angela


