A Fun Hat Embroidery Project
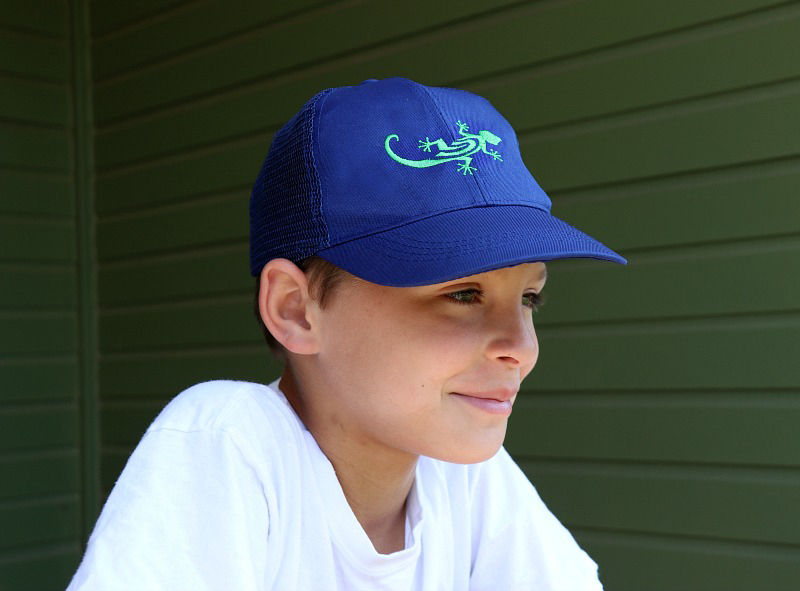 One of the things I love most about machine embroidery is the ability to create custom items and gifts. Embroidering designs, lettering, and monogram on basic items can instantly transform them into works of art. Lately, I’ve really been getting into embroidery on hats! They’re a great gift to kick start my kids summer break by embroidering their favorite reptile: a lizard from the built-in designs offered from the Brother PE800 Embroidery Machine.
Note: The lizard image used in this project comes with the Brother PE800 as a built-in design. You can follow along using a similar lizard design, such as these from iBroidery.com.
I also couldn’t help but make one for myself with my monogram using the add-on feature. This makes it easy to create a perfectly spaced monogram without software needed. I also can save it into my machine, so I can easily go back and use it again. Get the details below on how to embroider a baseball cap with the Brother PE800 Embroidery Machine.

Supplies:
- Brother PE800 Embroidery System
- Pacesetter Medium Tear-Away Adhesive Stabilizer
- 5 x 7” hoop
- Embroidery thread
- Hat to embroider
- Painters tape
- Pins
- Hoop Pacesetter Medium Tear-Away Stabilizer so the adhesive side will be up once you remove the top layer.

- Remove the top layer to expose the adhesive. Tear completely away.

- Use the hoop template and mark the center dots.

- Draw a line down the center to match the dots with a pen or marking tool.


- It's a good idea to print out your design to get the proper measurements/placement before embroidery. Because I’m using a built-in design I took the measurements of the embroidery design and cut out a template using these measurements. Try the hat on with the template and mark the center of the design and sides. This will also be necessary for when you pin the hat onto the hoop. I typically start the design ¾” above the brim, which is pretty standard.

Note: Use painters tape and or pins to secure the inside flap along the brim. You will have to flatten the brim a bit to get the hat to stay down on the hoop.

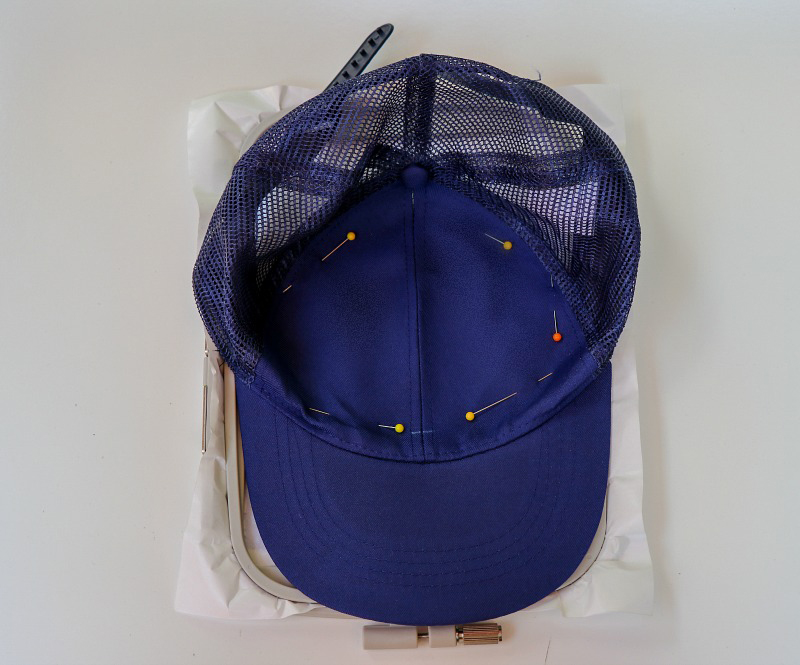
- Place the cap onto the adhesive stabilizer matching the center lines. My hat had a seam right down the center which made it easy to keep everything centered. Adjust the hat to be even and flat by pressing with your fingers rather than pulling/stretching. Pin and or baste stitch into place on the outsides making sure the pins are not near the design outline.


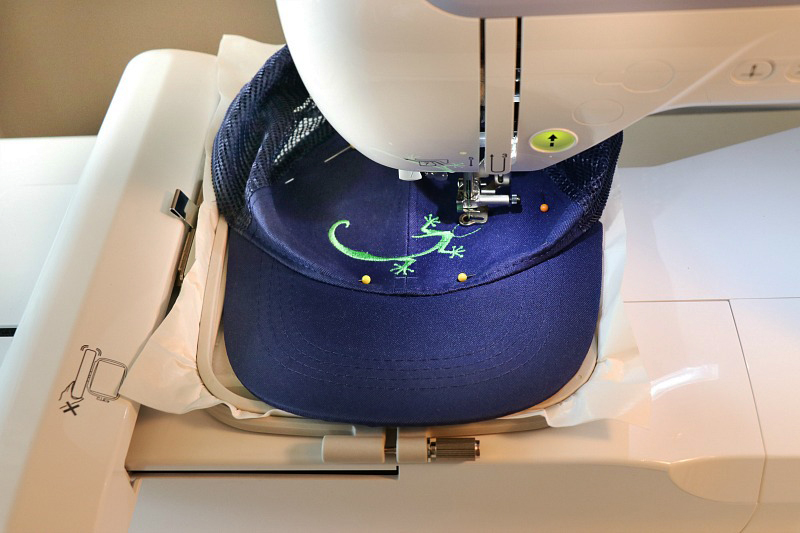
- Place your hoop onto the Brother PE800 Embroidery Machine.
Note: Adjust your design on the machine making sure the design is centered and won't hit the pins. The PE800 touch screen makes it easy to adjust the size, placement, and rotate the design. From here I can make sure the design will be exactly where I want on the hat.
- Begin machine embroidery.

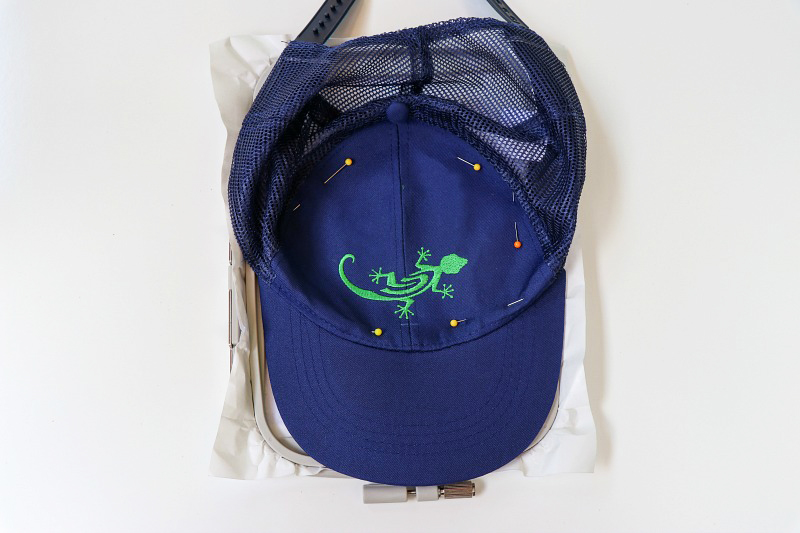
- Remove from the hoop and remove the Tear-Away stabilizer from the backing. Cut any jump stitches.

 See the video clip:
Now go make one for everyone you know.
See the video clip:
Now go make one for everyone you know.
Related Projects
Stay Connected
* Required fields