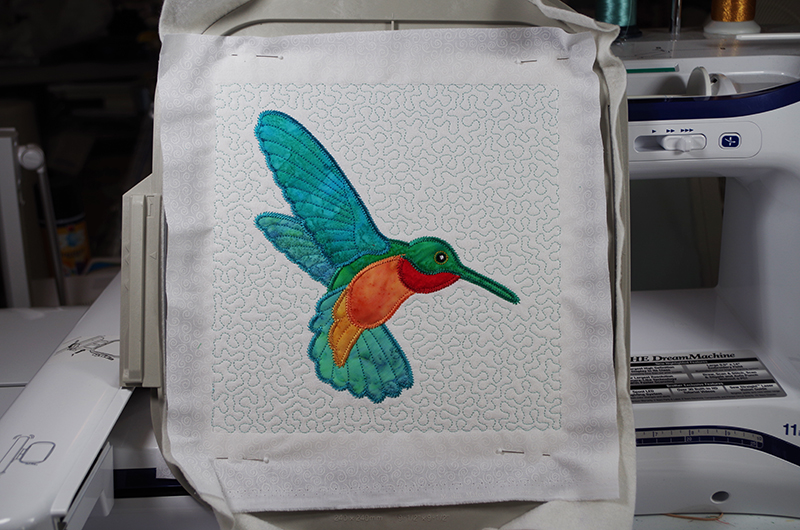
Adding Stippling Applique Design
The New Dream Machine 2
and/or the Dream Machine upgrade has made adding stippling to an existing applique design very quick and so easy. This is a great way to make a quilt as you go top and use joining strips to assemble the quilted blocks.
 I just love how easy it is to add stippling to any embroidery design. For me, I can quickly transform an applique in the hoop design into applique and quilted design. I can then connect the quilted block using Joining Strips. It is also exciting that I can save the design with the stippling and stitch it out as many times as I want. Don’t forget to use the Mirror Image feature and then stitch out the design. So cool to have two or more blocks that are Mirror images.
I start with an applique design that fit nicely in the 9 ½” x 9 ½” Hoop for the Brother Dream Machine. I use a “batting” that is specifically designed to be a stabilizer to ensure the stitch out is successful. I then place the background fabric on top of the hoop. In later steps, I will use the basting feature of the Dream Machine to secure the background fabric to the batting stabilizer.
- Turn on the Dream Machine 2 embroidery machine or Dream Machine with upgrade and select the Embroidery Option on the screen.

- In this example, I loaded the Hummingbird applique design and then select the Set button on the lower right corner of the display.

- The next screen shows the design and list a set of color changes. There is an Embroidery button at the bottom and an Edit button at the top. Click on the Edit button.

- A new set of options are now on the display. On the right-side column of icons, almost to the bottom, there is an icon with a red flower and some lines around. Select this icon.

- This takes you to a screen that lets you select the hoop size, the distance from the applique to the start of the stippling stitches and the spacing of the stippling stitches.

- For this example, I changed the hoop size to 9 ½” x 9 ½” and increased the Distance from the applique shape to the start of the stippling. Note, you can see on the display the outline around the applique move outward as you increase the Distance value. Click on the Preview button to see how your selections will look.

- If you like what you see, then click on OK. If you want to make more changes, click on Cancel and reselect the hoop, distance and spacing as needed.

- Once you click OK, the display will return to the Edit view originally selected to add stippling. Click on Embroidery button.

- Select the Edit button to see a different dropdown set of icons. Select the “Basting” icon which is the red flower on the left column, second icon to add the basting stitch to the top of the stitch out order. Click on the Needle icon with the -/+ at the bottom of the display to view each color change step.
NOTE: Use the Memory button to save this file with the basting stitch and stippling to be used repeatedly.

- Click on the 2 up arrow button to view the last color/thread change for this design. For this example, it is number 40. This process has added the stippling to the end of the applique design.

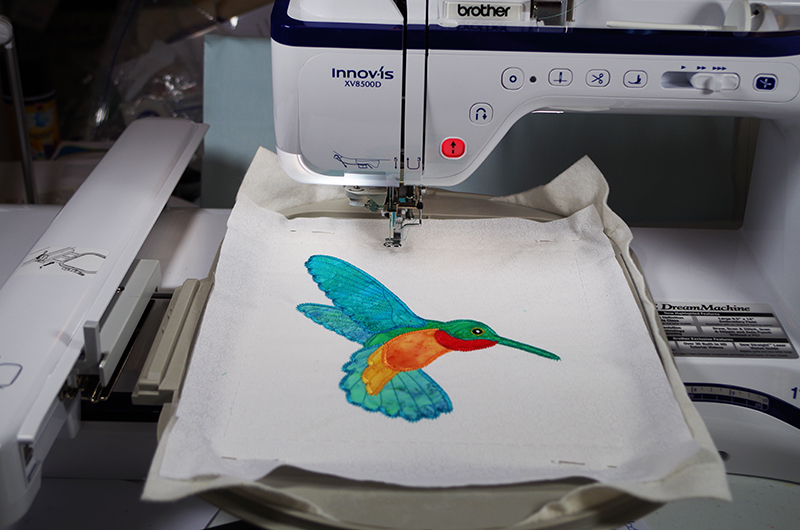
- Click on the 2 down arrow button to go back to the first color/thread which is the basting stitch. Stitch out the design just before the stippling step. Remove the hoop from the embroidery unit, and on a flat surface, turn the hoop over and place the backing fabric right side up. Carefully turn the hoop right side up, keeping the backing fabric flat. Pin in 4 corners outside of the basting stitches to secure the backing fabric. Return the hoop back to the embroidery unit, double check that the backing fabric is flat and that corners have not turned under.
 The Hummingbird appliqué is part of the “Hummingbirds and Amaryllis” design, which is available from Anna’s Awesome Applique Designs.

