Angela Wolf Sew A Long: Chic Cashmere Trench Coat Part 2
Part 2: How to create Decorative Lined Pockets & Belt Loops
Note: You can find Part One of the Angela Wolf Sew-A-Long: Chic Cashmere Trench Coat, here!
Sewing the Pockets
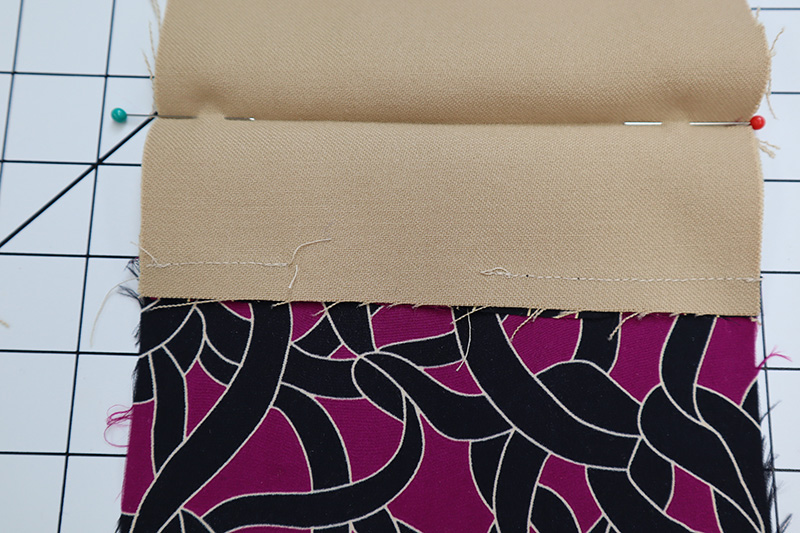
Lining the pockets is an easy way to tuck under the seam allowances and adds a touch of couture to your jacket. If you are following the Chloe Trench Pattern; you have this pocket pattern. If you are creating your own pocket pattern, cut one pocket out of cashmere and 1 pocket out of lining (you can trim the lining later). 1. Sew the lining to the cashmere fabric, with right sides together along the top of the pocket. Leave a 2” to 3” opening as shown below. Press the top fold of the pocket. (If you are designing your own pockets, this is where you fold the pocket along the new pressed crease and trim lining to match the fabric).
 2. With right sides of the fabric and lining facing in, fold the pocket along the pressed crease. Stitch along the sides and lower edge of the pocket.
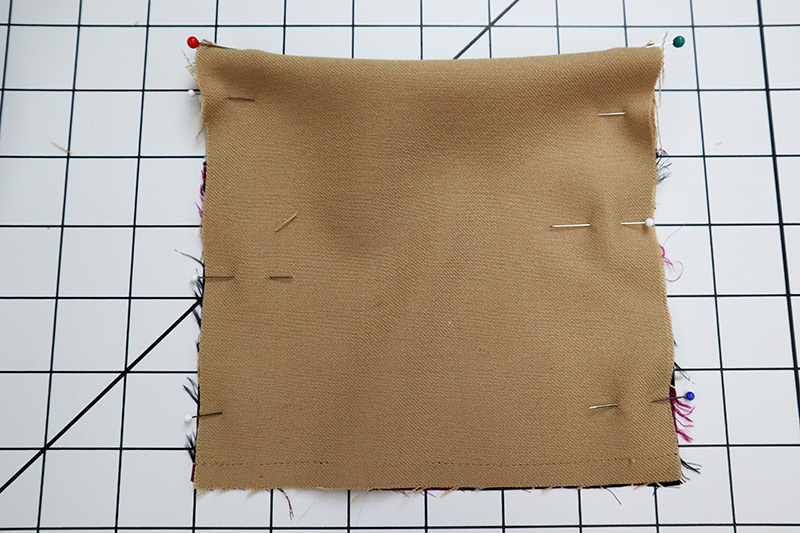 3. Turn the pocket right side out through the opening. Press. Slip stitch the opening closed.
 4. From the right side of the pocket Topstitch. I used the Triple Stitch set to a stitch length of 2.5.
 5. Line up the pocket on the jacket and pin in place.
 6. Topstitch along the sides and lower edge of the pocket. This time I used the Triple Stitch set to a stitch length of 4.0.
 7. I like to secure my pockets by stitching a bar tack or zigzag stitch across each top corner. Here I am using a zigzag stitch set to a width of 2.5 and length of 1.4.


Note: Check out this episode of "It’s Sew Easy"
to see how I sew lined pockets.
to see how I sew lined pockets.
Sewing Lined the Belt Loops
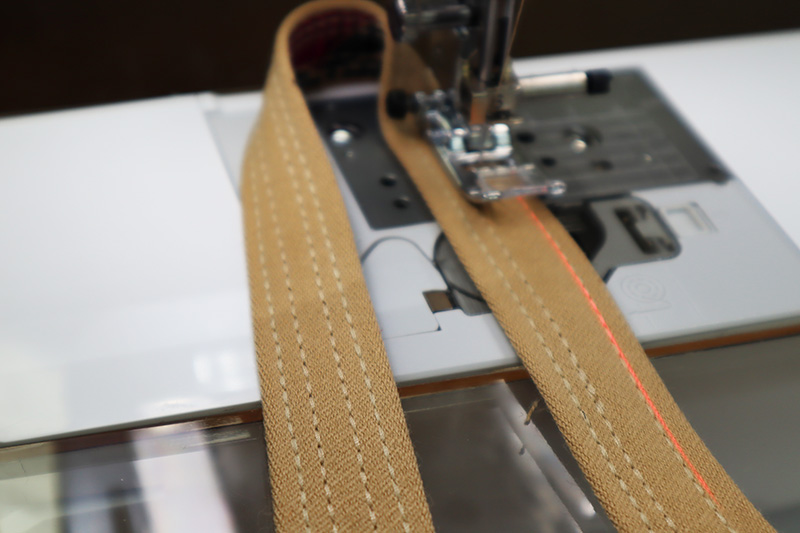
1. I am going to line my belt loops to coordinate with my lining. With right sides of the fabric together, stitch along one of the long edges. Press the edges of the cashmere fabric ¼” or more if you are designing wider belt loops. Turn under the raw edge of the lining and press. Make sure the lining is tucked in enough that it won’t peak out on the right side of the belt loop. 2. Use the Triple Stitch set to a stitch length of 3.5 or 4.0 and stitch 2 rows down each side. I used the sew straight laser light to line up my rows of stitching.
 3. Cut the belt loops to the size desired and press under the edges ¼”. I have one for each side seam and two for each sleeve.
 4. Pin the Belt loops in place and stitch.
 In the next blog I will share tips for sewing a set-in sleeve. Well, how is your jacket coming along? If you needed extra tips for sewing the back flap, here is an another episode of "It’s Sew Easy"
to follow. Be sure to share photos with #angelawolf and #brothersews – can’t wait to see what you sew up! Cheers, Angela

Related Projects
Stay Connected
* Required fields
Follow Us
- Product Support
- Product Support Assistant
- Terms of Sale
- Product-Registration
- Search Supplies/Accessories
- Ordering & Shipping Information
- Ordering & Account FAQs
- View Order Status
- Warranty & Extended Warranty Information
- Recall Information
- Return Policy
- Security Support Information(Opens in a new tab)
- Contact Brother
