Beanies Baby, to Keep Your Noggin' Warm!
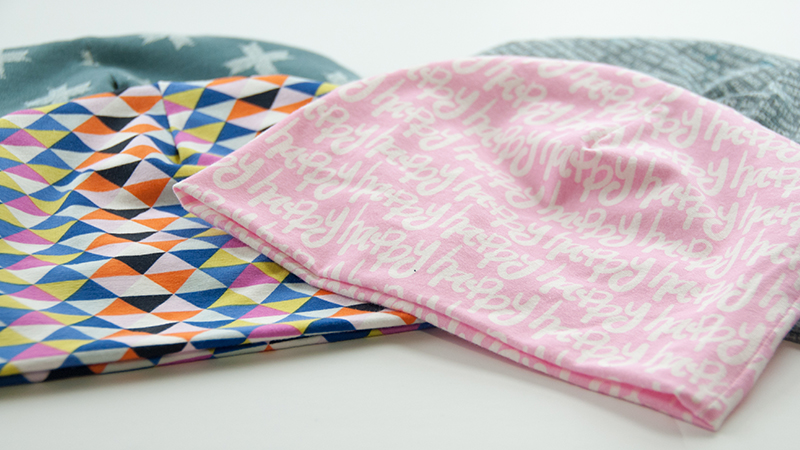
To be honest, my desire to make beanies may have partially been motivated by the recent realization that I’m losing my hair. But mostly, every year, as winter approaches, I always tell myself that I’m going to make beanies, but then I don’t. So then I tough it out until my head gets super cold and I end up impulse buying some on the Internet and when they come I shake my head at myself because I know that I could’ve made some that were way cooler and way cheaper than what showed up. This year, however, I’ve totally broken the cycle and I wanted to share with all of y'all how easy breezy they are to make on a domestic machine. And I sewed them on both Felicia and Chet, so there’s no excuse not to make one.
Brother Machines Used
- DreamWeaver™ XE VM6200D(Opens in a new tab)
(AKA Felicia) with the SA196 MuVit™ Dual Feed Foot(Opens in a new tab) - Brother CS7130(Opens in a new tab)
(AKA Chet) with the SA107 Walking Foot(Opens in a new tab)
Supplies for Beanies
- Knit fabric (4-way stretch preferred)
- Rotary cutter with sharp blade & mat
- Ruler
- A ruler with a circular curve (if you don’t have a ruler, an 8” salad plate works great)
- Measuring tape
Measurements
So I made beanies for both myself and Helena. Our head sizes are different since I’m a big big grown up and she’s just a big girl. To determine the width of the fabric that I needed, I measured one of our heads and then subtracted an inch. For example, my big head is 24” so I subtracted an inch and cut the width of the fabric to be 23”. For Helena, her head is 20”, so I cut the width 19”. [If you plan to use 2-way stretch knit, make sure that the width of the fabric is the stretchy part] If you don’t have a measuring tape or are making these as a gift, here's a table using the average head size for different people.
Steps to making the Beanie
Cutting the Fabric
- Fold the fabric in half length-wise to where the raw edges are toward the top of your cutting mat. Next, fold the fabric in half width-wise.

- Using your circular curve, line the edge of curve to the top and right of the folded fabric. Slowly, use your rotary cutter to cut this curve. Repeat this on the top left side.


- With the fabric now looking like like an old school video game ghost, use a ruler to find the center and mark two and a half to three inches (depending on size) down from the top.

- From that point, notch out a V in the top of the fabric that is 1/2'’ to the left and the right of the line you just drew.

- Open up the fabric and enjoy what you did without a pattern. Woohoo!!!!
Sewing the Beanie
- Using the lightning bold zig zag stitch and either the MuVit™ Dual Feed or Walking Foot, with right sides together sew up the four V's using between 1/8” and ¼” seam allowance. [If this type of foot is new to you, make sure to leave about ¼” fabric beyond the needle and let the foot do the work.]


- With the V's sewn shut, fold the fabric right sides together in half width-wise where one oval is on top of the other. Using between 1/8” and ¼” seam allowance, sew along the raw edge of the fabric, leaving a 1” gap on the section that will be the inside of the beanie.


- Use the gap that you left open to turn the beanie right side out.
- Switch to the super stretch stitch and sew the opening closed as close to the edge as you can get. Stuff this part of the beanie inside of the other half and voila, you have finished!
Editors Note: If you want to stitch the layer together, you can stitch in the ditch, lining up the very top "x's" of the beanie layers and put 2-3 short back-tacked straight stitches tucked right in.


Pat yourself on the back and make another! Now if you have any questions about this tutorial or sewing with knit in general, feel free to leave them in the comments. Oh, and yes, I've named my machines, Felicia and Chet...have you? What do you call your machines? I'd love to know! Leave me a comment...discuss!

Related Projects
Stay Connected
* Required fields
Follow Us
- Product Support
- Product Support Assistant
- Terms of Sale
- Product-Registration
- Search Supplies/Accessories
- Ordering & Shipping Information
- Ordering & Account FAQs
- View Order Status
- Warranty & Extended Warranty Information
- Recall Information
- Return Policy
- Security Support Information(Opens in a new tab)
- Contact Brother
