Custom Embroidered Oven Mitt
~ Brother Sews Ambassador
Cozy is the theme this winter! With that in mind, let’s sew a heat resistant oven mitt in the craft room so we can make comforting homemade meals in the kitchen.
SUPPLIES:
 FABRICS:
Cut two 10 x 12 inch pieces from each fabric.
If you want your oven mitt personalized, add embroidery to one side of the outer layer fabric now.

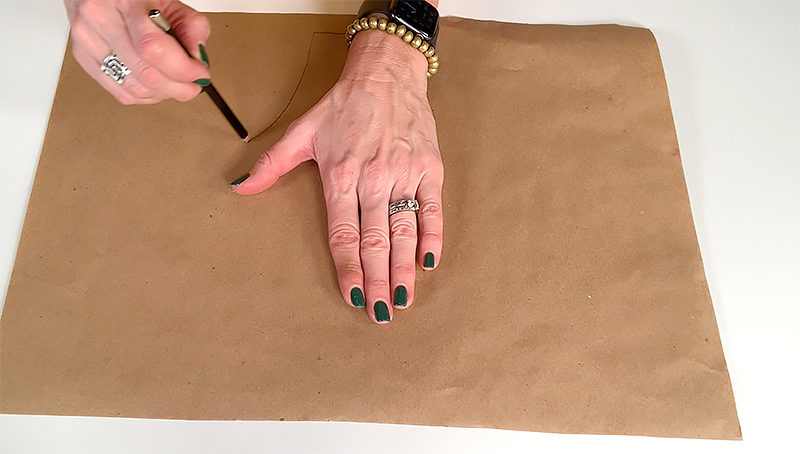
To make the pattern, simply draw a mitt-shape around your hand on the craft paper and cut it out.
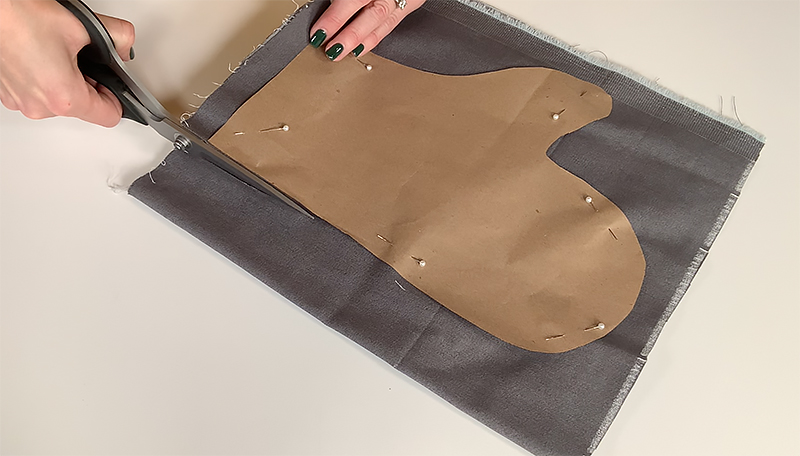
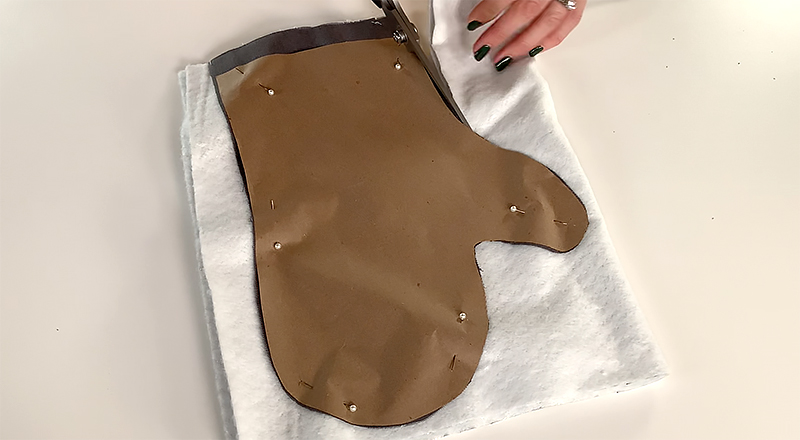
Cut two pieces of each material, so you have a front and a back side of each.
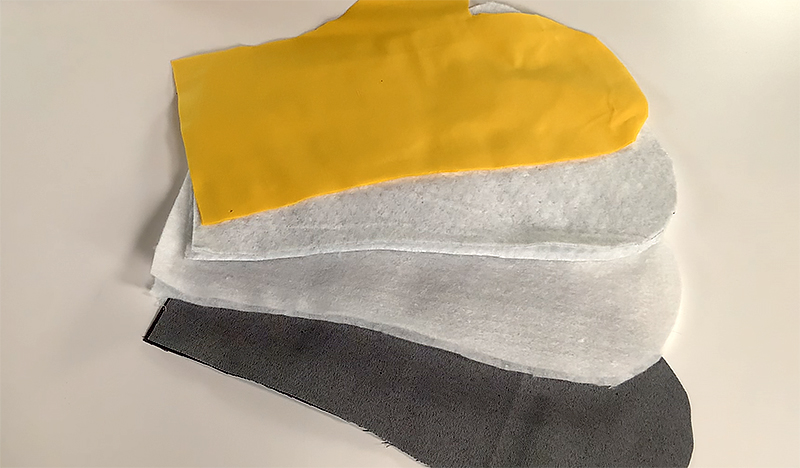
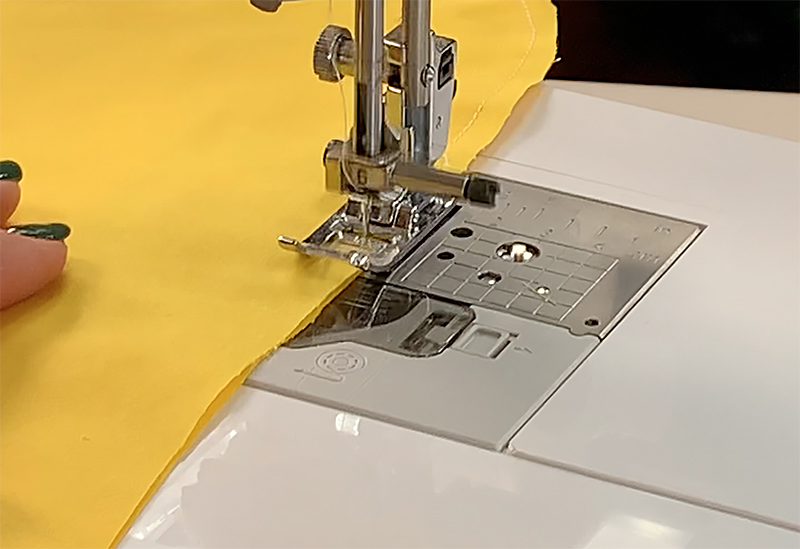
Sew each piece of material around each layer individually: top layer, heat resistant layer, batting layer and inside layer.
You will end up with four separate mitts.
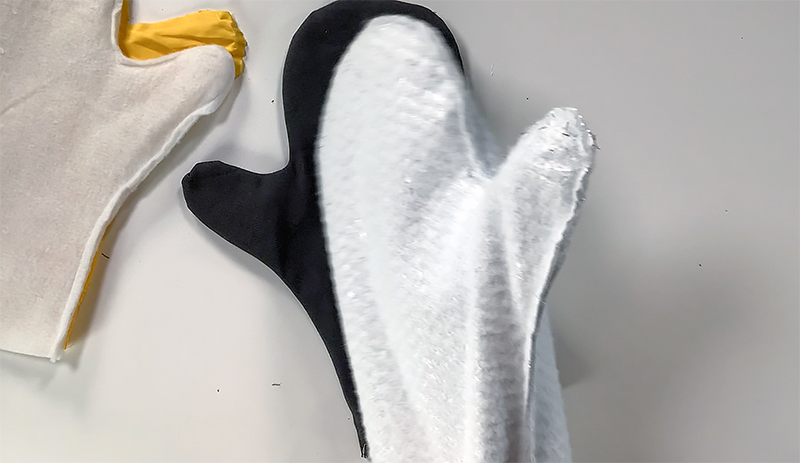
Clip the curves around the mitt for the outer layer and turn the outer layer right side out.

Insert the heat resistant batting into the outer layer of the mitt.
Insert the regular batting into the two layers.
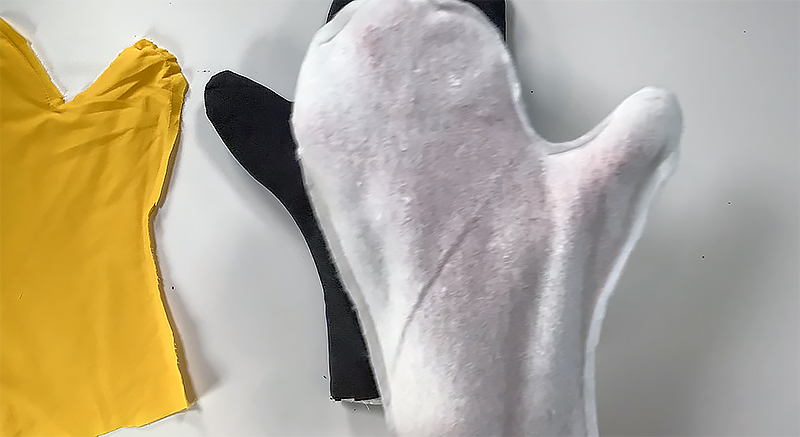
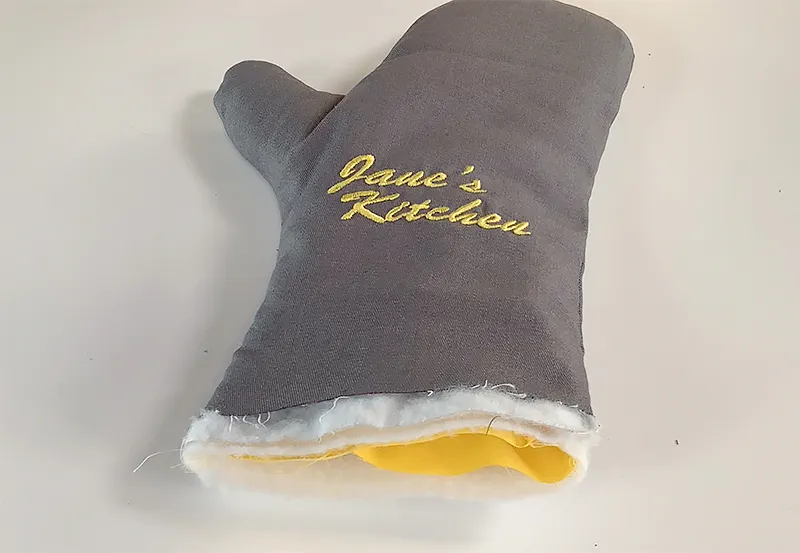
Without turning it right side out, insert the inside layer into all three layers of the mitt.
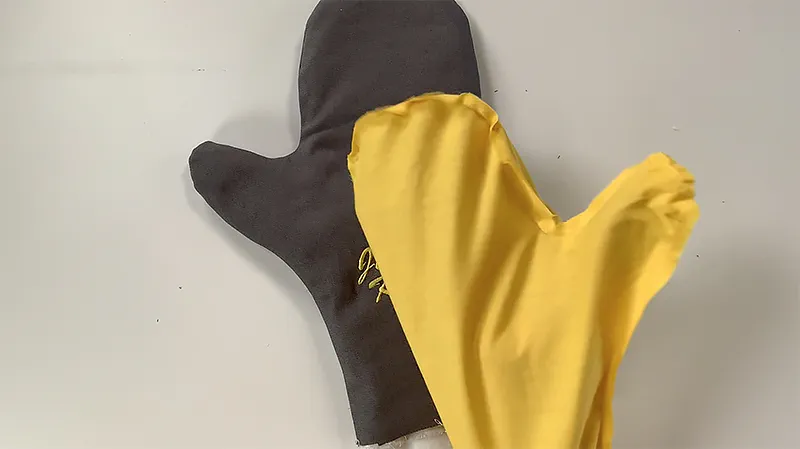
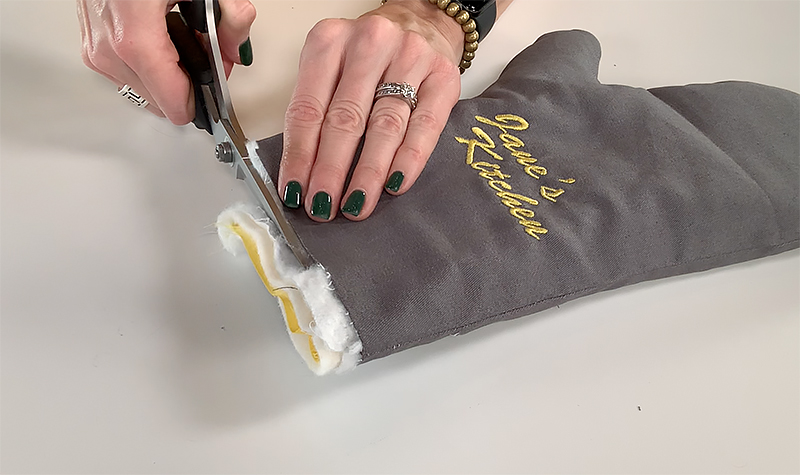
Once all the layers of the mitt are inserted into one another, trim the raw edge at the cuff.
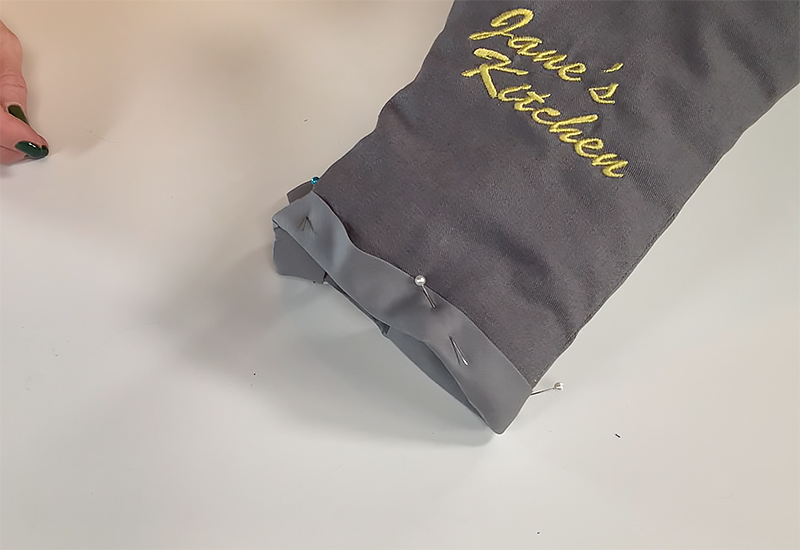
Pin bias tape around the raw edge of the cuff and sew it into place.
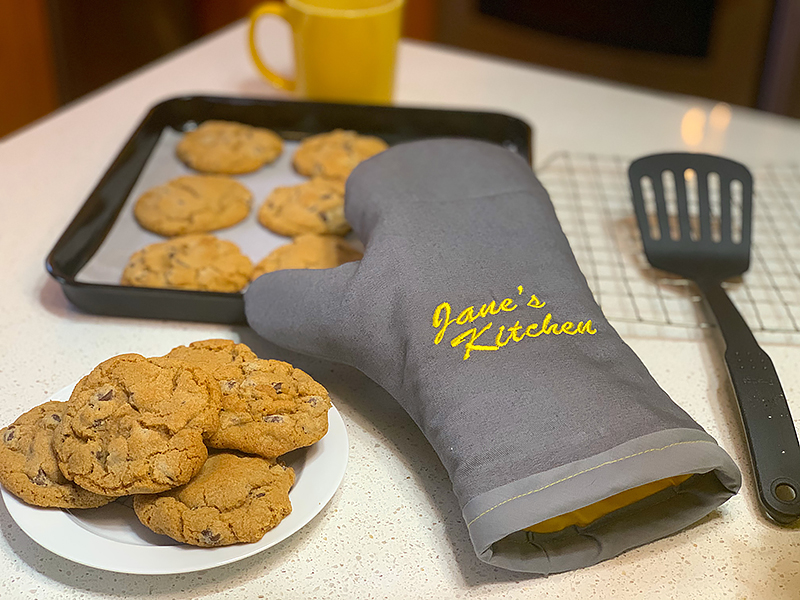
And viola, you have a DIY heat resistant oven mitt that pairs perfectly with your love for cooking!
CLICK HERE FOR PDF!
Cozy is the theme this winter! With that in mind, let’s sew a heat resistant oven mitt in the craft room so we can make comforting homemade meals in the kitchen.
SUPPLIES:
- BROTHER Sewing and Embroidery machine
- Bias tape
- Paper scissors
- Fabric scissors
- Craft paper
- Marking pencil
- Straight pins
FABRICS:- 1/2 yard thick cotton for the outer layer
- Heat-resistant batting for the middle layer
- Regular batting
- 1/2 year medium weight cotton for the inner layer
Cut two 10 x 12 inch pieces from each fabric.
If you want your oven mitt personalized, add embroidery to one side of the outer layer fabric now.
To make the pattern, simply draw a mitt-shape around your hand on the craft paper and cut it out.
Cut two pieces of each material, so you have a front and a back side of each.
Sew each piece of material around each layer individually: top layer, heat resistant layer, batting layer and inside layer.
You will end up with four separate mitts.
Clip the curves around the mitt for the outer layer and turn the outer layer right side out.
Insert the heat resistant batting into the outer layer of the mitt.
Insert the regular batting into the two layers.
Without turning it right side out, insert the inside layer into all three layers of the mitt.
Once all the layers of the mitt are inserted into one another, trim the raw edge at the cuff.
Pin bias tape around the raw edge of the cuff and sew it into place.
And viola, you have a DIY heat resistant oven mitt that pairs perfectly with your love for cooking!
CLICK HERE FOR PDF!
Tags
Shop this Project
No sewing machine? No problem. We’ve got a range of easy-to-use, feature-rich machines so you can create this project—and many more!
Sewing Machines
Related Projects
Stay Connected
* Required fields
Follow Us
- Product Support
- Product Support Assistant
- Terms of Sale
- Product-Registration
- Search Supplies/Accessories
- Ordering & Shipping Information
- Ordering & Account FAQs
- View Order Status
- Warranty & Extended Warranty Information
- Recall Information
- Return Policy
- Security Support Information(Opens in a new tab)
- Contact Brother
