Custom Socks with Cute Patches
-Brother Sews Blogger
Hey everyone! For this project, I wanted to take the time to write a blog post as more of an inspiration guide than my typical ‘How To’ posts. If you happened to come across my other custom socks blog post (all about vinyl designs!), you know that I wanted to come up with some ways to elevate some simple socks. I took a basic pair of socks and used crafting to turn it into a great custom project that’s fun, useful, and giftable to anyone! I realize that not everyone may have access to a ScanNCut, so I wanted to write this inspiration guide for those of us who are more sewing-focused. Because of the small size of socks, I wouldn't recommend embroidering straight onto your sock with a sewing machine. It’ll be a bit more difficult to maneuver, and harder to ensure you are not accidentally embroidering on multiple layers. That being said, this is the perfect opportunity to make some patches that you can add to your socks (or really any project you can think of, like your favorite denim jacket)!
Brother embroidery machines have tons of exciting built-in designs, but that’s not your only option for inspiration. Brother also has a website where you can access and download over 5,000 incredible and fun designs that are compatible with your favorite machine HERE!Some of my favorite designs are the Disney options, Holidays, and the Animals. Make sure you head over to the site to check out your favorites to get crafting quickly **If you are putting a design on the ankle of the sock, be sure not to pick a design that is wider than 2 inches and longer than 3 inches.
Embroidery Materials:
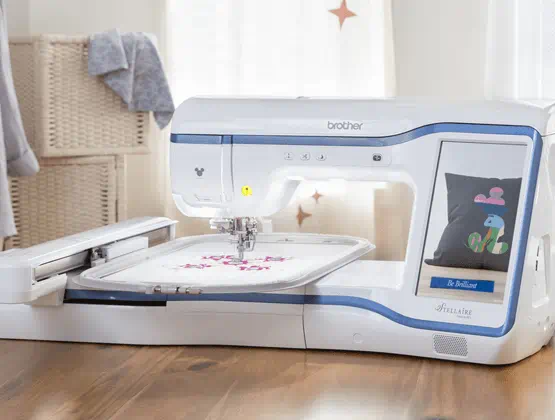
- Brother Sellaire Innov-is embroidery machine
- Assorted thread colors
- Scissors
- Embroidery scissors
- Embroidery needles
- Embroidery tear away stabilizer
- Felt (this won't fray on you)
- Fabric glue (if you don't want to sew the patch onto the socks, glue is another great option)
- Socks


Tags
Shop this Project
When inspiration strikes, Brother has you covered! The products in this stylish project are available for purchase so you can click, shop, and get to sewing!
Sewing Machine
Related Projects
Stay Connected
* Required fields
Follow Us
- Product Support
- Product Support Assistant
- Terms of Sale
- Product-Registration
- Search Supplies/Accessories
- Ordering & Shipping Information
- Ordering & Account FAQs
- View Order Status
- Warranty & Extended Warranty Information
- Recall Information
- Return Policy
- Security Support Information(Opens in a new tab)
- Contact Brother
