How To Embroider a jacket with removable patches
- Brother Sews Blogger
How cute is this jacket? I created this look in collaboration with my daughter and this is what we came up with. We added a large design in the center of the jacket and four removable patches around the main design. You could also use only removable patches and not have any designs directly on the jacket/tote. Depending on the size of the jacket and embroidered patches you might also want more than four patches. I think these look good in proportion to the size of my daughter.
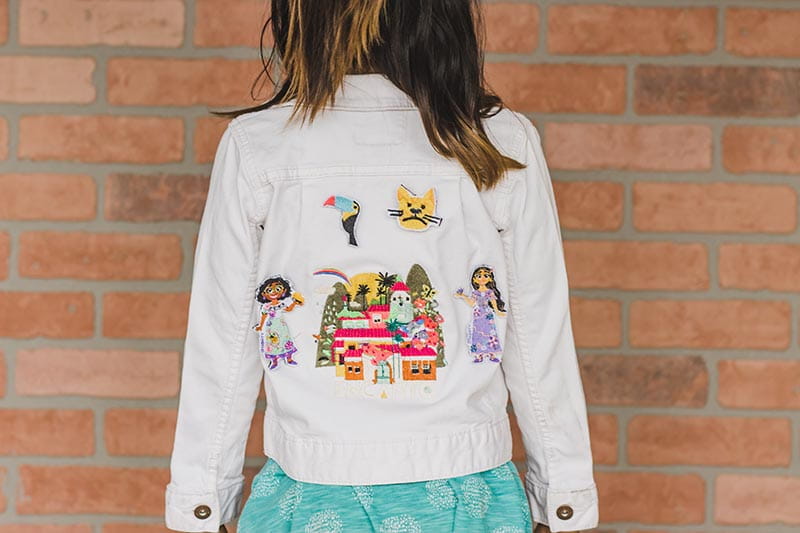
She loves that she can move the patches around and has enough to take some off and put on new patches when she wants a different look. Check out the video here showing how she changes out the patches.
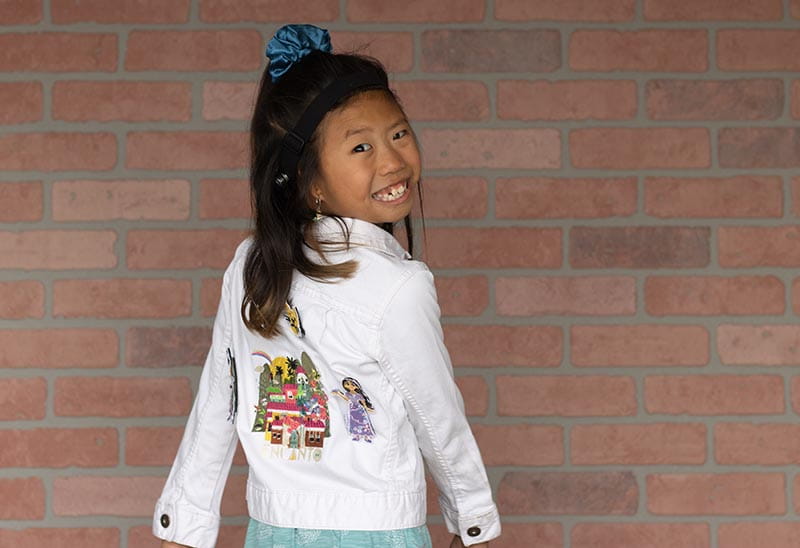
One happy girl! Sewing this patch jacket is super easy and I will show you how to create these removable patches below. In addition to loving this jacket, my kids are now very excited to see Disney’s Encanto. All three of my kids were super into checking out all these cute embroidery designs and talking about the characters. We are excited to see them all in action in the movie on Disney+.
Supplies and Tools:
- Jacket or Bag
- Neutral color fabric for patches
- Stabilizer and Thread
- Disney’s Encanto embroidery files {or other cut small files}
- Hook and Loop for removable patches
- Sewing and Embroidery Machine
Directions:
Gather your embroidery supplies, plus a main item, like jacket or tote bag. We happened to have this cute jean jacket on hand.

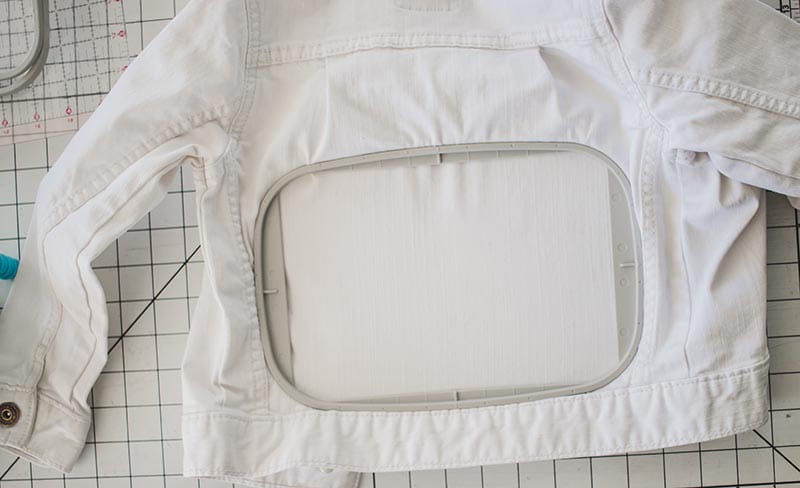
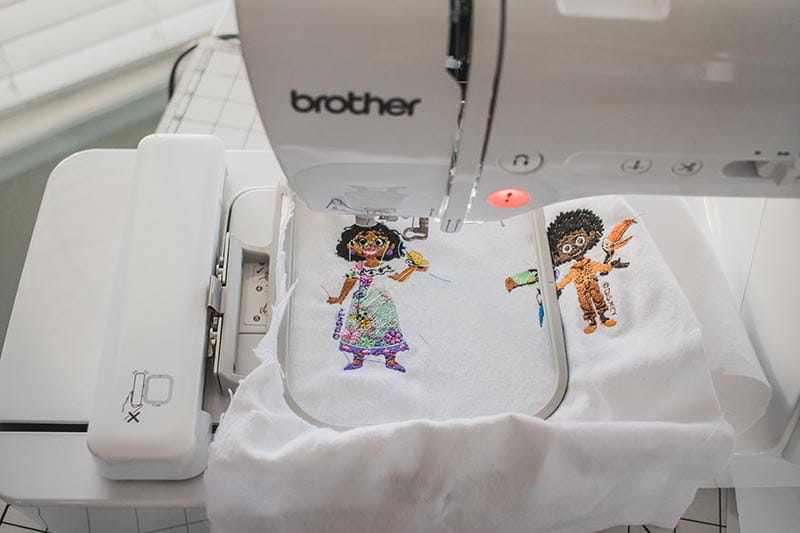
If you want one main design embroidered directly onto your jacket I would start with that. Hoop the jacket with stabilizer and embroider a large main design on the center back.
For the smaller patches it is a bit time consuming to create all the small patches, but I just had these going in the background for a couple of afternoons while I worked on other projects.
Embroider as many small patches as you have designs for, or want to create. The smaller the better for these patches. I wanted to make sure I had more than we needed so we could change up the look of the jacket. If you plan to sew these patches all in place and not have them changeable you can only create as many as you need.

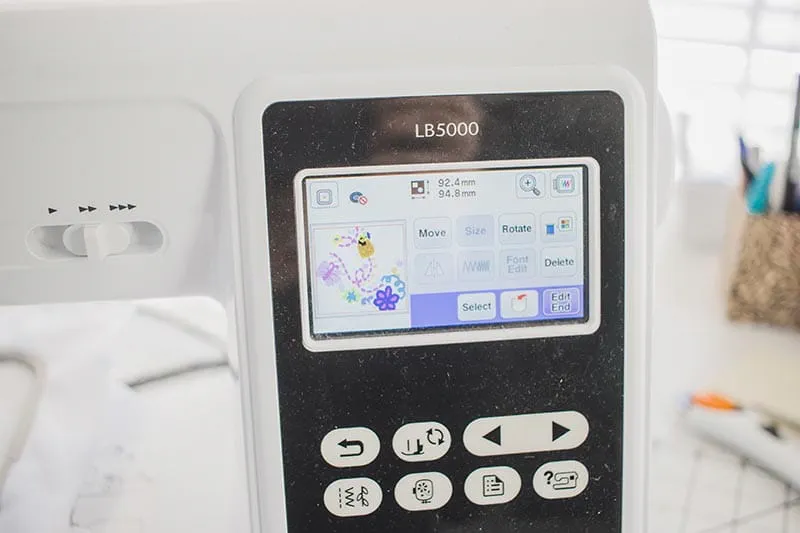
I could only fit one person in my 4 x 4” hoop at a time, but I was able to move the hoop to maximize my fabric and stabilizer use.
Once you are finished with all your patch designs, clip all the small threads (my least favorite part of this project!)
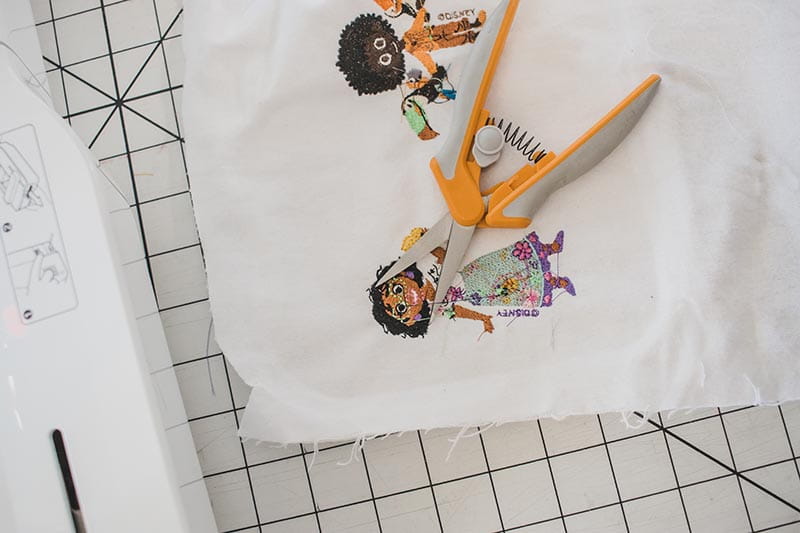
Once all those threads are removed, the adorable embroidery designs are really revealed. So many cute characters! Remove the stabilizer from the back of the design by tearing or cutting (depending on what kind you used) Trim as closely as you can around the design to create the patch. If you are sewing directly onto the jacket you can hand stitch it in place at this point.

To create a removable patch you will need a stiff backing. I used a fake leather I had on hand.
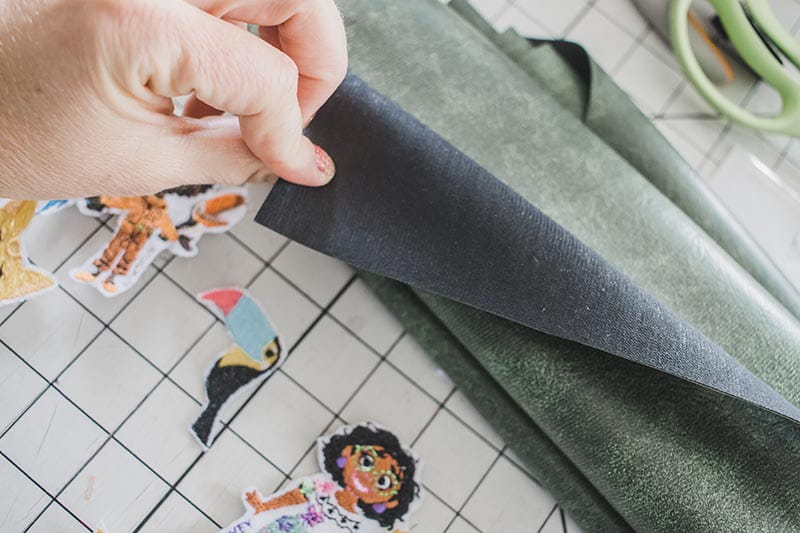
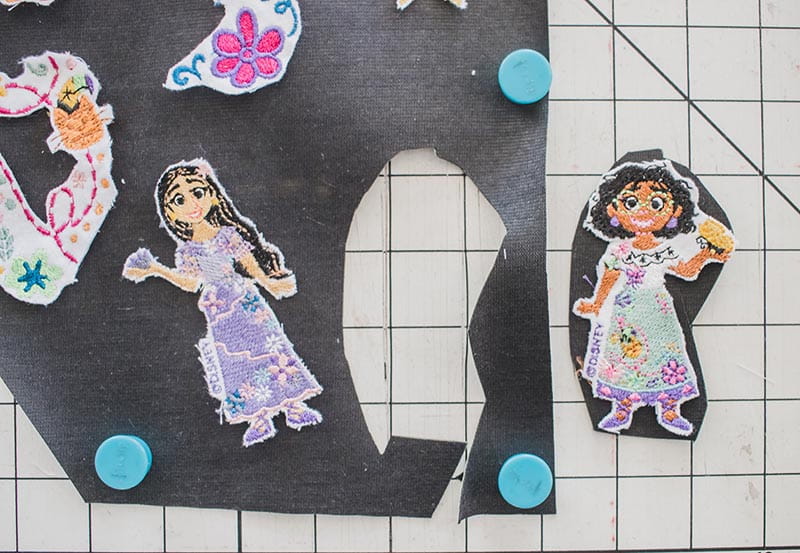
Cut a general patch shape for each design with the backing.
Cut hoop and loop strips to go on the back of the patches. You will see on our jacket we have two sizes. Small at the top, and long, thin on the bottom. We have four interchangeable big patches and four interchangeable small patches. The hook and loop should be the same for all of the same size.
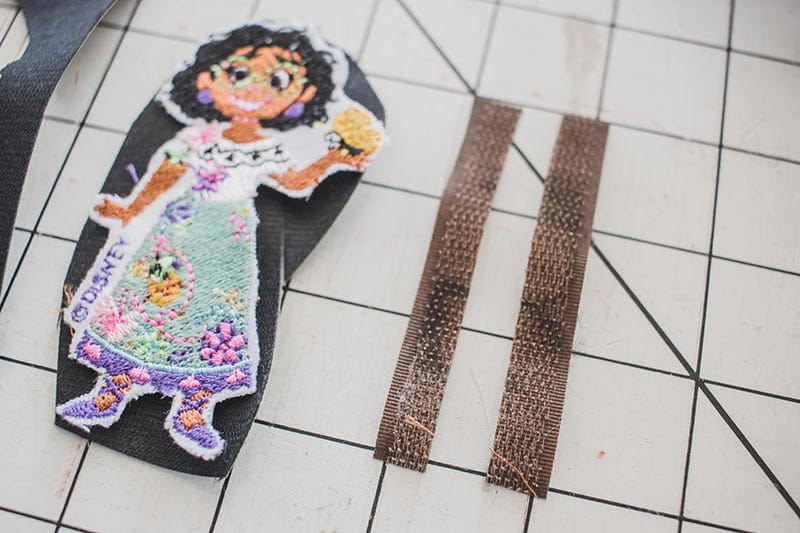

Measure and place the hook and loop on the back of the patch so the stitching will be covered by the embroidery design on the front.

Sew in place using a wide zig-zag stitch.

With wrong sides together you will now connect the patch to the backing.

Use an adhesive that is fabric friendly to attach the embroidered patch to the back. Place under something heavy to dry.

When the patch is dry, trim around the backing as closely as you can so you don’t see it.

Repeat with all of your amazing patches.

Mark and sew the other side of the hook and loop to the jacket or bag.

Once you have this sewed in place now you have the fun of designing your own jacket. So many designs… so little time.
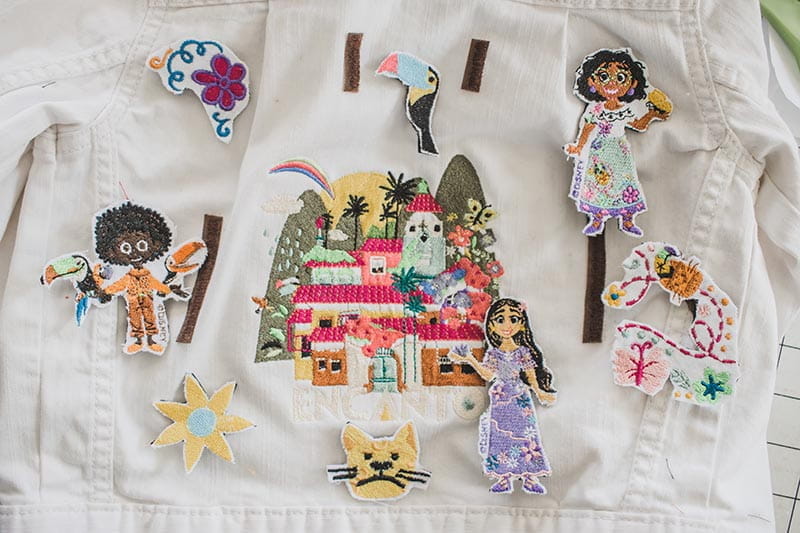
Press the ones you want into place and enjoy!

A jacket that can change with your moods.

Disney’s Encanto is Now Streaming on Disney+.
Tags
Sewing and Embroidery Machines
Related Projects
Stay Connected
* Required fields