Disney Tsum Tsum Decorative Hanging
While I love machine embroidery, I honestly forget that Felicia can do it until I’m alerted to a design that is entirely in my wheelhouse. This totally happened when I was shown the new Disney Tsum Tsum Holiday Designs. I had no idea what I was going to make with them, but I knew that I had to play with them and I knew it was going to be super cute whatever it was. So, I went to iBroidery.com, ordered the designs easy breezy, and was ready to embark on my embroidery journey. Enter this Disney Tsum Tsum Decorative Hanging.
Machine Used:
iBroidery Designs:
Note:I went to iBroidery.com to find some fun festive designs and boy oh boy, do they have some great ones! Check out the site and choose your favorites here!
Supplies Used:
- Brother medium-weight tear-away stabilizer
- Double-sided fusible foam
- Main and contrast fabric
- Thread for embroidery
- 1/8” satin ribbon
- Fabric glue
- Grommets (optional)
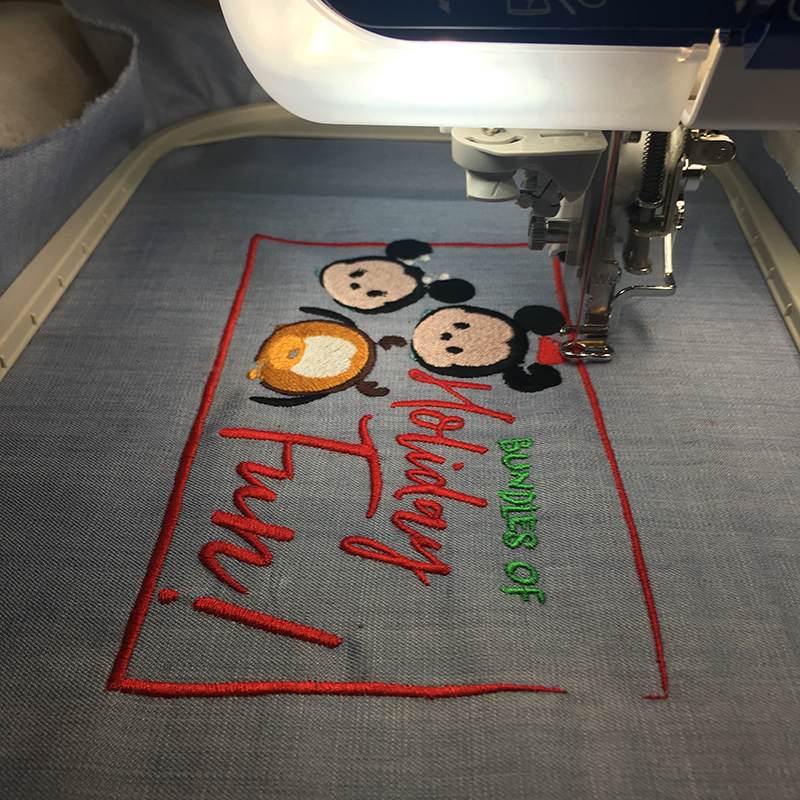
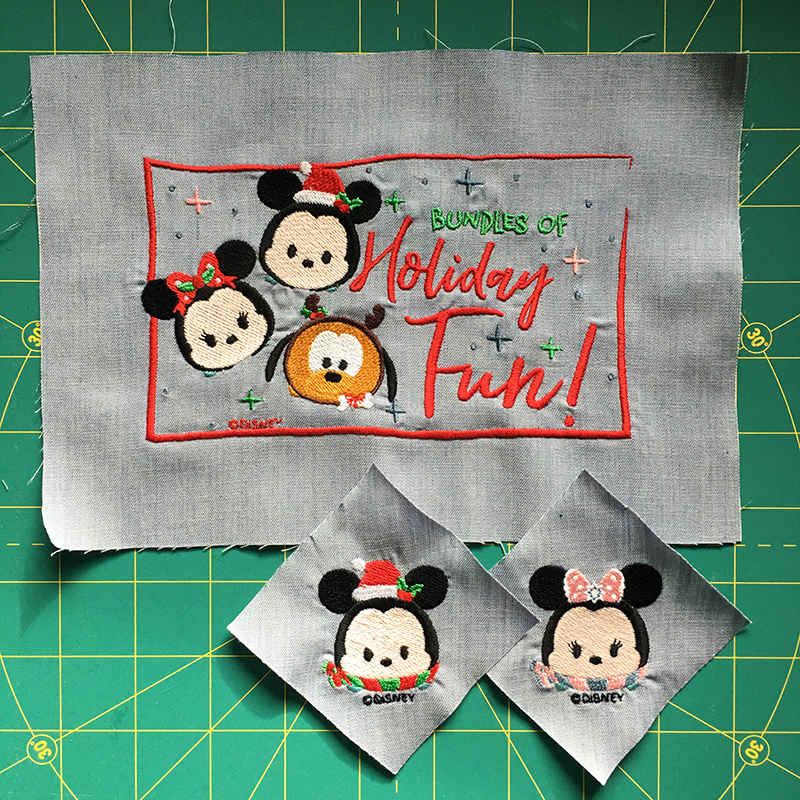
- Much like many of my projects, I had no idea what I was planning to make when I started. But I did know that I wanted to use a light denim for the background because denim is awesome. So, I cut the pieces of fabric big enough for the embroidery hoop and let Felicia do her thang as I stared at her in admiration, honored to change her thread when I asked her to.
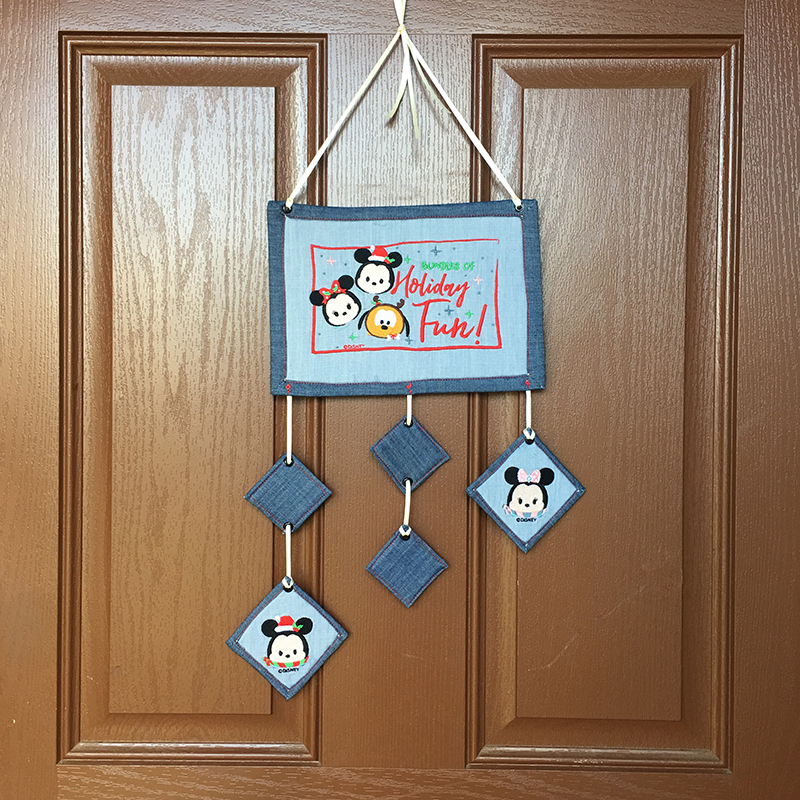
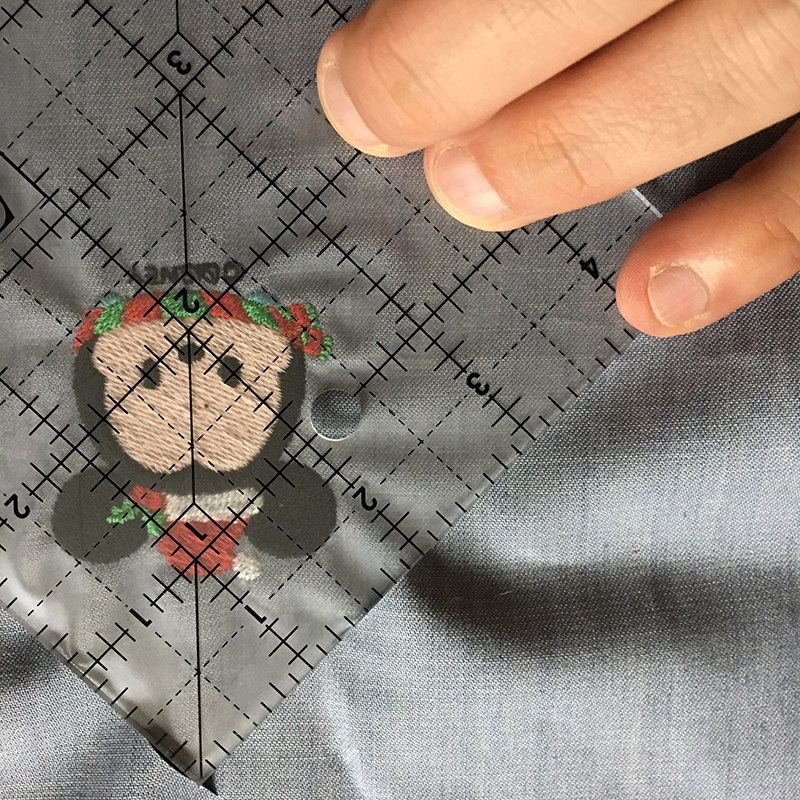
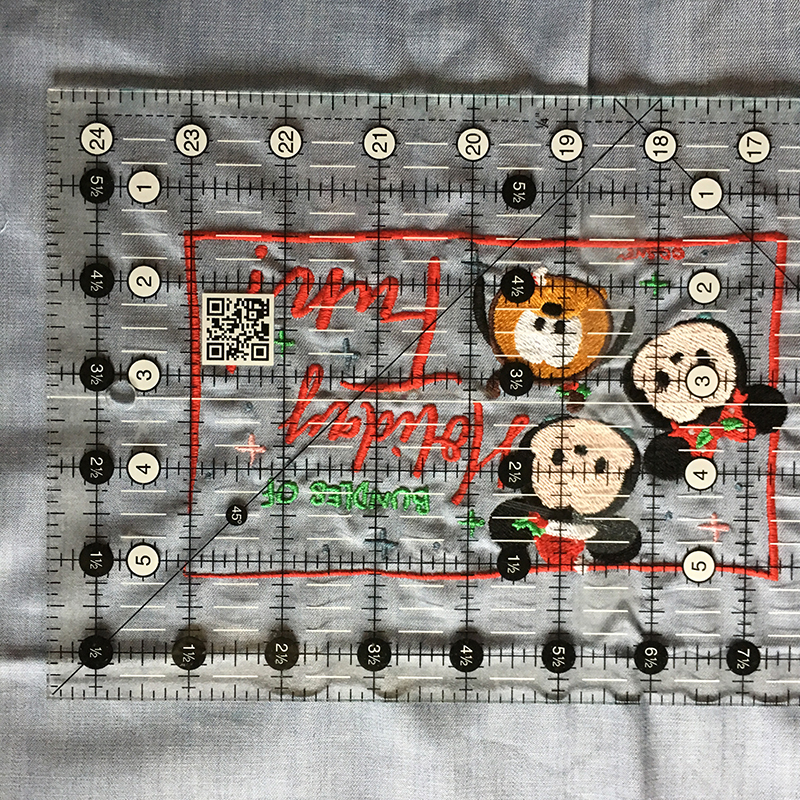
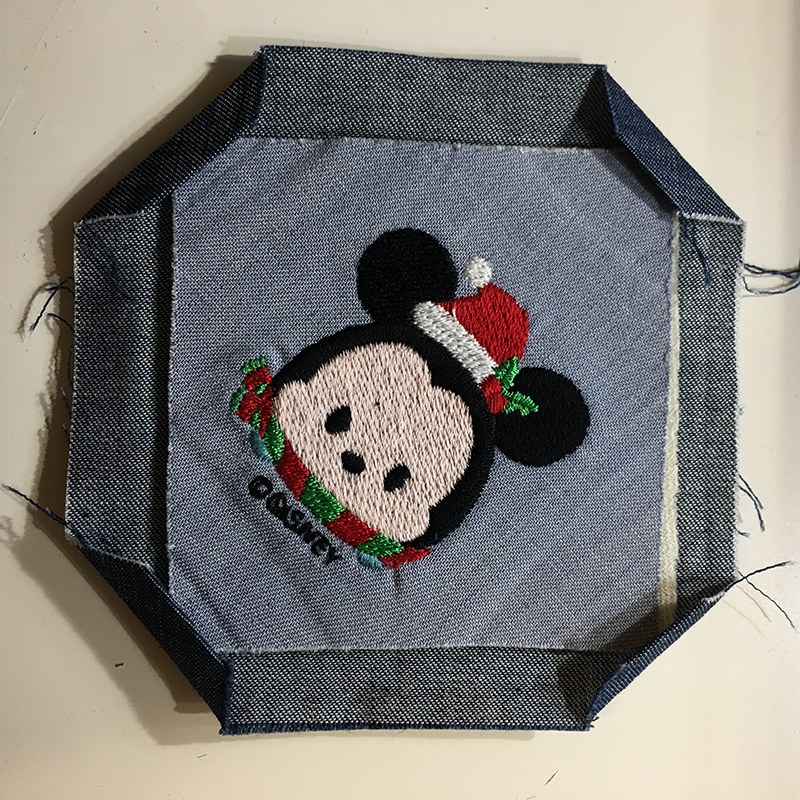
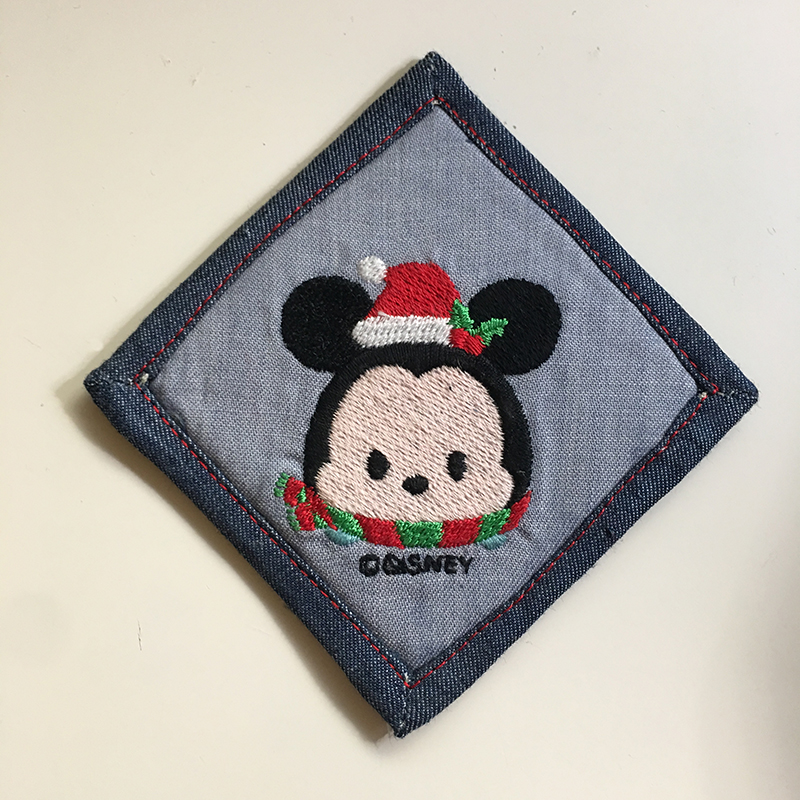
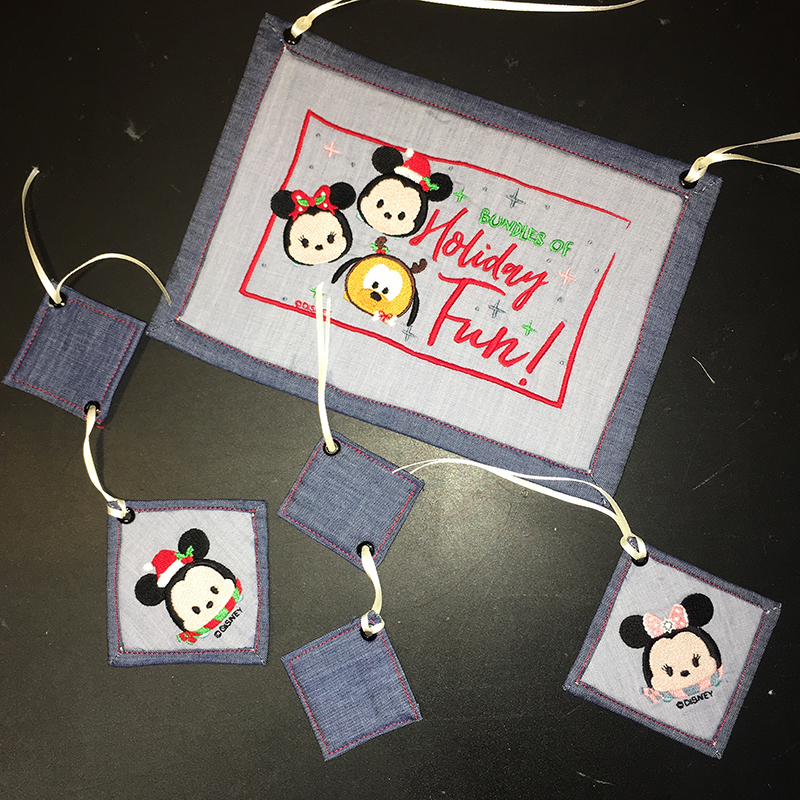
- Once I had all three designs embroidered in all their glory, I decided that I was going to create a decorative hanging with the larger design as the main piece and hanging diamonds including the Minnie & Mickey designs. So, I cut the smaller designs on a 3” diamond and the larger design 9.5” wide and 6.5” tall.
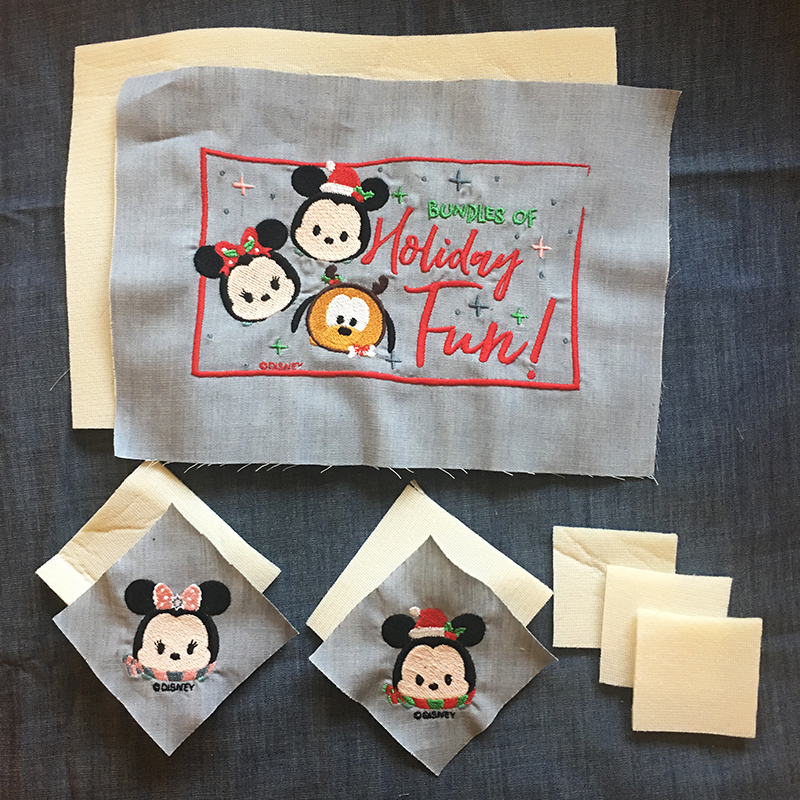
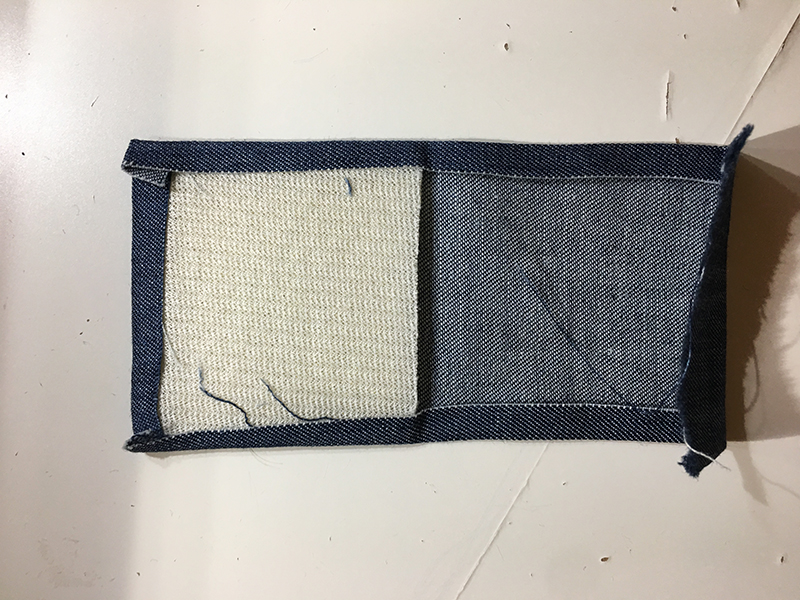
- With the embroidered fabric cut to their size, I cut the foam stabilizer to the same size and added three 2” diamonds. After fusing the embroidered fabric onto the foam stabilizer, I fused the other side of the stabilizer to my second fabric and trimmed around the edge (1/2” for smaller designs & 1” for large design).
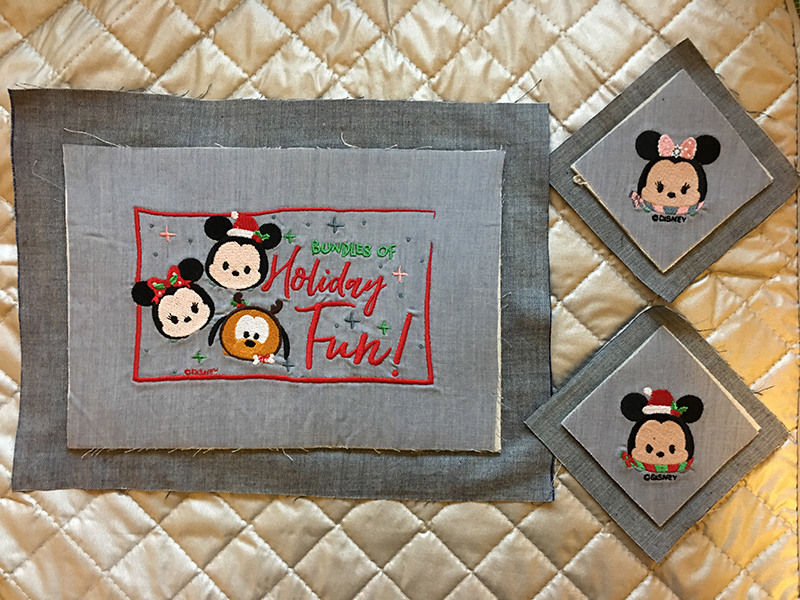
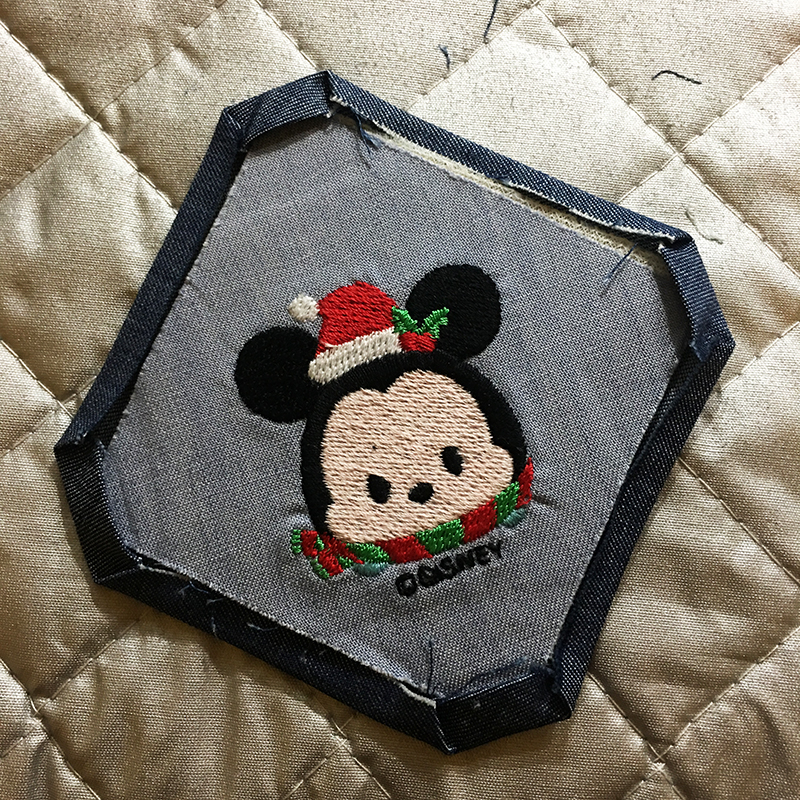
I followed the same process for “binding” the three designed pieces:
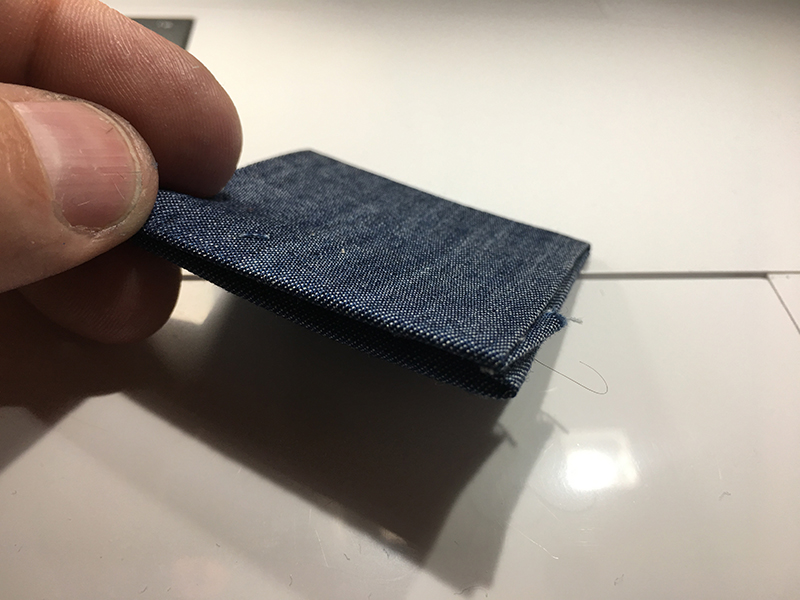
- Double fold and press the corners of the fabric, first to the edge of the stabilizer and then over the stabilizer and flush against the corner point.
- Double fold and press the edges in the same fashion. Use the fabric glue to set the second fold.
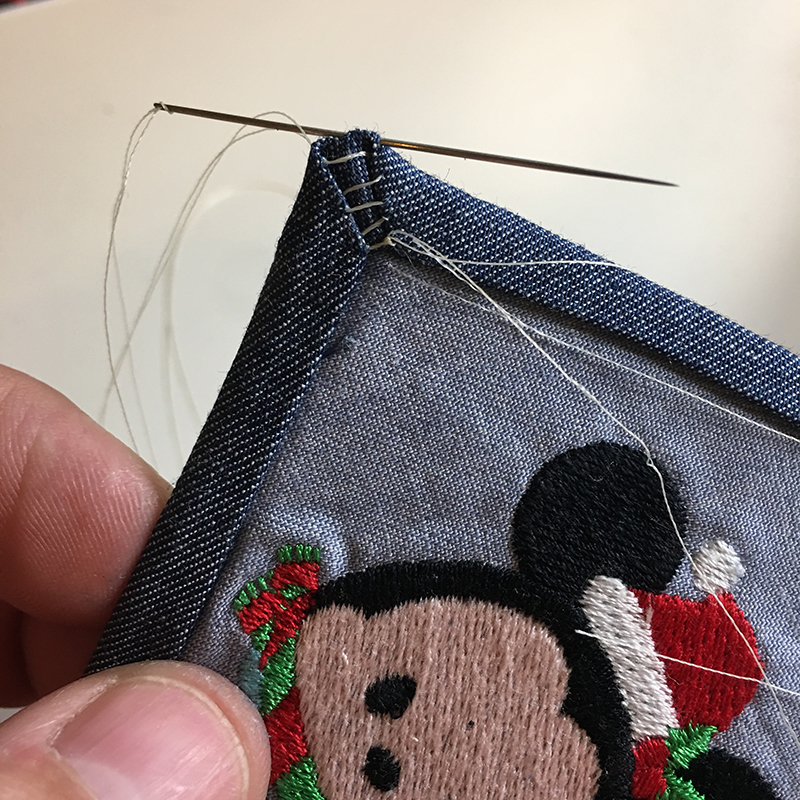
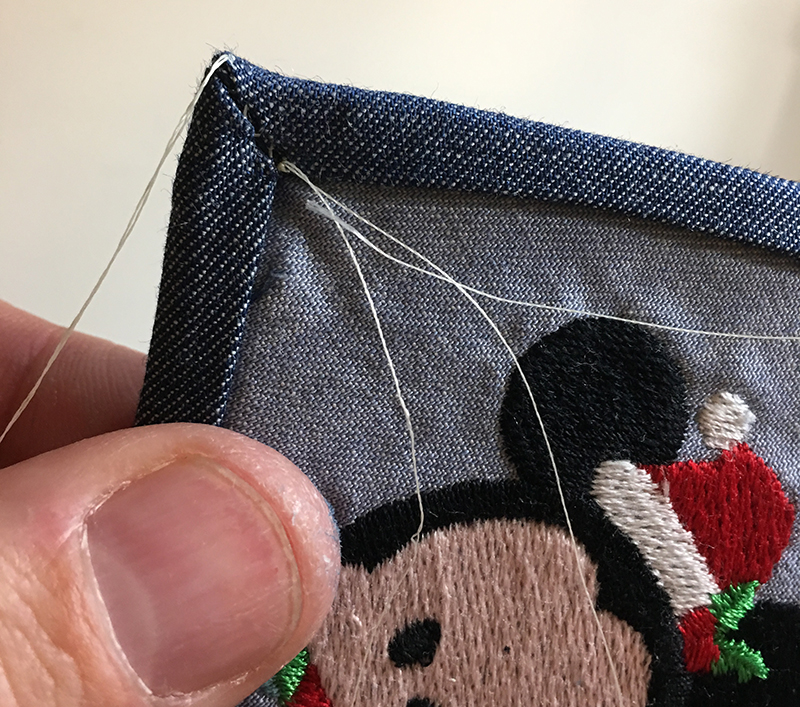
- Since the pieces and binding were too small for me to create a clean mitered edge, use a ladder stitch to tighten the corners.
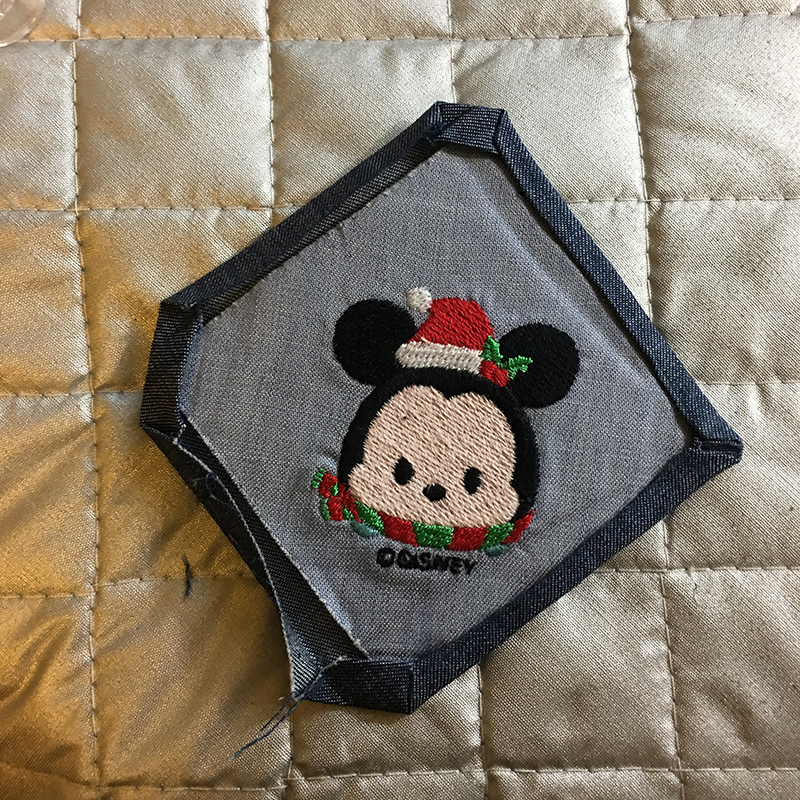
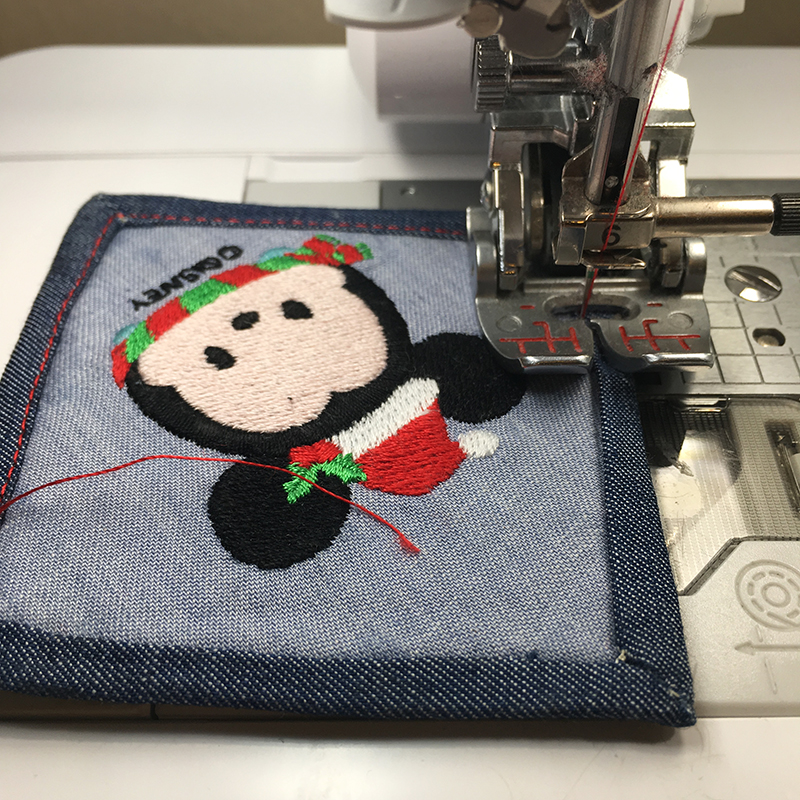
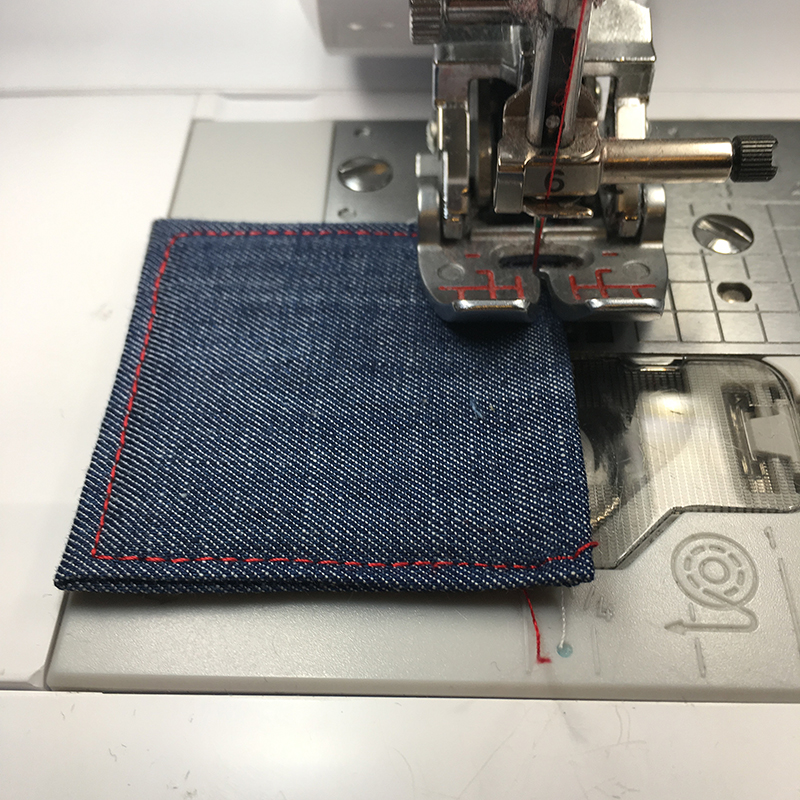
- Edge stitch the thread with a contrast thread of your choice.
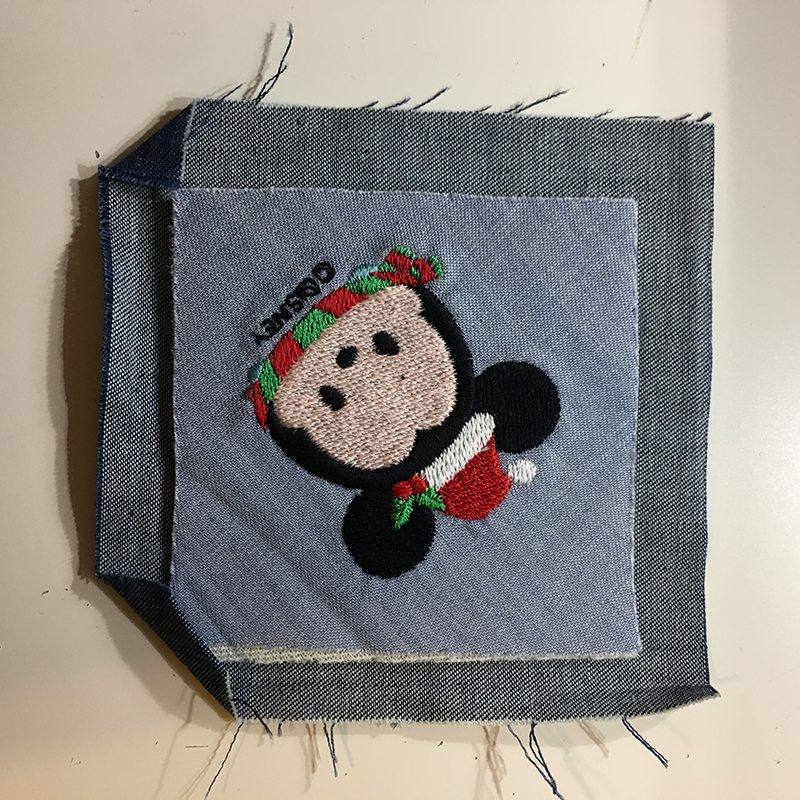
For the three smaller pieces, I followed a different process:
- Cut three pieces of the second fabric to 2.5” x 4.5”. Fuse the 2” diamond to the 1/4” from the edge of the fabric and fold & press the fabric over the stabilizer.
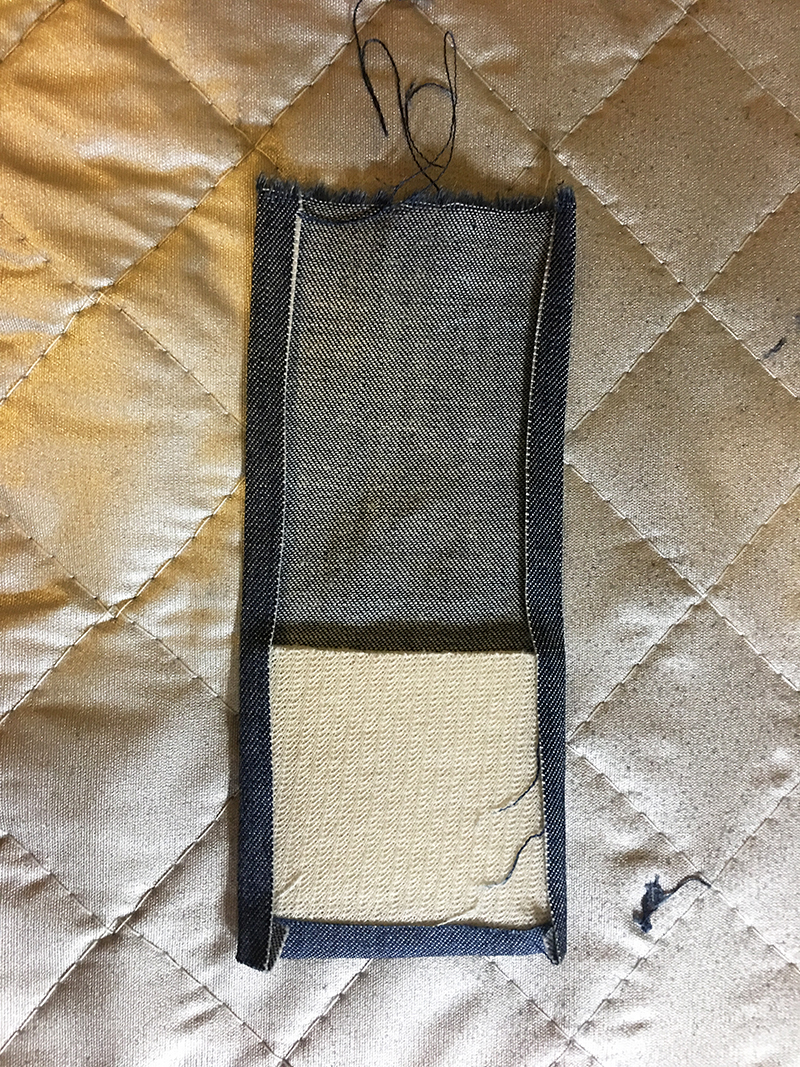
- Fold and press 1/4” on the opposite end of the fabric. Fold this over the stabilizer & fuse.
- Top stitch 1/8” from the edge.
Note: Now the use of grommets is totally optional. If you have grommets, attach them as seen in the picture below.
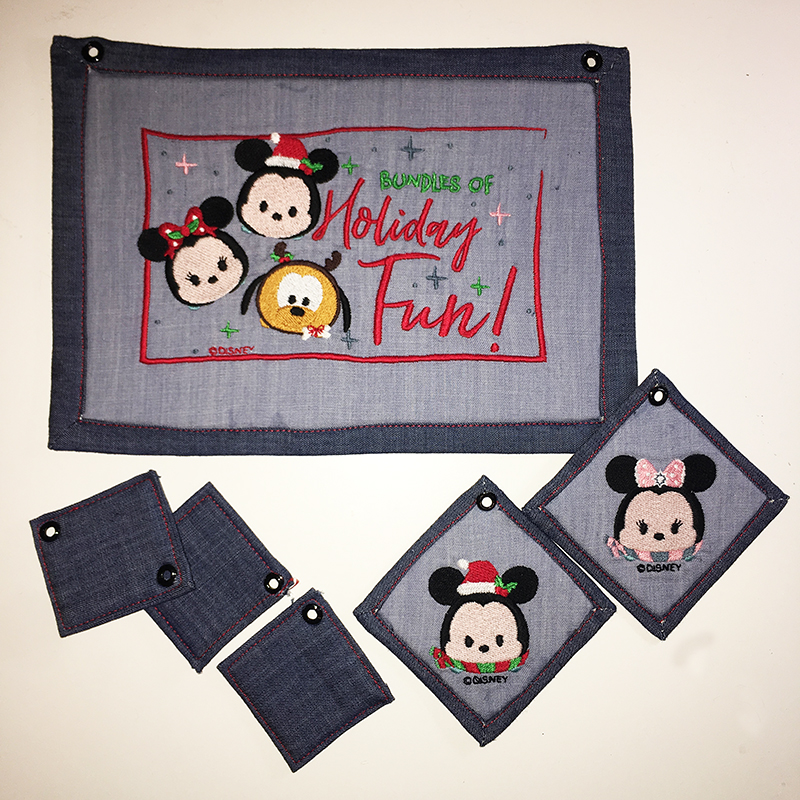 The cuts for the ribbon are 16” (left), 13” (center), and 10” (right). The ribbon for the top can be as long or short as you need them to tie in the center and hang. Loop the ribbon into the shapes as seen below.
Tip:To attach each strand onto the larger design, follow this process. If you don’t have grommets, this is an alternate way to attach the ribbon to the shapes.
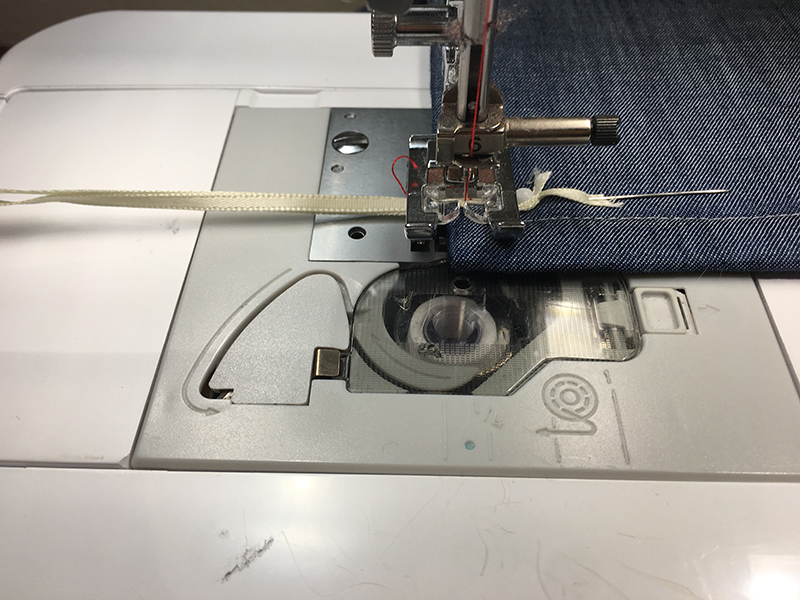
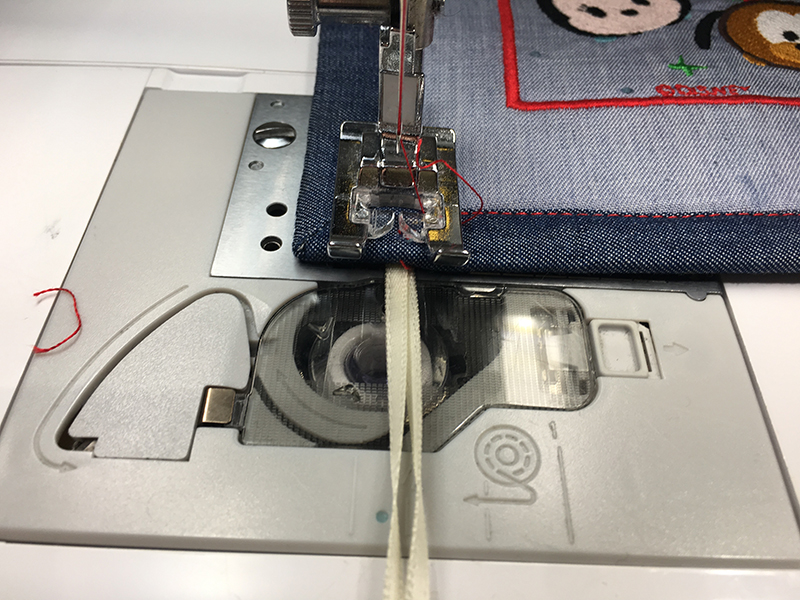
- Mark dots on the bottom back of the main shape at 1/2” inch from each side and the center. Flatten the two ribbons per strand and pin onto the back of the shape over the dot. Using a short stitch (0.2 length) stitch in place on the back.
- Flip over and, using a decorative stitch of your choice, stitch over the sew line from the back.
- After you’ve done this to all three strands, hang and enjoy. I hung mine on my front door, but it looks equally awesome on the wall.
 Happy holidays and keep it positive y'all!
Mister Domestic out.
Happy holidays and keep it positive y'all!
Mister Domestic out.
Related Projects
Stay Connected
* Required fields
Follow Us
- Product Support
- Product Support Assistant
- Terms of Sale
- Product-Registration
- Search Supplies/Accessories
- Ordering & Shipping Information
- Ordering & Account FAQs
- View Order Status
- Warranty & Extended Warranty Information
- Recall Information
- Return Policy
- Security Support Information(Opens in a new tab)
- Contact Brother
