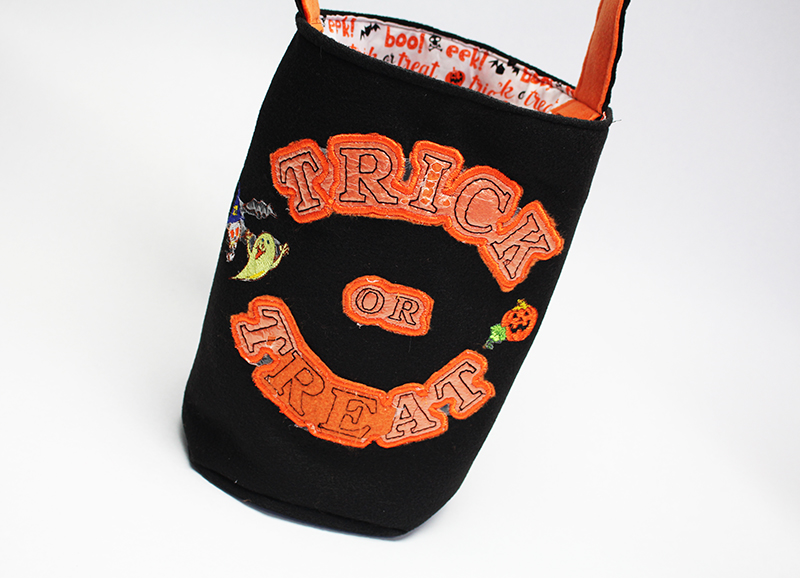
DIY Halloween Trick or Treat Basket
Go door-to-door and trick or treat in style with this super cute Halloween Trick or Treat Basket! In no time at all, your basket will be overflowing with plenty of candy goodness!
Machine:
Materials:
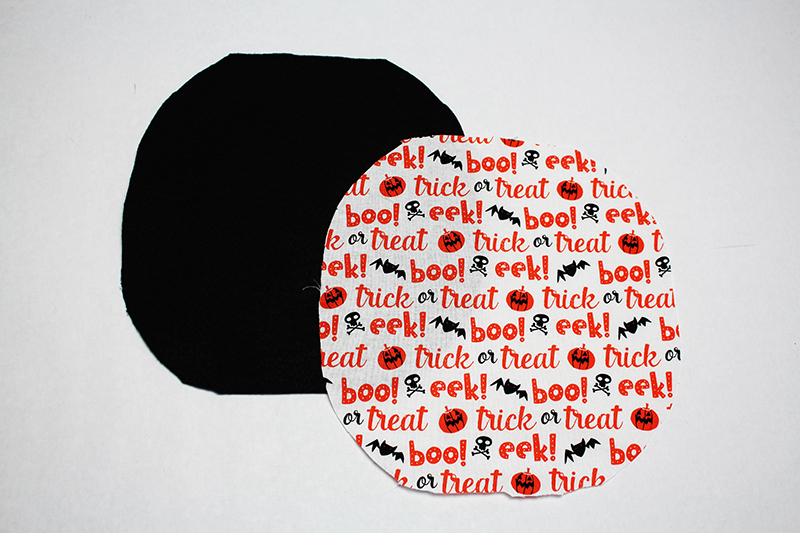
- Inside of bag: Cut 1 cotton fabric 27” by 14” and cut a 9” circle
- Outside of bag: cut 1 black felt 27” by 14” and cut a 9” circle
Strap:
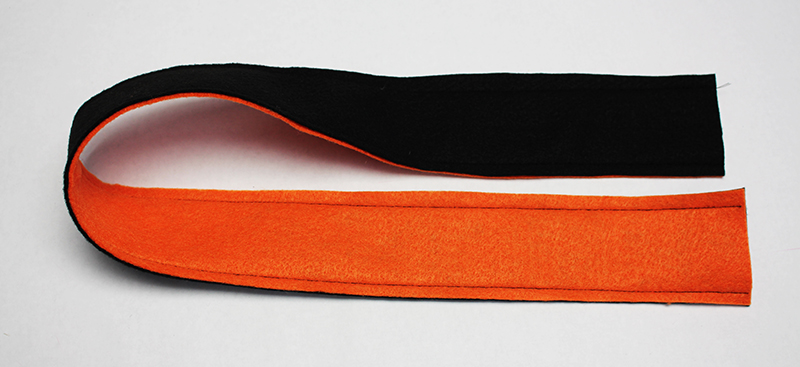
- cut 1 black felt and cut 1 orange felt 2 ½” by 19”
- cut 1 orange felt 1 19” by 11”
- Plastic or watersoluble embroidery stabilizer:
Cut 1 piece 19” by 11” - Medium weight Tear-away adhesive embroidery stabilizer
- Halloween embroidery designs from ibroidery
- Embroidery thread
- Universal thread for sewing bag
- Faux fur or feather trim (optional)
Embellishing the bag with Applique & Embroidery
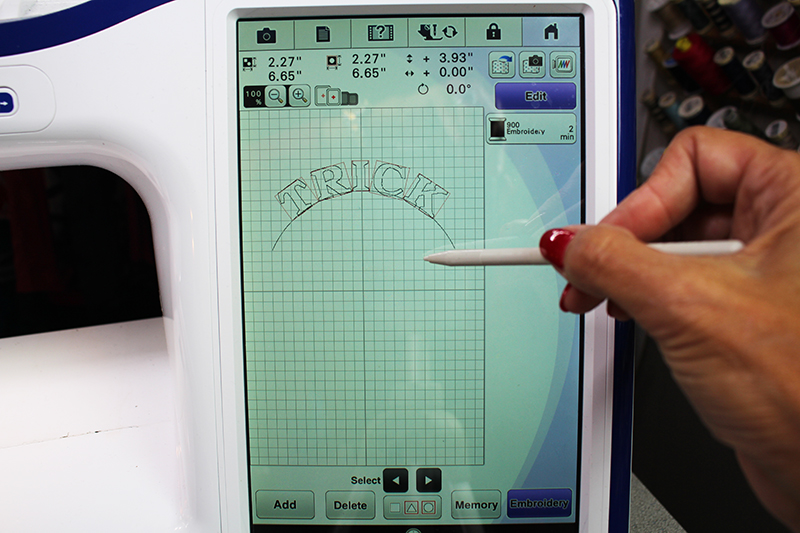
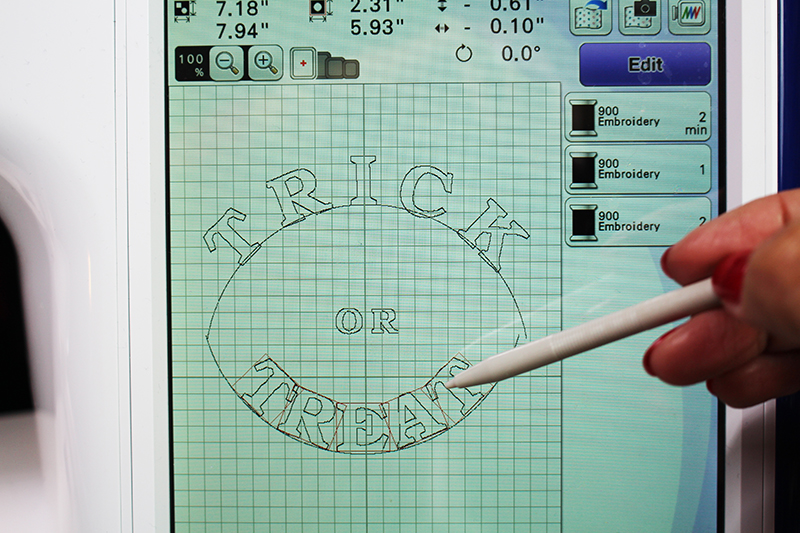
Set up Embroidery: Go to the embroidery screed and type in letters “TRICK”. Click the ARRAY.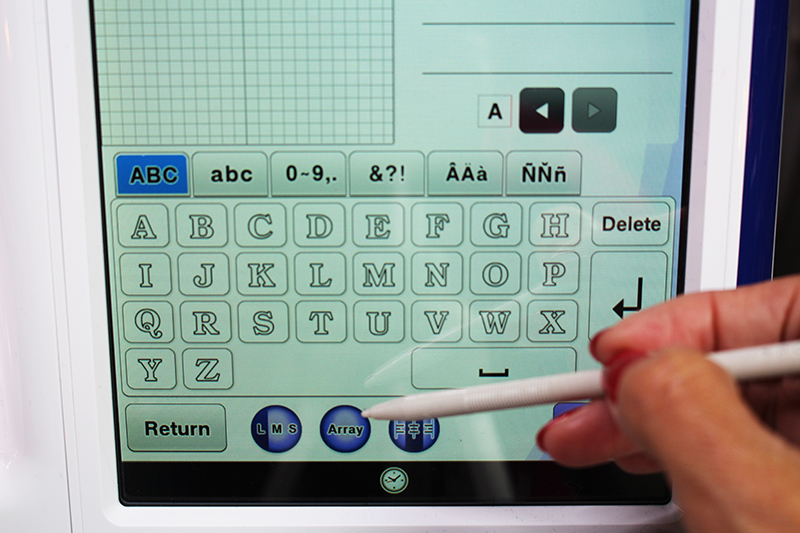 Change the word into a semicircle.
 Move the letters into the upper section of the embroidery screen.
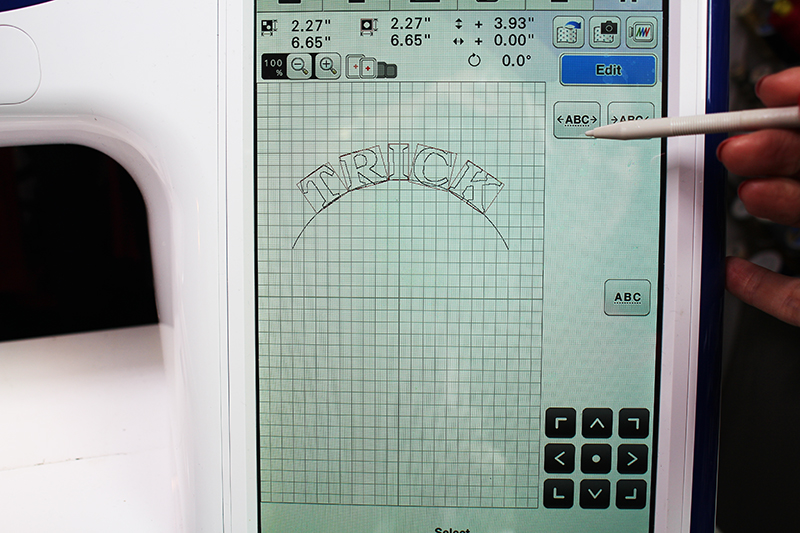
 Edit the letters a little more by spreading the letters out. This will give us a little more room for the appliqué.
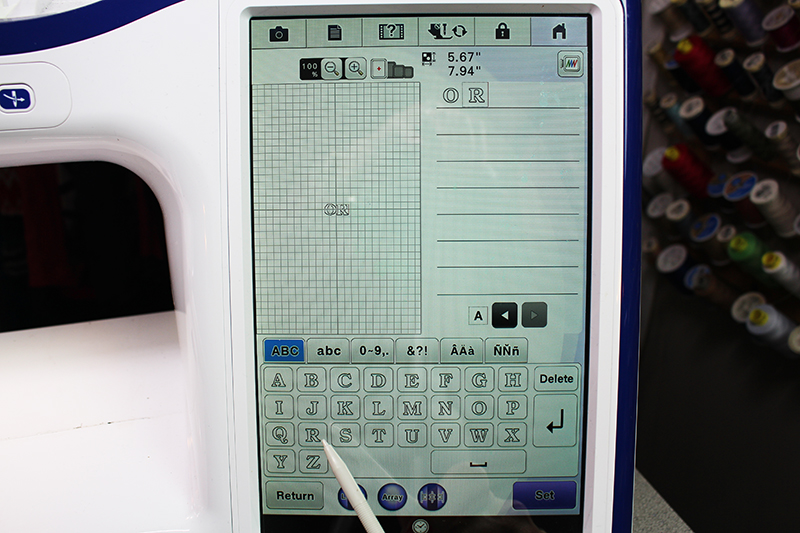
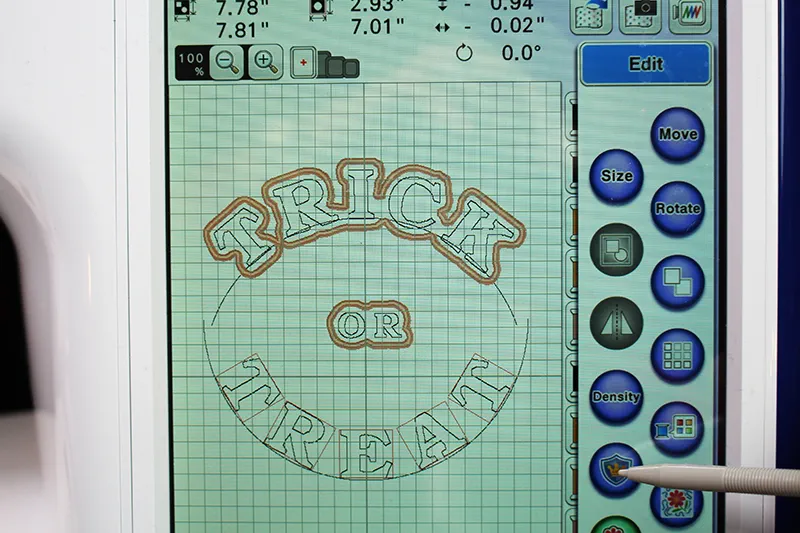
 ADD the letters “OR”.
 ADD the letters “TREAT”. Click on ARRAY to alter the curve of the word and spread the letters out.
 Create an Applique: Click on each word and click the applique icon. This will create an appliqué design around the entire word.
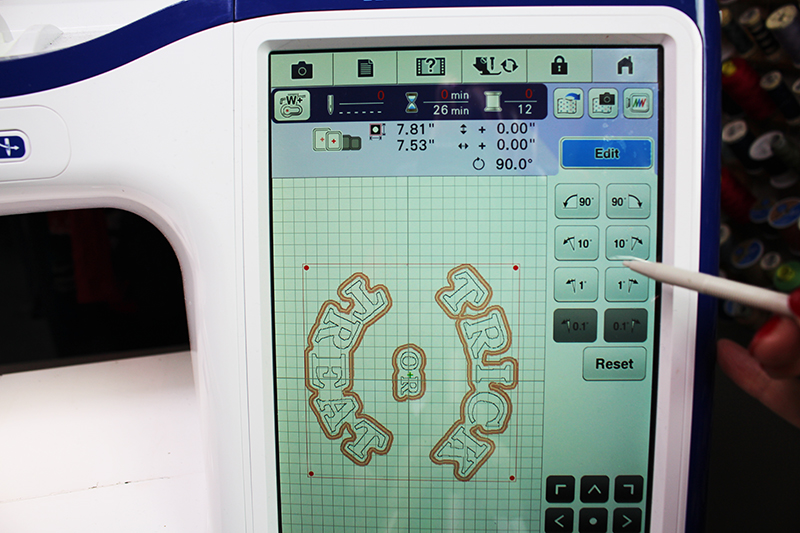
 Click on EMBROIDERY. Rotate the entire design as shown.
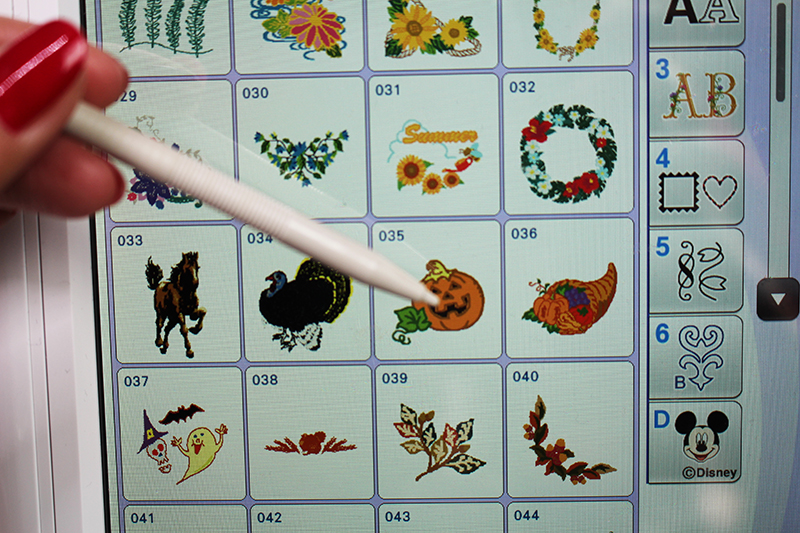
 Add a Halloween embroidery design from the machine or one you downloaded from iBroidery.com.
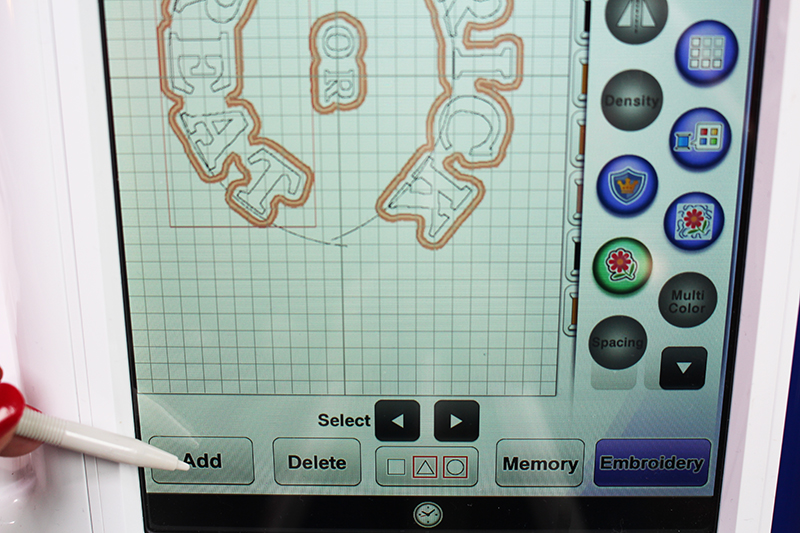
 Continue to add designs. Rotate the designs and move them outside of the lettering.

Embroidering:
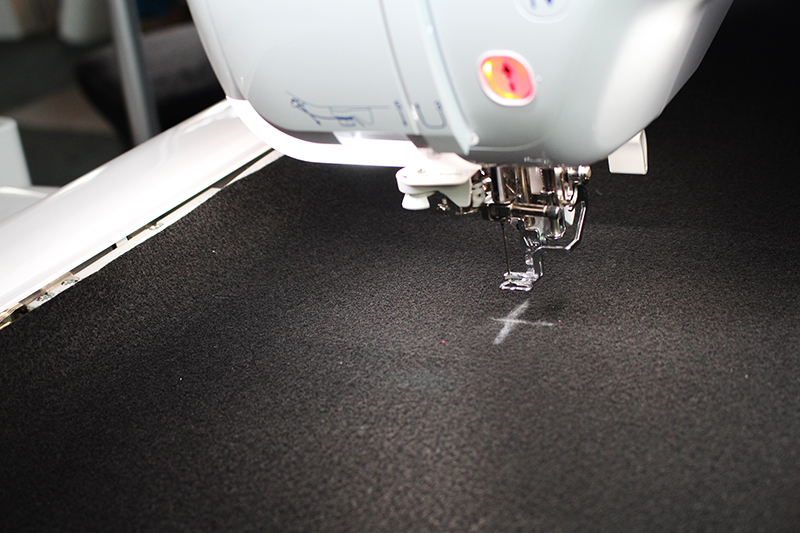
Hoop the Medium weight Tear-away adhesive embroidery stabilizerScore the paper. Mark the center of the piece of 27” by 14” black fleece fabric and place on top of the hoop as shown. Scan the fabric into Brother’s THE Dream Machine,
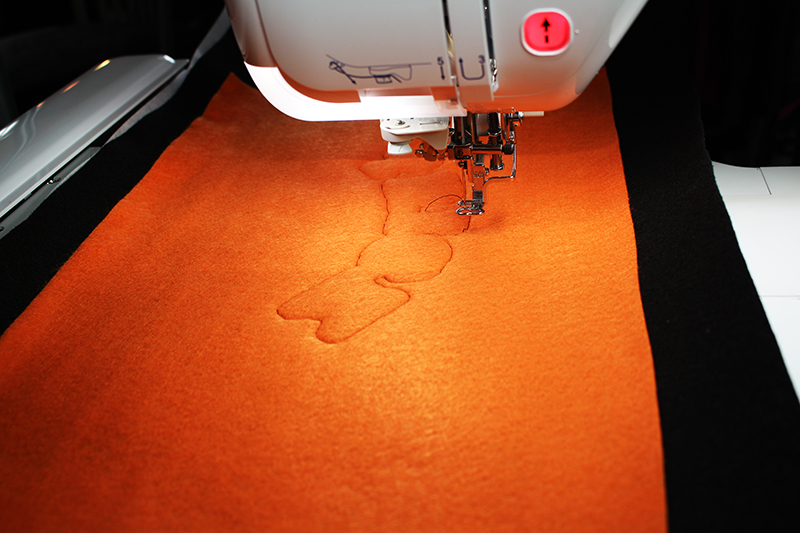
and center the design. Place the orange felt over the hoop in the embroidery area. Skip ahead in the embroidery order and embroidery only the applique outlines.
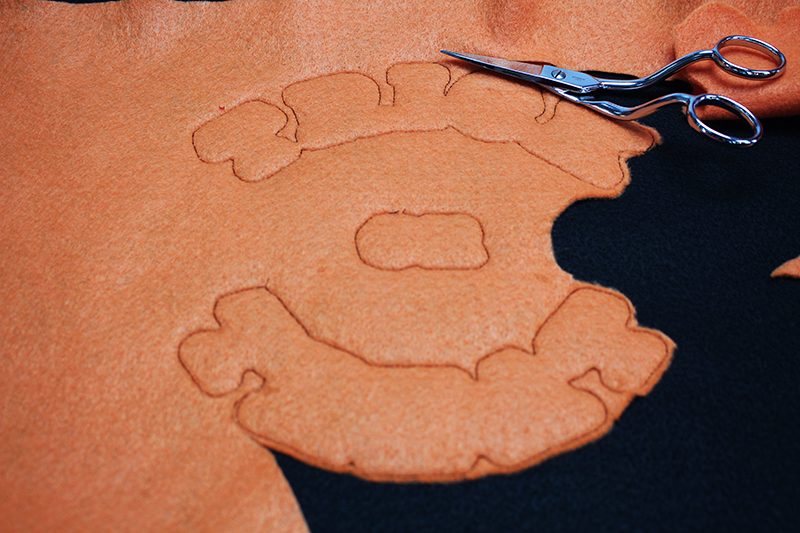
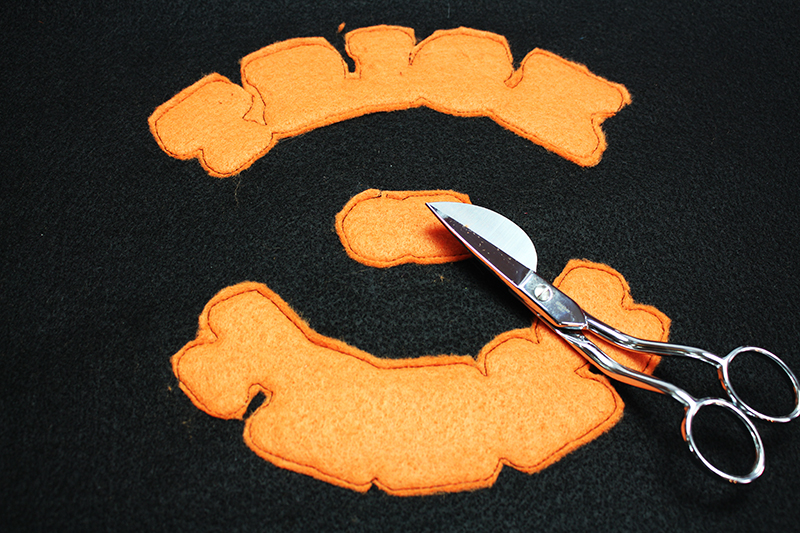
 Remove the frame and trim around the applique stitches.
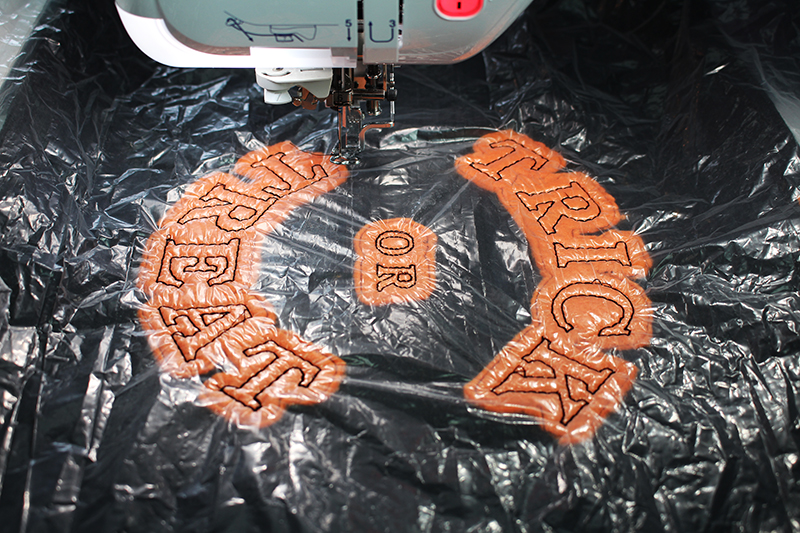
 Replace the hoop. Layer a piece of plastic or water-soluble stabilizer (the plastic prevent the stitches from getting lost in the fluffy felt fabric). Start by skipping through the designs and embroider the letters.
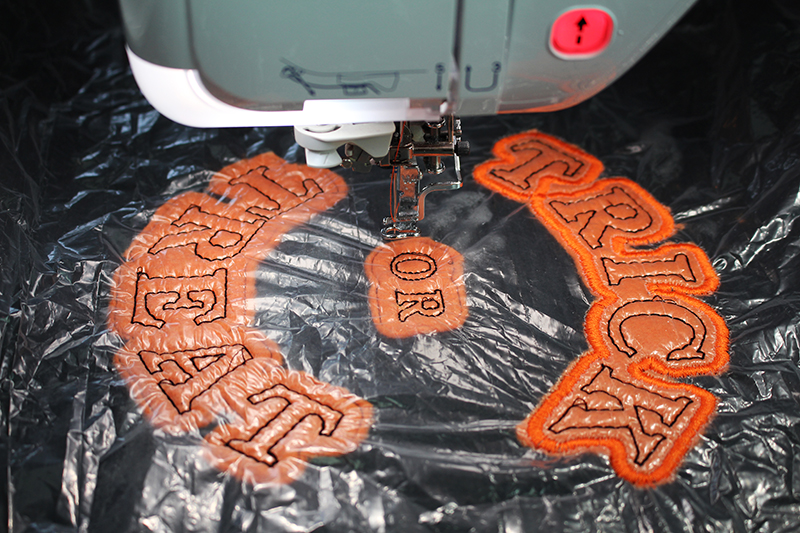
 Skip through the designs and embroidery the outside finishing stitches on each of the appliques.
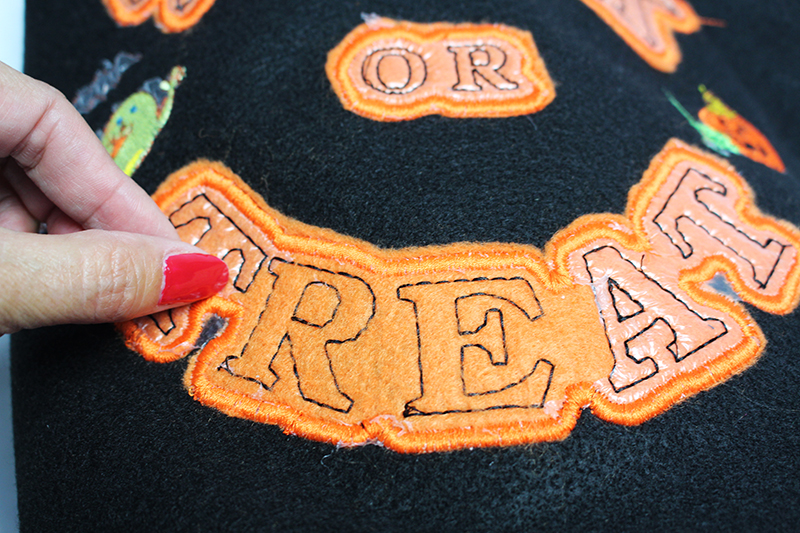
 Continue to embroider any extra designs you might have added. Remove the hoop, tearaway the stabilizer on the back side, and pull away the plastic on the front side.
Sewing the Bag
Take the felt piece and fold in half the longwise. With right side together stitch along the 14” side and press the seam open. Do the same with the lining piece.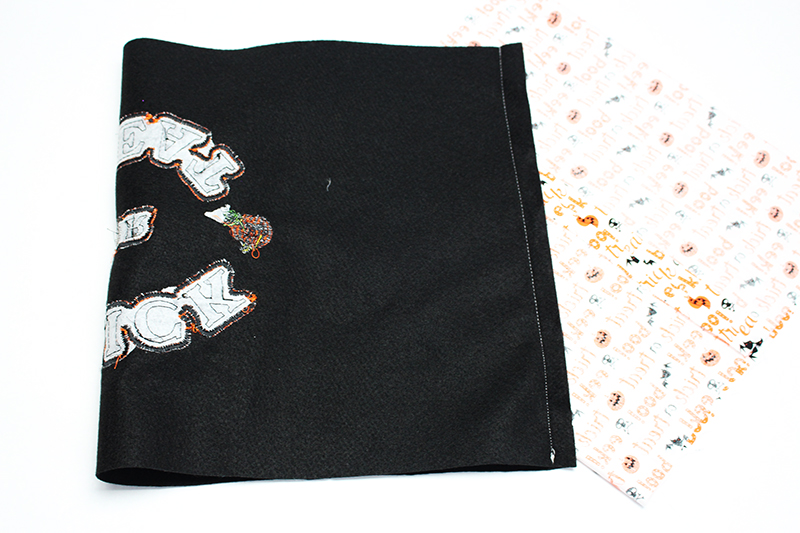 Pin one of the openings in the felt fabric to the circle piece. Stitch with 1/2” seam allowance. Do the same with the lining pieces. Turn the felt bag right side out.
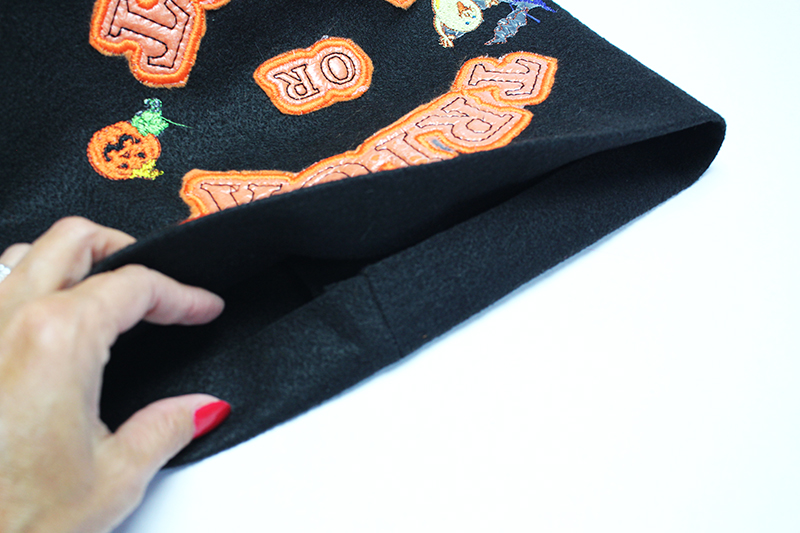
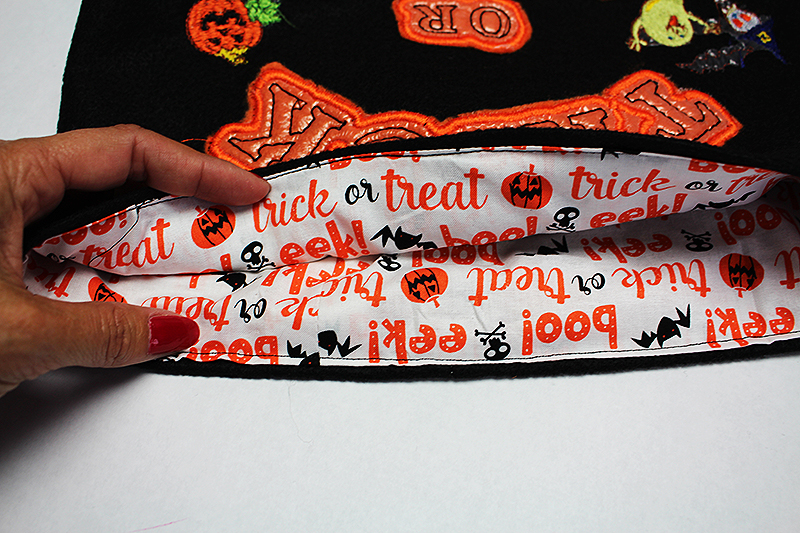
 Turn the top edge of the felt bag down 1” (toward the wrong side of the fabric) and press. Do the same thing for the lining. Slide the lining inside the bag and pin the top folded edges together.
 Top stitch along the edge attaching the lining to the bag.
 Sew the straps: layer the orange and black strap fabric pieces. Felt fabric won’t fray, so there’s no need to finish the edges. Instead, stitch ½ inch from each edge.
 Locate the sides of the bag, and pin each end of the strap inside the bag. Stitch along the top edge of the bag to secure the strap.
 That’s it! 😊 Now I will pull away all the plastic from the lettering, although I could leave it because it has a cool shiny look. If you have faux fur or feathers, attach them to the top edge of the bag. My faux fur boa is real thick so I will either hand stitch or use a glue gun to keep it in place.
 Now, fill the basket with your favorite treat and you are all ready for Halloween!
Cheers,
Angela
Now, fill the basket with your favorite treat and you are all ready for Halloween!
Cheers,
Angela

Related Projects
Stay Connected
* Required fields
Follow Us
- Product Support
- Product Support Assistant
- Terms of Sale
- Product-Registration
- Search Supplies/Accessories
- Ordering & Shipping Information
- Ordering & Account FAQs
- View Order Status
- Warranty & Extended Warranty Information
- Recall Information
- Return Policy
- Security Support Information(Opens in a new tab)
- Contact Brother
