DIY Monogrammed Sweatshirts
~Laura Pifer, Brother Sews Ambassador
Take a plain sweatshirt to the next level of style with machine embroidery. From monograms to fun designs, you can customize this cozy wardrobe essential for yourself and others. These DIY monogrammed sweatshirts make great gifts for family and friends alike! Check out the tutorial below on how to embroider a sweatshirt with your Brother embroidery machine.
Supplies: -Pacesetter Cut Away Stabilizer
-Brother PE800
-Temporary Spray adhesive for embroidery -5 x 7” hoop -Clips (hair clips) -Fabric marking tool -Embroidery designs
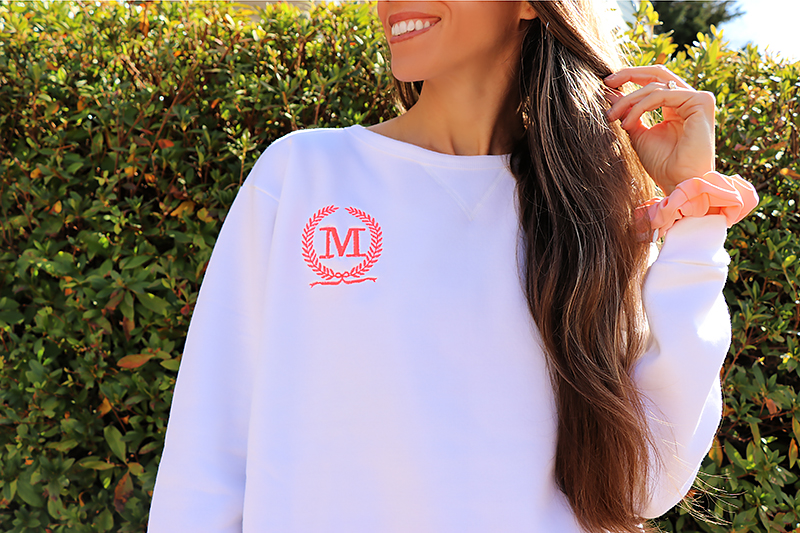
Step 1 Always prewash your garments before embroidering. Lay out the sweatshirt and mark the location you want the monogram with a fabric marking tool. It’s a good idea to print out a template or create a sample stitch out to figure out your preferred placement. Traditionally, a monogram is embroidered 6.5”- 7” down the left shoulder seam.
However, I did one on the right shoulder seam that came out great! I also like to place the monogram in the center front as well (typically 3” down from the center neckline line).

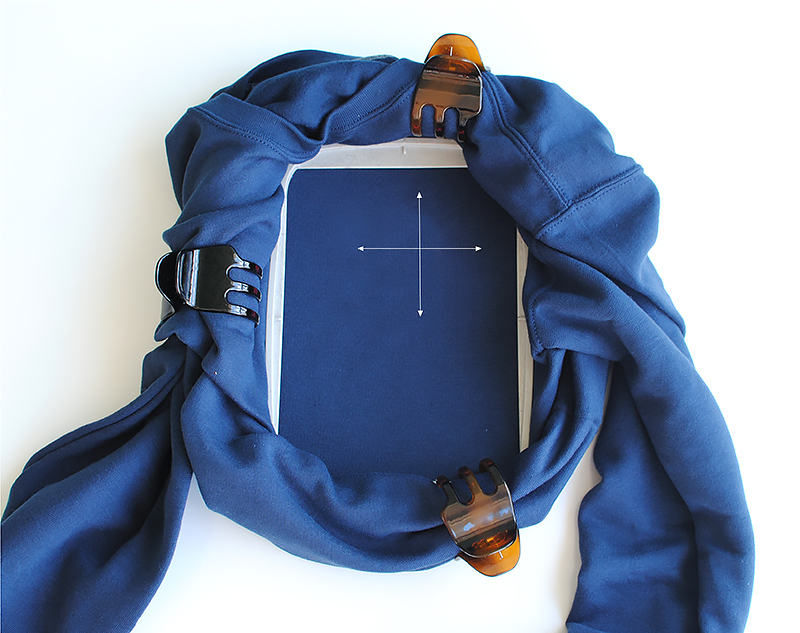
Once you find the location you want, mark the center, vertical, and horizontal locations (basically create a rectangle). I like to create a cross and center the design at the center of the cross where the lines intersect. Mark what works best for you.
Step 2 Flip inside out.
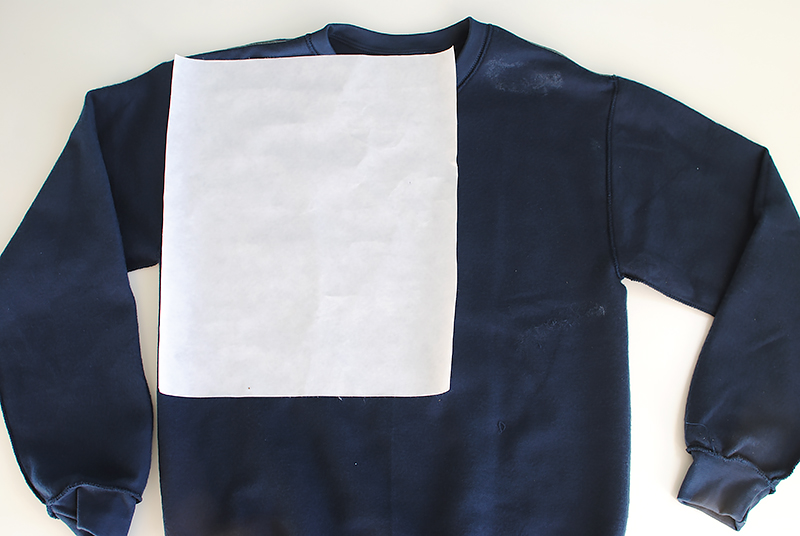 Use a Cut Away stabilizer that will cover the embroidery area and hoop size. Spray with a temporary spray adhesive and press onto the area that will be embroidered. I use Cut Away stabilizer on sweatshirts because they’re worn and washed often. This will help the embroidery last a long time compared to other stabilizers.
Step 3 Flip right side out.
 Place the outer hoop inside the sweatshirt and put the inner hoop on the top, making sure the design is centered in the hoop.
Step 4
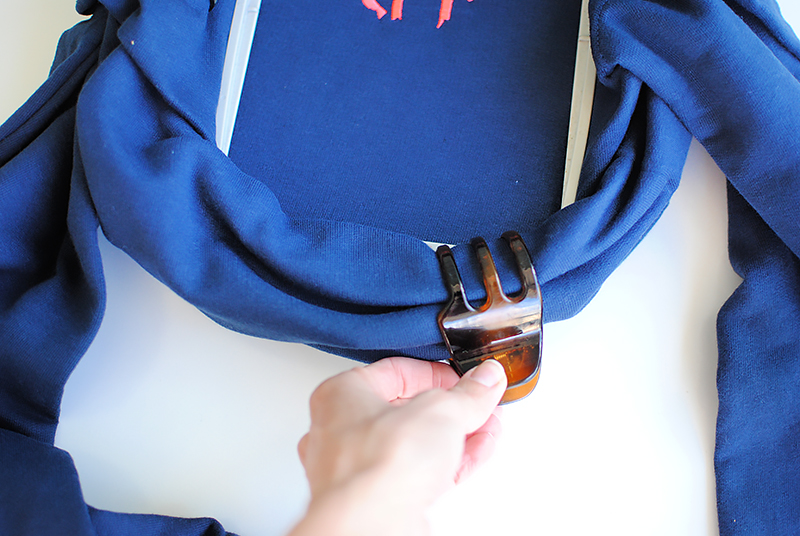 Roll the excess material towards the outer hoop and away from the hoop area. You can use clips to keep the excess material in place (I use hair clips, an embroidery tip I got from a friend).
Step 5
 Create your monogram. You can create your own or use the built-in ones that the Brother Machines offer. I used this
 circle monogram and the Brother Free Design of the month Joanne shared on her hand warmers blog
. My designs measured about 3 x 3 “.
You can use software to create your design and lettering, or just piece it together on the Brother Touch Screen. I have the Brother PE800, which makes it easy to add and edit designs right on the screen.
Step 6 Embroider away!
 Once your embroidery is complete, turn the shirt the wrong side out and cut away the stabilizer. I typically cut it about ¼’ away from the design. Over time and after multiple washes, the stabilizer will soften.
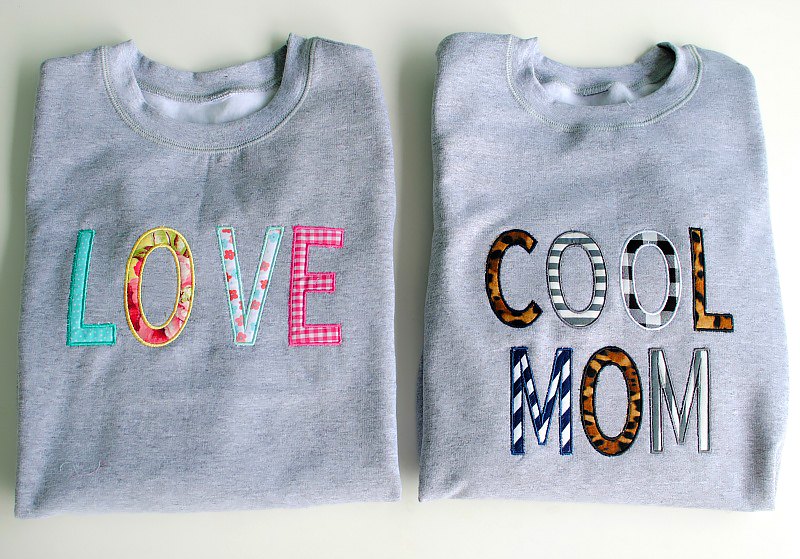
Other examples / Valentine theme (optional images) I hope this inspires you to give embroidery a try on your garments. It’s a great way to upcycle old t-shirts, sweatshirts, and denim jackets
. Here are a couple other examples.

Tags
Shop this Project
Have you ever seen a project (like this one) and said, 'I want to try that?' Well, Brother has you covered! The products in this fun project are available for purchase, so you can click, shop, and get to embroidery!

Embroidery Machines
Related Projects
Stay Connected
* Required fields
Follow Us
- Product Support
- Product Support Assistant
- Terms of Sale
- Product-Registration
- Search Supplies/Accessories
- Ordering & Shipping Information
- Ordering & Account FAQs
- View Order Status
- Warranty & Extended Warranty Information
- Recall Information
- Return Policy
- Security Support Information(Opens in a new tab)
- Contact Brother
