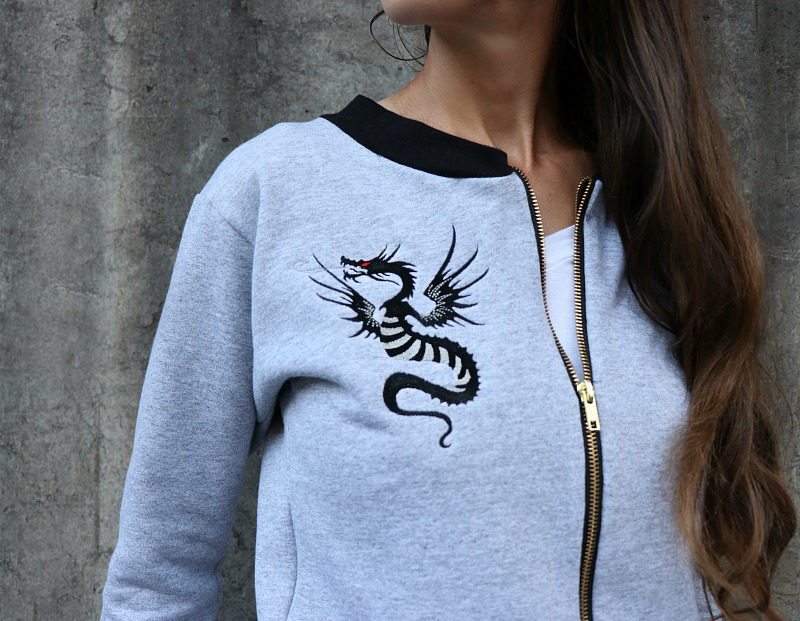
DIY Refashion Sweatshirt to Bomber Jacket
 I recently got the new Brother SE1900 Sewing and Embroidery Machine
and love the versatile built-in designs offered. From lovely florals to cool dragons and lizards, my boys and I were having fun thinking of everything we could embroider on. I’ve always wanted a dragon embellished bomber jacket and so I decided to start with this design. Although, I couldn’t find a grey one that would go well with the black dragon so in true Trash to Couture fashion, I decided to make one from a sweatshirt. The sweatshirt had a nice weight to the material and would do well with a dense embroidery design. I also wanted an excuse to test out the sewing capabilities of the SE1900 and let’s just say it’s my favorite! In this tutorial, I show you how to add band hems to the edges and sew a zipper down the center front to create a jacket. Get the details below on how to refashion a sweatshirt into a bomber jacket below.
Supplies:
- Brother SE1900 Sewing and Embroidery Machine
- Sweatshirt
- 1/2yd rib knit
- General cutting and measuring supplies
- Separating zipper the length of your jacket. I used a 20” zipper.
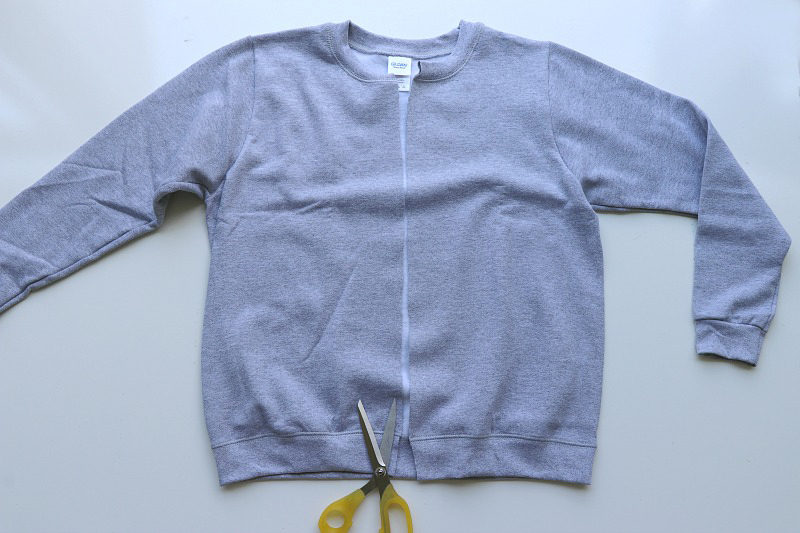 Step 1[/caption]
- Cut the center front of the bomber jacket from the bottom hem to the collar. You can easily get this by folding the sweatshirt in half and pressing with an iron the center mark.
 Step 2[/caption]
[caption id="attachment_16430" align="aligncenter" width="800"]
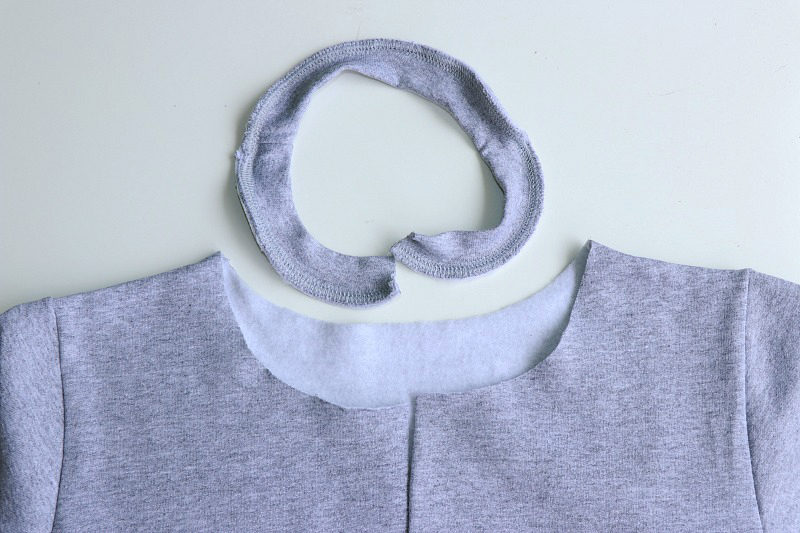 Step 2b[/caption]
- Remove the bottom band hems (sleeves/bodice) and collar just along the stitches. This is optional, but I wanted to add a contrasting color to the grey sweatshirt. A classic bomber jacket typically has a contrasting color for the band hems.
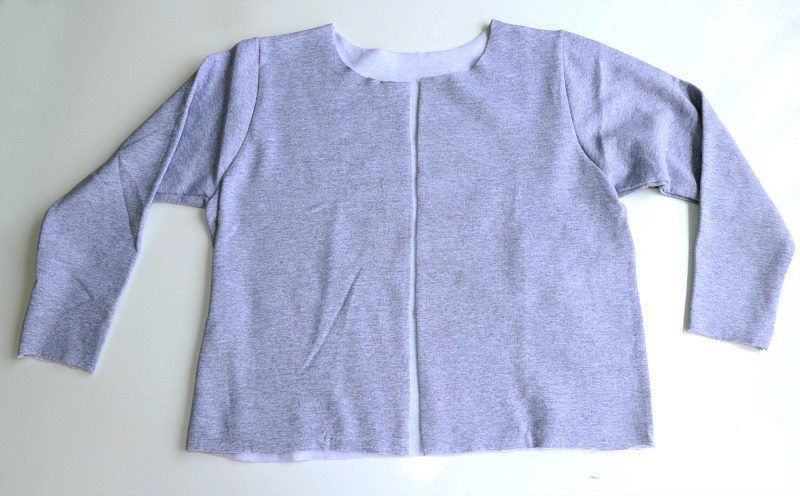 Step 3[/caption]
- It will look something like this:
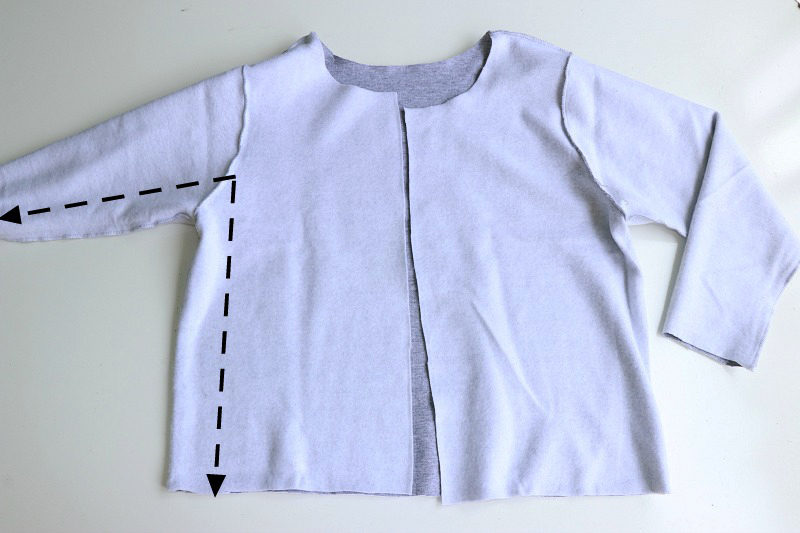 Step 4[/caption]
- From this point, I had to take in the side seams and trim the hem up a bit as it was a really oversized sweatshirt.
- Flip right sides out, pin how much you’re taking in. Sew with right sides together. Trim down seams allowance.
Tip: I like to sew from the underarm seam down to the bottom edges. When refashioning garments this helps keep the underarm seam even. It’s much easier to adjust the bottom edges by cutting them rather than unpicking it all together because the underarm seam is off.
[caption id="attachment_16433" align="aligncenter" width="800"] Step 5[/caption]
- Optional: For the collar it was still a bit large, so I found the center back along the neckline and folded 2 even pleats about an inch each in length and edge stitched them into place with a zigzag stitch.
- This helps take in the neckline a couple inches without having to create a center back seam or take in the shoulders.
Sleeves
[caption id="attachment_16434" align="aligncenter" width="800"] Step 6[/caption]
- Measure the bottom edge of the sleeves and subtract 1”. Cut a strip of rib knit or you can use elastic (making sure the lines in the fabric are running vertical) that measures the above measurement in length and 4” in width.
 Step 6b[/caption]
- Place the rib knit strip right sides together and sew. Fold over so wrong side is incased and you just created the band hem for the sleeves.
 Step 6c[/caption]
- Place right sides together: The folded edge should be away from the raw edge. You will want to pin the seam of band-hem to seam of sleeve. It’s a good idea to pin at half way points. The band-hem will be slightly shorter so you will need to pull the band hem as you sew to fit around the sleeve edge. This is a good time to use your free arm.
- Repeat for the other sleeve.
 Step 7[/caption]
- For the bodice band-hem: Measure the bottom opening from center front around and back to center front. Take this measurement and subtract 4”.
- Cut a strip of rib knit that measures the above in length and 4 ½” in width.
 Step 7b[/caption]
- Fold in half creating a band-hem.
- Place right sides together so the raw edges are all together (should be 3 layers) and folded edge is away. Pin matching quarter marks of the garment and the quarter marks of the band-hem. This will help you evenly pull the band-hem while sewing.
 Step 7[/caption]
- Sew (¼” SA) starting at the center front and going all the way around back to the center front. As you sew you will pull the band-hem to slightly.
Collar
[caption id="attachment_16440" align="aligncenter" width="800"] Step 8a[/caption]
- For the collar: Measure the opening and subtract 2”.
- Use this measurement for your length and the width is going to be slightly shorter at 2.5” since it’s the collar.
- Notice I cut the band-hem for the collar with a slant on each end. To create this cut a slant about 1.5” out on each end.
 Step 8b[/caption]
- Fold the strip of rib knit in half and place right sides together along the collar repeating the above steps.

- The project should now look like this. All that is left to do is add the zipper.

Adding the Zipper
Choose a separating zipper that measures the length of your center front. If you can’t get the exact measurement, you can cut at the top of the zipper to the proper length. You will need to sew a new stopper using the zigzag stitch along the zipper teeth. You can also use pliers and remove the zip stopper and add it in the proper place.- At this point you can just top stitch the zipper directly on so the tape is exposed for a more contrasting zip front.
 Step 1[/caption]
- Or… Open the zipper and place the left side on the left side of the garment so right sides are together. Pin into place.
 Step 2[/caption]
- Use your zipper foot and sew about 1/8 away from the zipper teeth.
- Repeat for the other side.
