DIY: T Shirt to Long Sleeve Raglan
Hello fellow sewing community, Laura here from Trash to Couture.
When I first learned to sew, my favorite projects were upcycling old clothing. I found it to be an easier and sustainable way to sew rather than starting from scratch every time. This project is a refashioned t-shirt raglan I initially designed for my kids when we lived in Colorado. They grow up so fast that by the time they were ready to wear that favorite t-shirt again, it was too small. Adding sleeves assures they can at least wear it through winter and spring. I also like to use it for a boxy fitted t-shirt and take in the sides along with it. Find a fun print or a bold color to create a one-of-a-kind look. Get the details below on how to sew your own raglan top.
Supplies:
- Brother SE1800 Sewing and Embroidery Machine
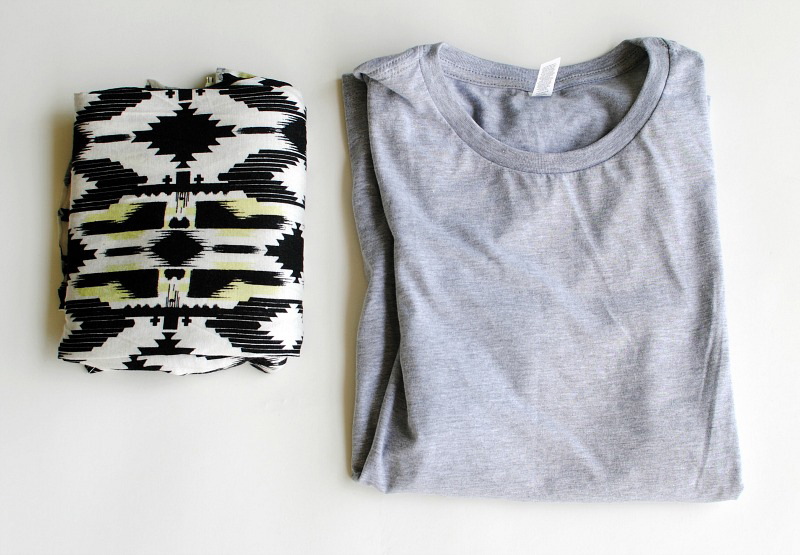
- t-shirt
- ¾ yard of knit fabric (preferably with 4-way stretch)
- Grid ruler
- Rotary cutter and mat or scissors
- Fabric marking tool (tailors chalk)
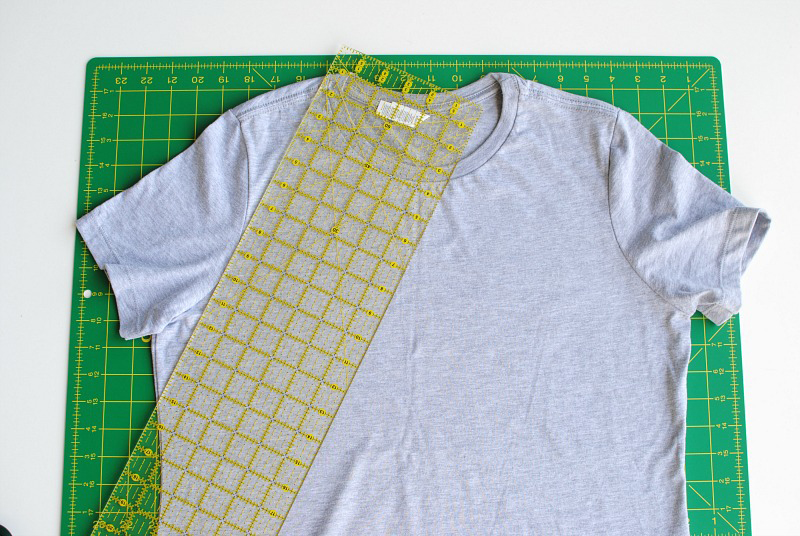
- Use a ruler and mark with a fabric marking tool a line that goes from just under the arm to about 1" out from the collar.

- Cut along this mark.
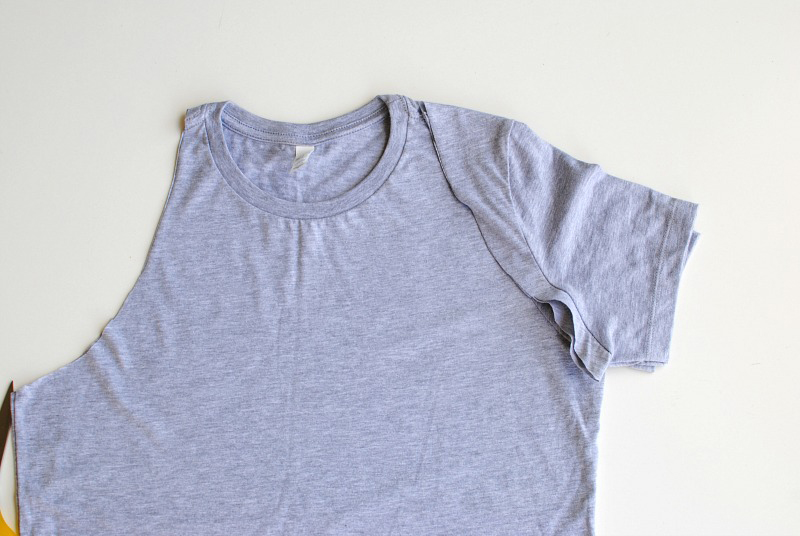
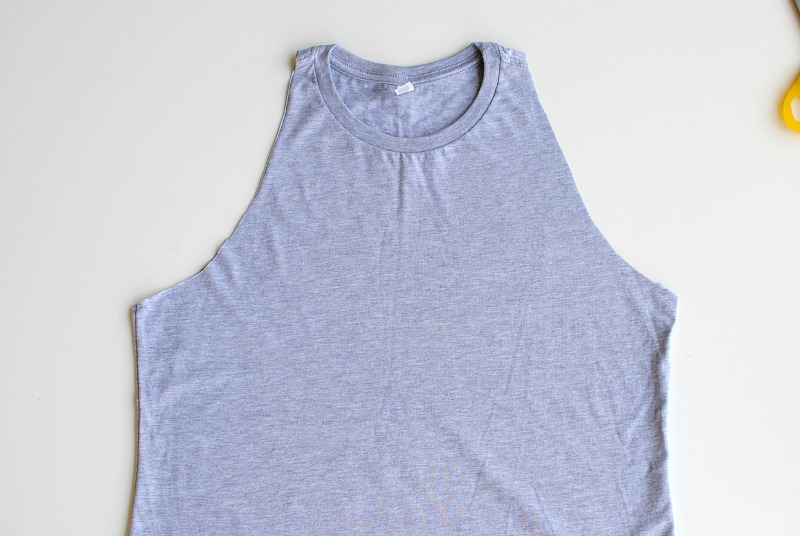
- Use this as your pattern for the other side and again mark and cut.

- Fold the additional fabric in half. Place a sleeve so the folded edges align and use a measuring tool to add the length of the sleeve you want. (add hem allowance if necessary).
Tip: If you're using fabric with 4-way stretch and the print is going the direction you want, use the selvage edge as the sleeve hem.

- Use a fabric marking tool or, if you're like me, use the grid ruler and rotary cutters to cut the sleeve out.
- Use this pattern for the next sleeve and cut using the rotary cutters and mat.
Tip: When working with knits of any kind I prefer to use rotary cutters over shears. This keeps the fabric from shifting and cuts down on the time it takes to pin the pattern into place.

- Fold the sleeves right sides together and sew the seam (1/2" seam allowance).

- Flip the sleeves right sides out. Flip the t-shirt base wrong side out and place the sleeves (right sides out) inside the shirt.

- Pin into place. I like to pin midpoint of the shoulder sleeve to the t-shirt shoulder seam and continue down each side to the underarm.

- Use the free arm and sew the sleeves into place. I like to start from the shoulder seam and sew down the front side first. Then go back to the shoulder seam and sew down the back side to the under arm ensuring everything fits. If it doesn't I can adjust the seams below the under arm rather than having to take everything apart.

- Finish the sleeve hem.
Option collar:
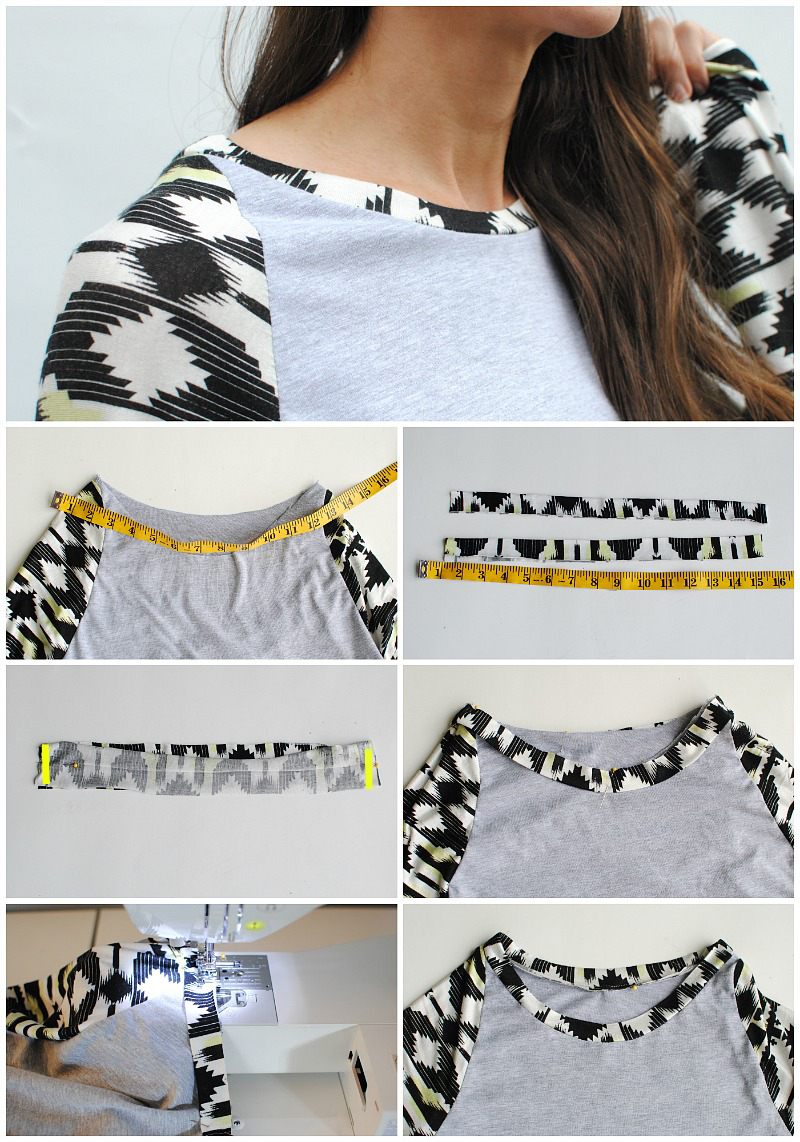
A traditional raglan has a collar that matches the sleeves. Use the steps below to sew a band hem along the collar.- Remove the collar from the t-shirt. Just cut right next to the stitches.
- Measure the length of the collar and subtract 1".
- Divide the measurement by 2 and cut 2 strips of fabric with this measurement x 2". For example, my collar measured 28"-1= 27 divided by 2= 13.5. So I cut 2 separate strips that measured 13.5" x 2".
- Place them together and sew them right sides together at the ends with a ¼" seam allowance.
- Press the seam allowance open.
- Fold the band in half and press right sides out.
- Place the band along the collar so raw edges are all together. I like to pin at the seams first (band hem seam to shoulder seam) and then at the midpoint of the back and midpoint of the front.
- Sew the band (1/4" seam allowance) into place pulling lightly as you go to fit around the collar.Tip: Use a slight zig zag stitch when sewing
- Press the band hem so the seam allowance is going toward the t-shirt and you can topstitch into place (optional).

Watch Video:
Related Projects
Stay Connected
* Required fields
Follow Us
- Product Support
- Product Support Assistant
- Terms of Sale
- Product-Registration
- Search Supplies/Accessories
- Ordering & Shipping Information
- Ordering & Account FAQs
- View Order Status
- Warranty & Extended Warranty Information
- Recall Information
- Return Policy
- Security Support Information(Opens in a new tab)
- Contact Brother
