Embroidered Lined Pocket with FREE DESIGN
In this project you’ll see how to create this lovely lined pocket using shapes included in the Brother PE Design 10(Opens in a new tab)
program. Follow these step-by-step instructions and you're sure to learn a lot about this full-featured software. At the center of the pocket shape you’ll find the Brother Free design of the Month for October, a country style apple that mimics hand stitched embroidery. Add the embroidered pocket to the market tote in our October Foot of the Month companion project(Opens in a new tab)
, and you’ll be ready to shop fall markets and festivals with a tote that suits the season.
Materials and Supplies
Note: The 8-inch square hoop is featured here but you can opt to make your pocket fit a 5” X 7” hoop or another size if desired.
- Brother Embroidery Thread and Bobbin Thread(Opens in a new tab)
- SA5810 Brother Tear-Away Stabilizer(Opens in a new tab)
- Brother PE Design 10 Software(Opens in a new tab)
- One piece of cotton or cotton blend fabric measuring 12-inches X 16-inches for embroidered pocket.
- One piece of matching fabric measuring 8 ½-inches X 8 ½-inches for pocket lining.
- Medium weight fusible interfacing for wrong side of 12-inches X 16-inch pocket piece.
- Brother October Free Design of the Month: Country Style Apple
Steps to Create the Pocket in PE Design 10
Use the PE Design software to create a pocket shape with a motif for the fill and an open space for the apple as follows:- Open Layout and Editing and click on the Shapes icon from the opening wizard import menu. Select shape 17 and click Import.

Tip:If you are not using the opening wizard you can select shapes from the Home tab menu.
- Click on the PE10 file icon and choose Design Settings. Select the 7.78" X 7.78" hoop.

- This shape is tiny so we will need to re-size it. Click on the design and then right click to bring up another menu. Click Numerical Setting and Size. Uncheck Maintain Aspect Ratio box, select size option, type in a new size (7.50 W X 7.65 H), and click OK.

- Next, scroll through the shapes and import CP_rectangle02. Right click on the selected design and repeat the steps you previously used for re-sizing, changing the rectangle to equal 2.75 W X 3.00 H.

- Now it’s time to make space for inserting the apple design. Select all of the parts and then choose Modify Overlap>Remove Overlap from the top menu.

- Next, click in a blank area of the workspace to de-select all the parts. Click inside the small rectangle to select it and click Delete to remove it.

- Now we will change the two outer shape outlines to a more prominent satin style stitch. First click directly on the black outline of the rectangle to select it, then right click, and click on the drop down arrow to choose the zig zag.
 You will see the black outline change to a satin stitch.

- Click on the larger shape (the pocket shape) to select it, then right click and change to a zig zag.
- Just a few more steps to finish. Lets change the fill stitch to a decorative leaf pattern. Right click on the shape again, click on the drop down arrow and change Fill Stitch to Motif Stitch.

- To change the current motif to the leaf pattern, right click again, and then choose Sewing Attributes. Click on the folder icon to select leaf motif 011. Click OK.
 You can also change thread colors in the Sewing order window or simply change thread while you are stitching the design.

- To finish the embroidered pocket design click on Import and import the apple from the location where you have it saved.

- Save the completed design and transfer it to your embroidery machine.

Steps to Embroider the Pocket
- Fuse interfacing to the wrong side of the 12-inch X 16-inch piece. Layer with tear away stabilizer on the wrong side, hoop, and then embroider the design.

- Remove the bulk of the stabilizer when finished but don’t be too concerned about any excess. Press the piece. Center the pocket lining over the embroidery and trim embroidered piece to match lining.

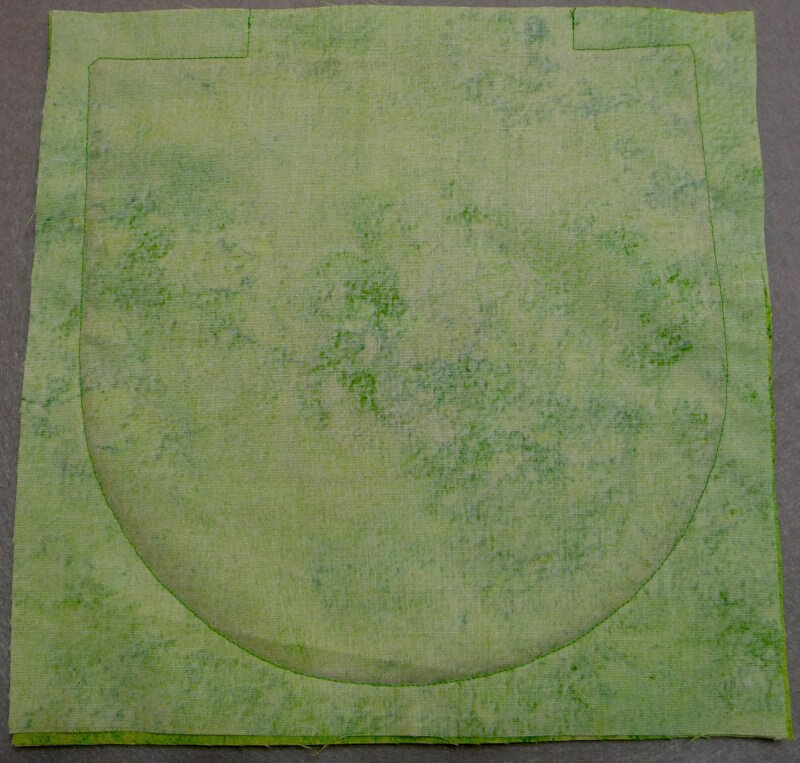
- Set up your sewing machine for straight stitch sewing with thread to match the fabric. Stitch around the pocket, stitching just outside the satin stitched line and leaving a small opening for turning at the top.

- Trim seam allowance to a scant ¼-inch, leaving ½-inch along the top straight edge. Clip corners and curves and turn right side out. Edge stitch or hand stitch to close the top opening.
Tip: Shorten the stitch length to 1.8 and take 2 to 3 stitches around the corners for a neatly turned edge.
- Stitch the pocket to the tote as described in the October Foot of the Month Market Tote companion project(Opens in a new tab)
.


