Embroidered Luggage Tags
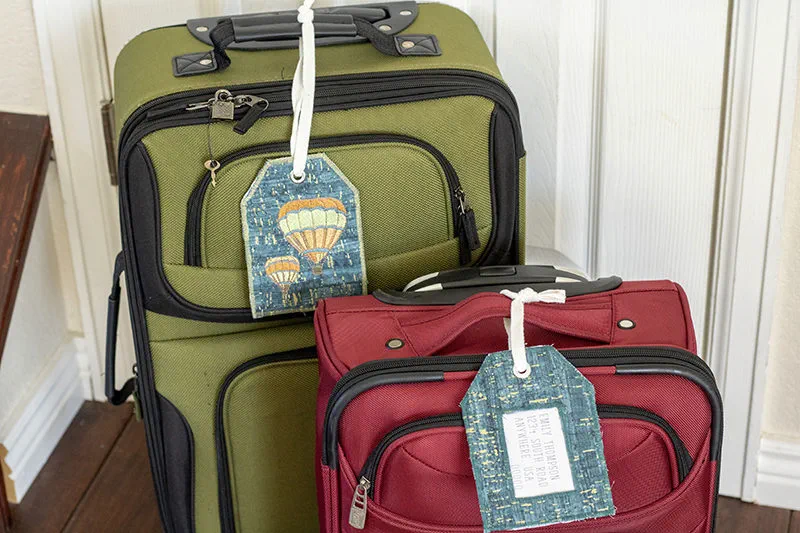
I’ve been traveling more and more lately, and I am traveling to tape more episodes of “It’s So Easy” next week. So, in honor of National Embroidery Month, I thought I would make these cute Embroidered Luggage Tags for my bags so they can look stylish AND so I pick them out on the luggage carousel. I used a hot air balloon embroidery design for the back of the tag and I placed my address on the front for a personalized and functional luggage tag.
 Want to make some tags? You can download the free template here.
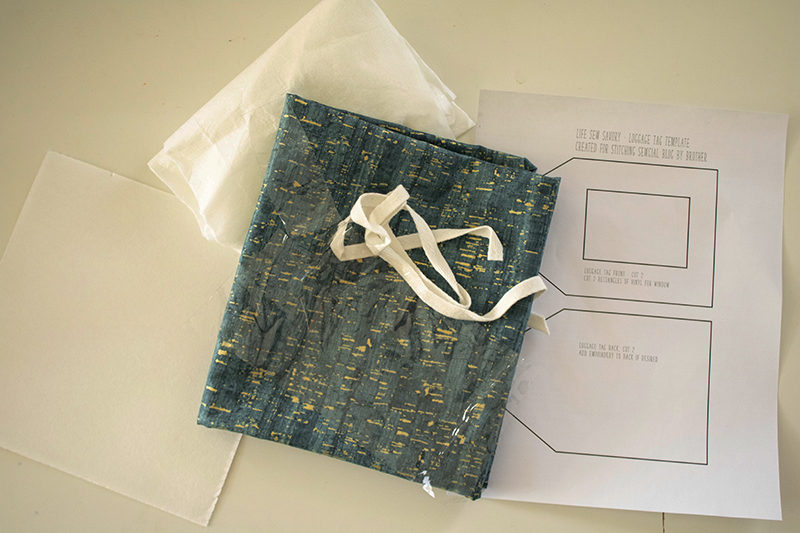
Print and use to cut the correct size and amount of each piece. In addition to the template you will need.
- Fabric {fat quarter is enough}
Note: You could also use cork to make this tag and then you wouldn't have to finish the edges. You would just use a straight stitch to join all the pieces. Fun note… I thought I was ordering cork and instead ordered CORK FABRIC - as you see here in the photos… oops!
- Embroidery Stabilizer
- Medium weight fusible interfacing
- A small piece of clear vinyl
- Large grommet and some string or ribbon
- I used my Brother Innov-ís NS1150E Embroidery Machine
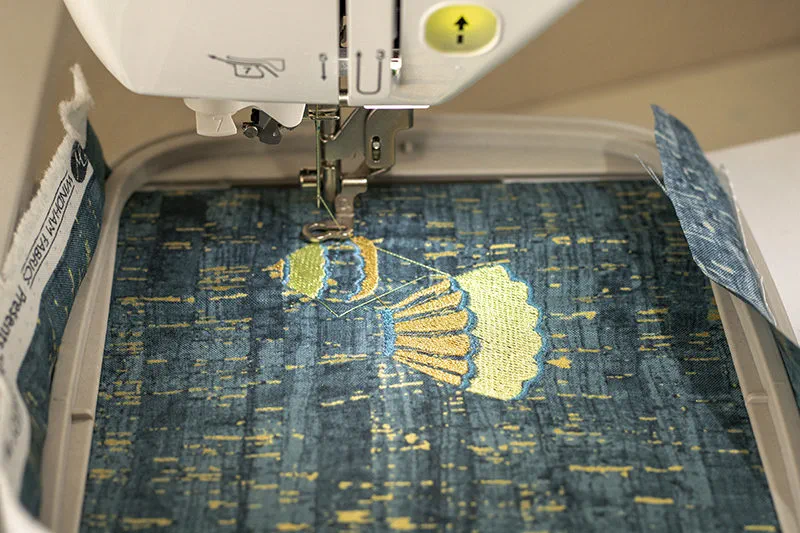
 Before you cut your fabric, I would suggest doing the embroidery. I was able to fit two tags side by side in the 5 x 7” hoop so I could embroider two tags at once. While the design is being created you can start with your luggage tag front pieces.

 To create the front panel of the luggage tag, use the fusible interfacing on the back of a piece of fabric. The fabric should be big enough for the template to fit. After the fusible interfacing is on, cut two front pieces, one with interfacing and one without. You will also need your piece of vinyl at this step. The vinyl should be cut in a rectangle with ½” seam allowance around the cut-out on the front tag piece.
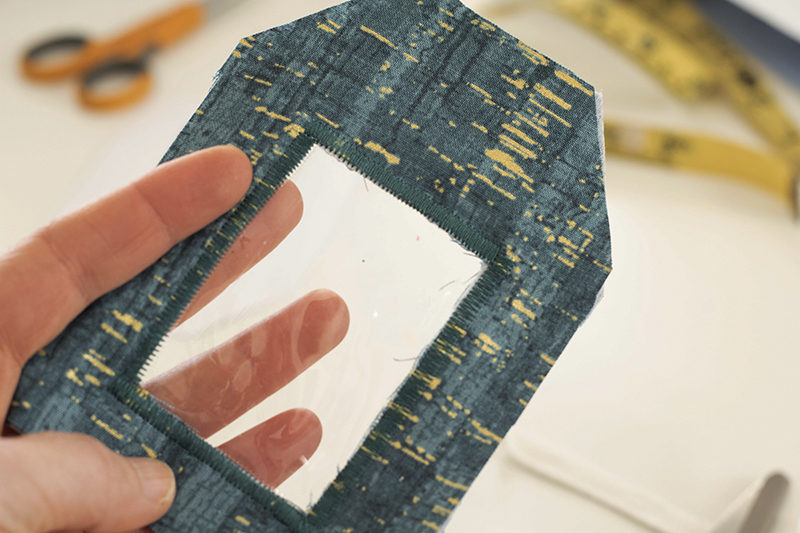
 Pin or clip these three layers together. The vinyl will be sandwiched in the middle of the wrong sides of both pieces of fabric.
 Set you zig-zag to a wide and very close stitch. At this point sew only around the inside cut out window to secure the vinyl between the two layers.

 When your embroidery design is finished, clip all the threads and use the back-tag template to cut 1 with the embroidery and 1 of plain fabric. Do not remove the stabilizer.
Place the embroidered design face down, then the second back piece up. Place the tag front that you’ve already sewn together on top of this pile. At this point you will also want to add your name/address/number under the clear vinyl before you sew it all closed. Pin or clip to keep it all together.
 Sew around the entire perimeter of the tag with the same close zig-zag stitch.
 The last step is to create a way to attach your tag to the luggage. I love using metal grommets, but you could also place a button hole here. Cut a small hole and press in the grommet to set.
 Thread a string, ribbon or cord through the hole and you are ready to attach to you bag and get on with your next adventure! Where will you go next?


