Craft Custom Fabric Envelopes
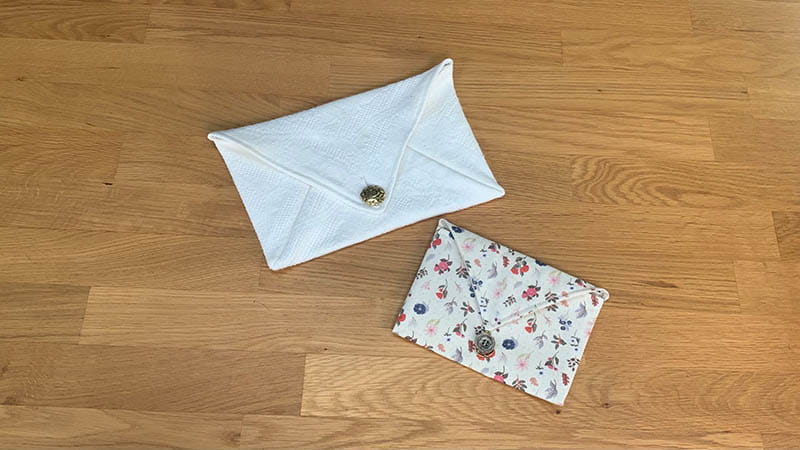
Upcycling projects are a great way to reuse old table linens and a fantastic alternative to buying fabric. There are so many ideas for repurposed tablecloths to create clothing but what about the cloth napkins? Here are two methods to create fabric envelopes from those old cloth napkins.
The thought of fabric envelopes is intriguing because they can be personalized and used for cards, notes, jewelry, gifts, and other trinkets that need a soft, special, handmade wrapping to hold them. So, if you have old cloth napkins or table linens sitting in drawers, or storage boxes, don’t throw them away, turn them into something new!
Supplies:
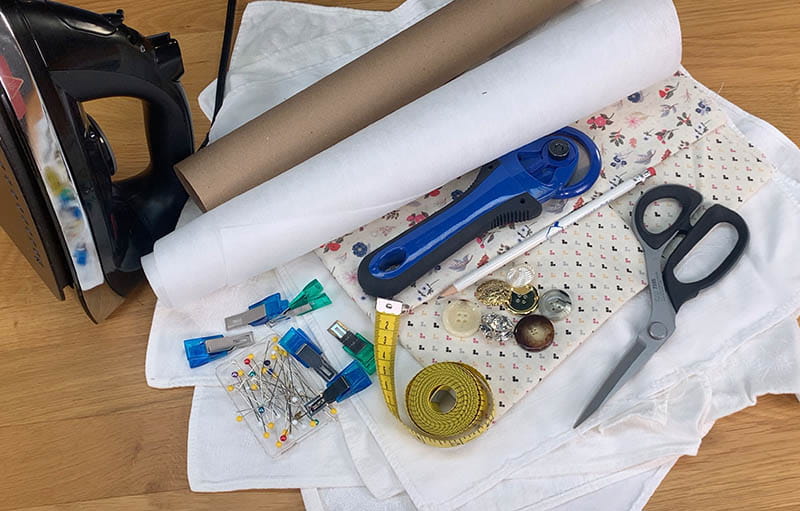
- Brother sewing & embroidery machine
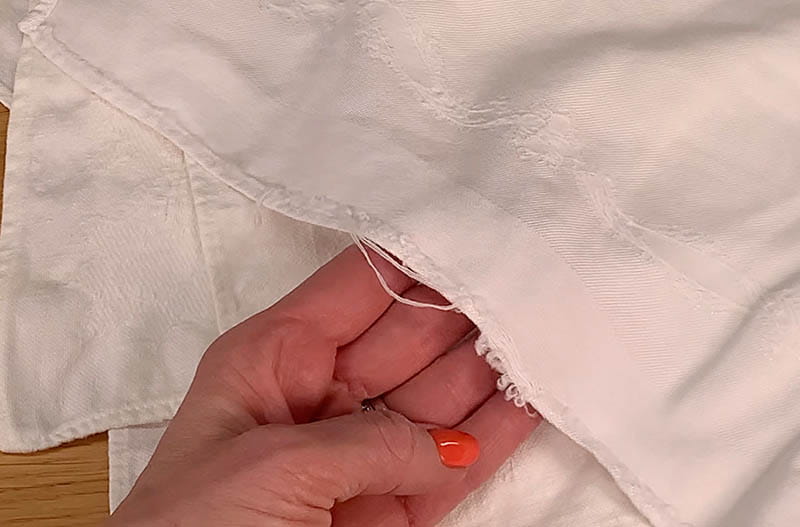
- Two cloth napkins. You can find these at the thrift store but if you have vintage cloth napkins that are worn out or have stains, these will work great for this project. You can use any new fabric you want.
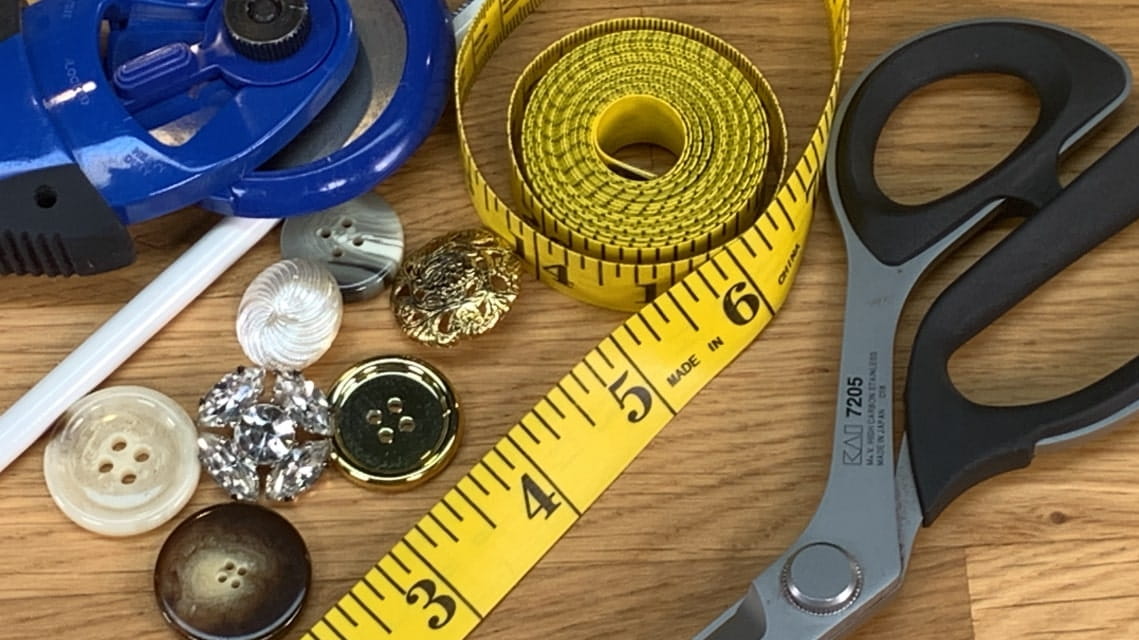
- One decorative button
- Pattern paper
- Fusible Lightweight interfacing to add weight to the envelope. (Optional)
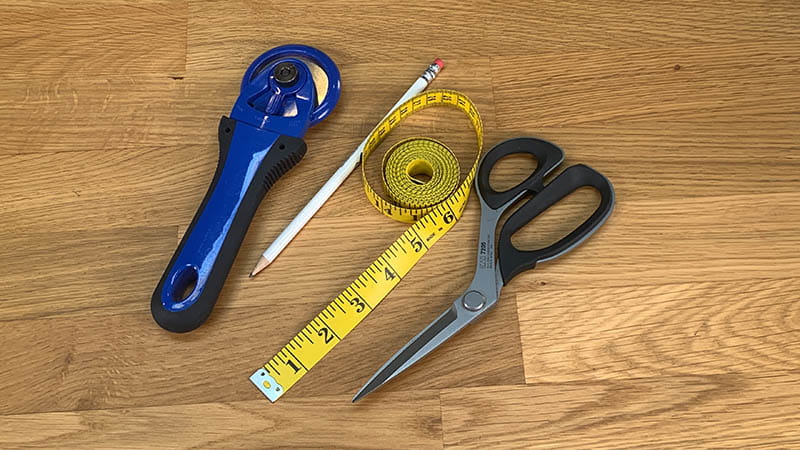
- Fabric scissors
- Straight edge and rotary cutter
- Measuring tape
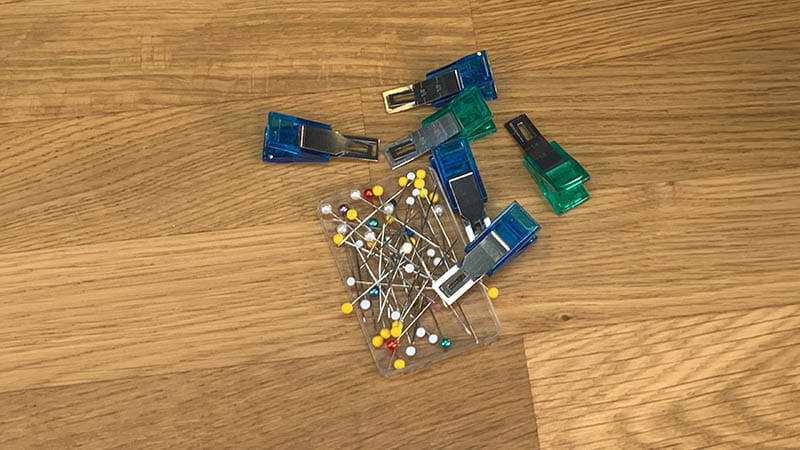
- Straight pins or clips
- Marking pencil
- Iron
Design #1
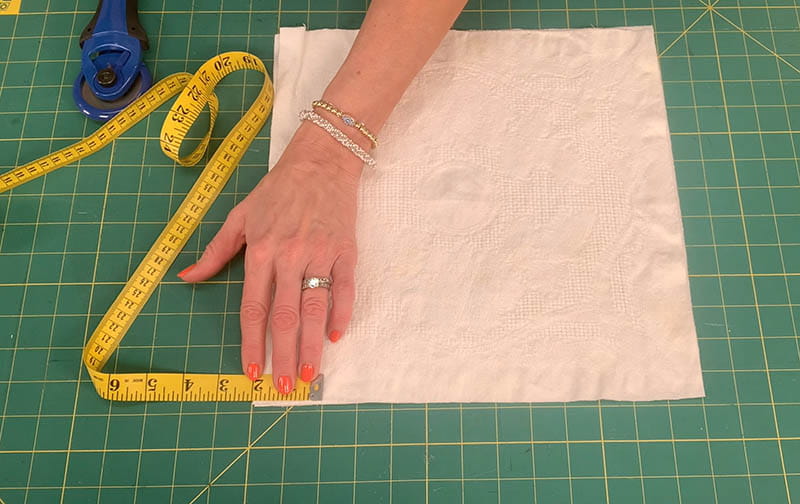
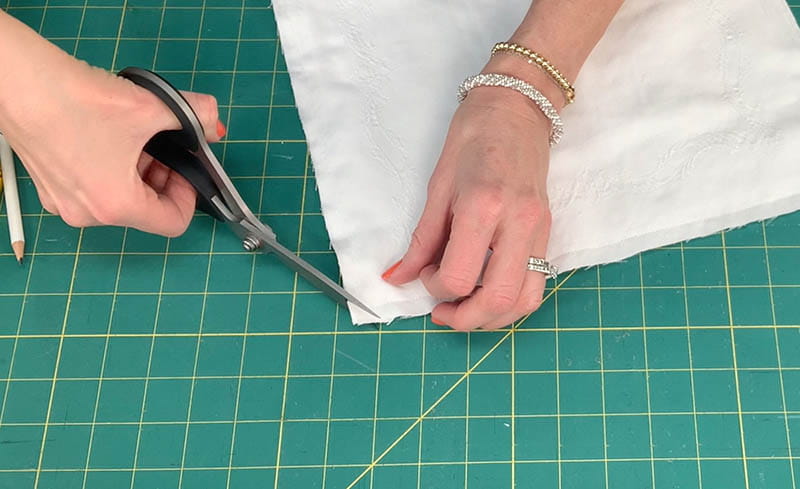
Cut the cloth napkins into 13x13 inch squares.
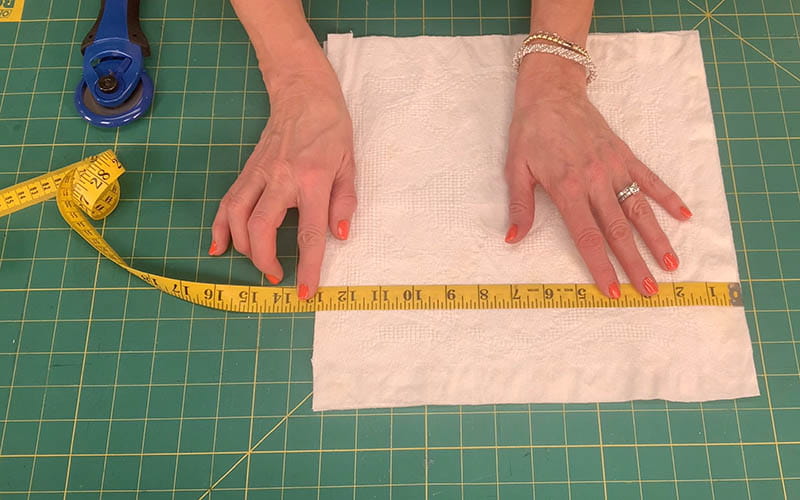
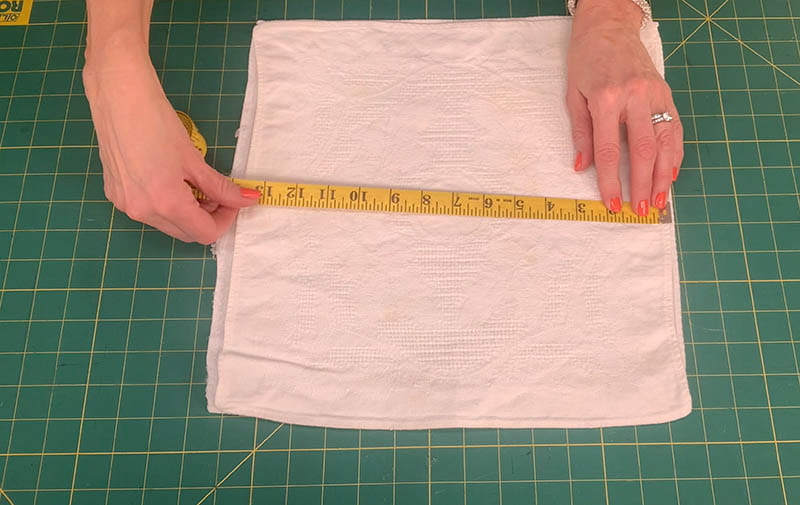
Alternatively, if you are using regular fabric, cut two pieces into 13x13 inch squares.
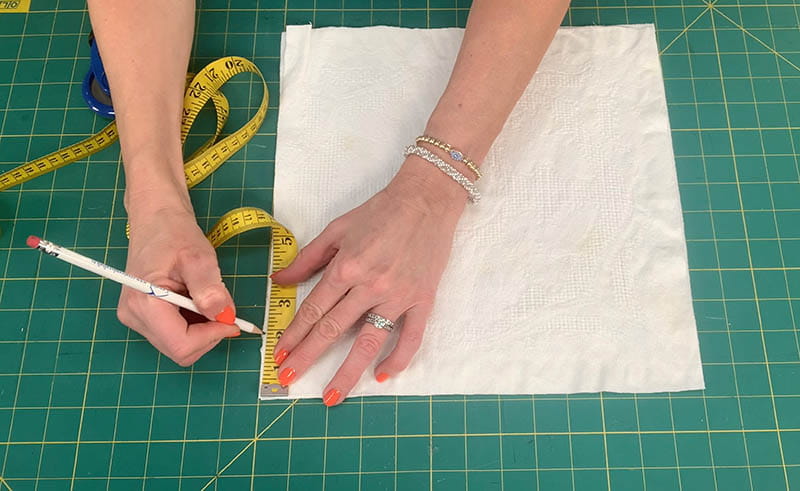
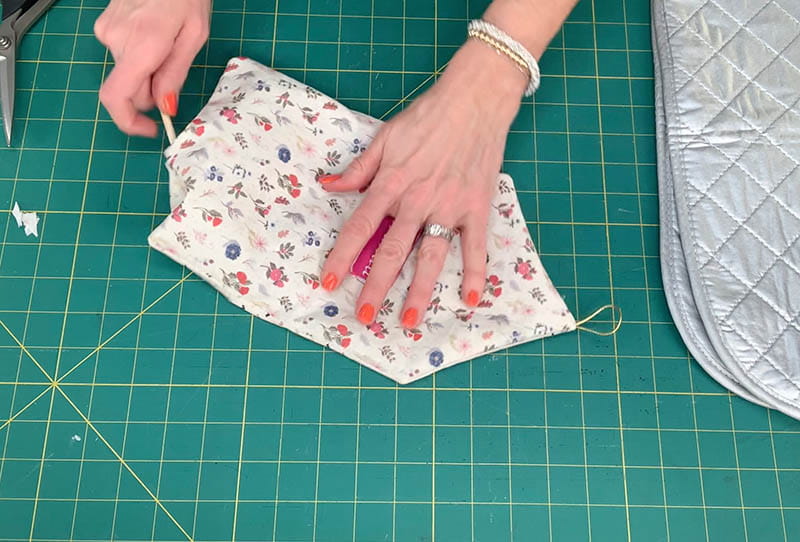
On one corner, measure 2 inches in on both sides of the corner.
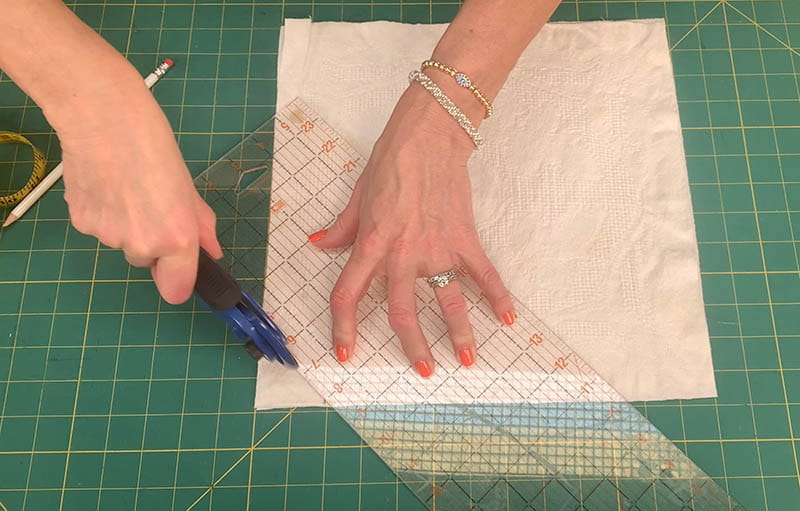
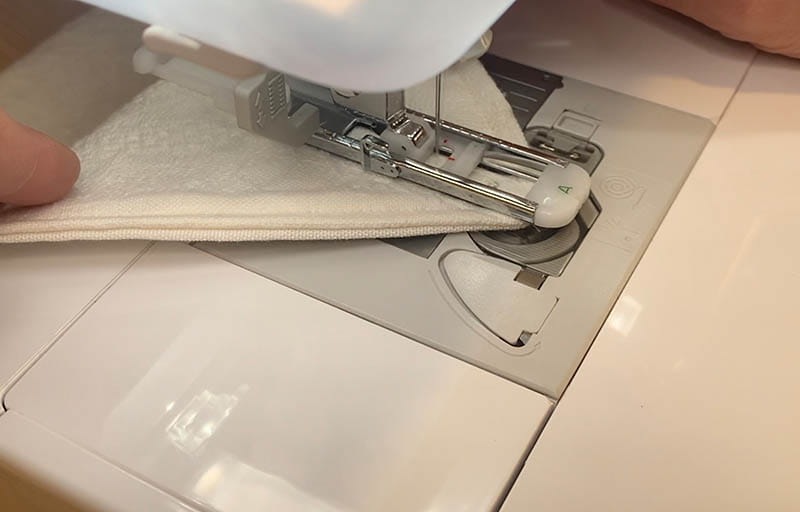
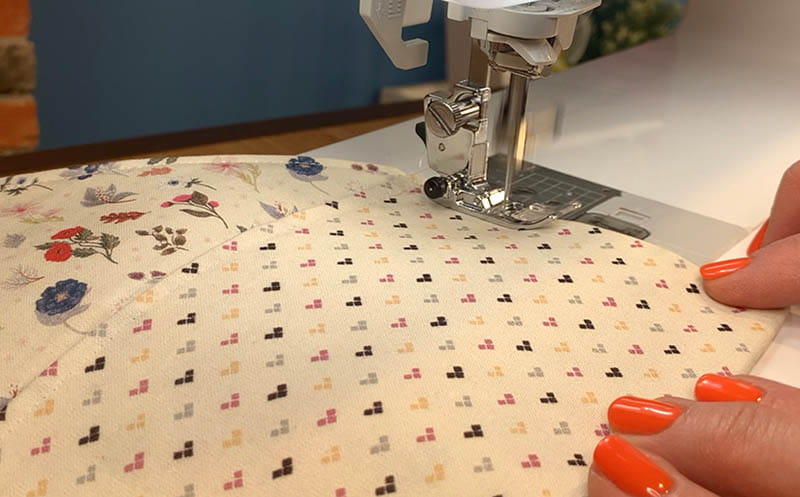
Sew all the way around, leaving the cut corner open.
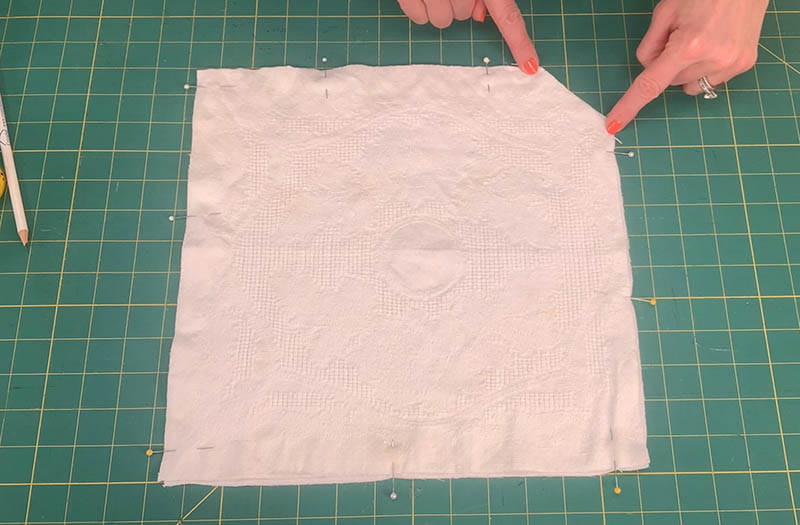
After you finish sewing, clip the remaining three corners

Turn in the raw edge of the opening in, press and topstitch closed.
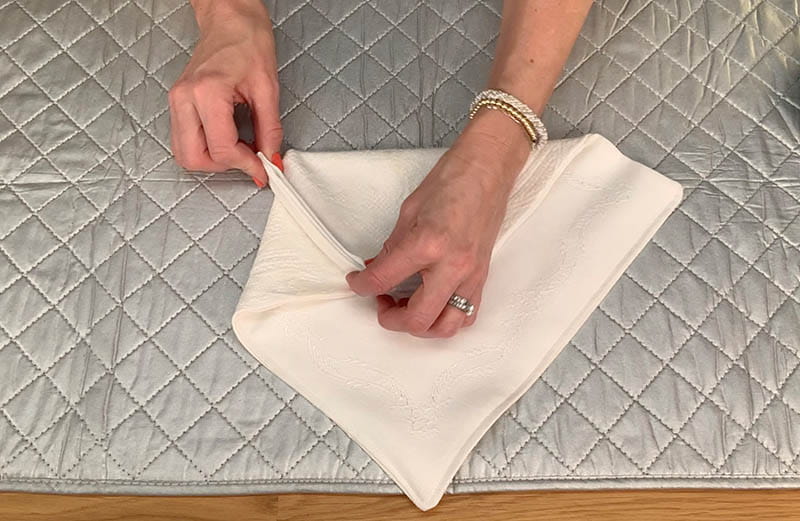
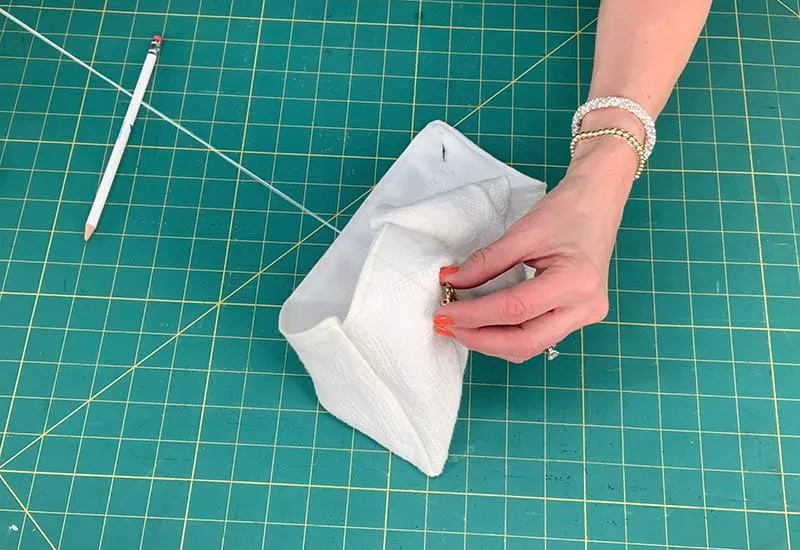
Assemble the envelope
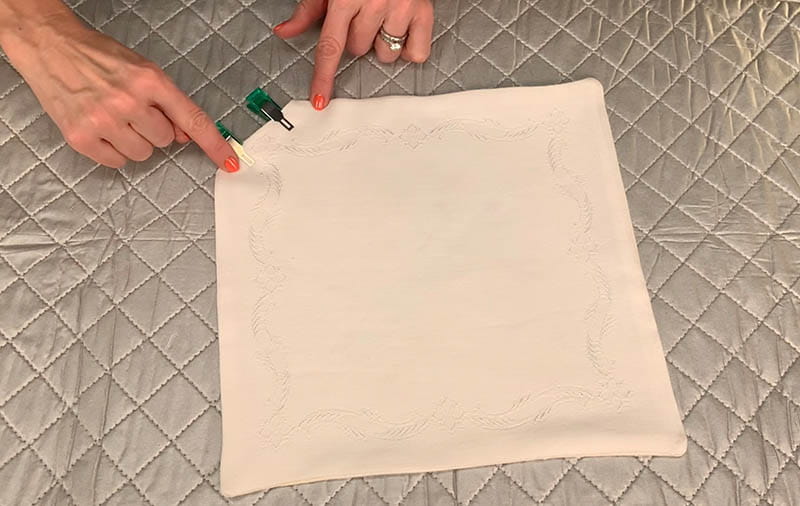
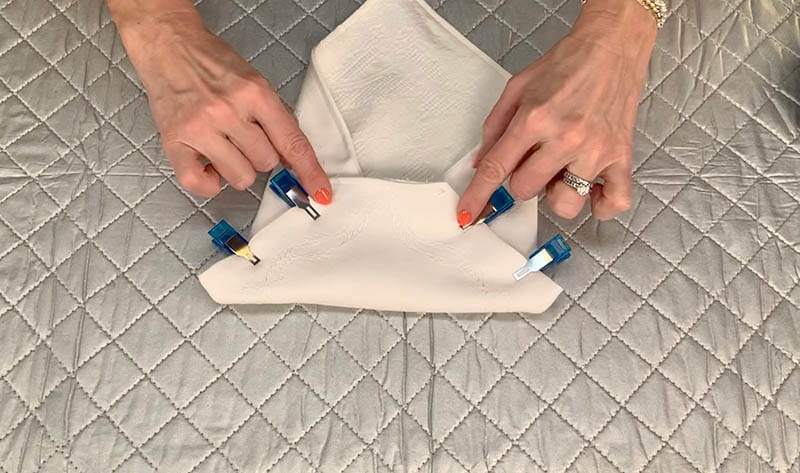
Take the one side that was NOT top stitched and fold it in half on itself to meet the flat corner.
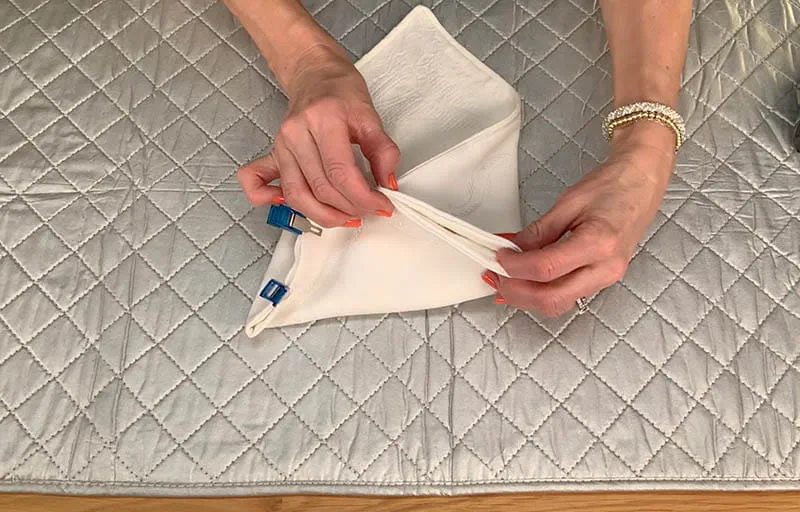
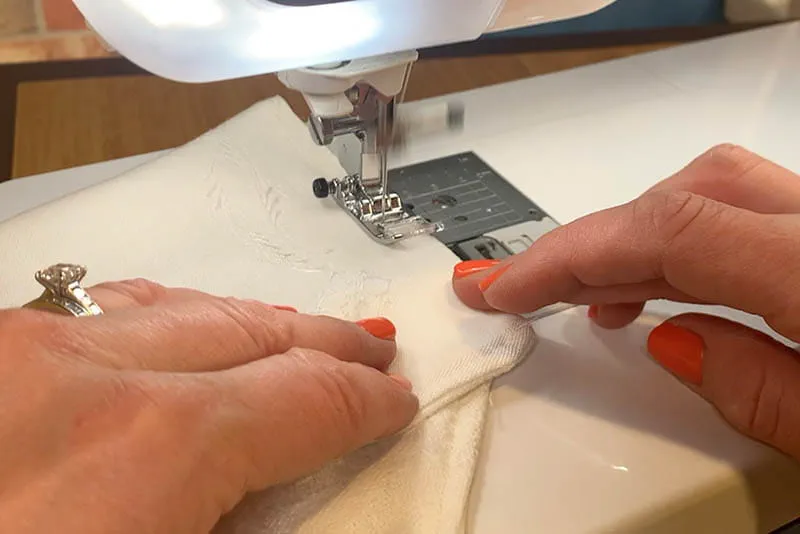
Sew the pinned edges together.
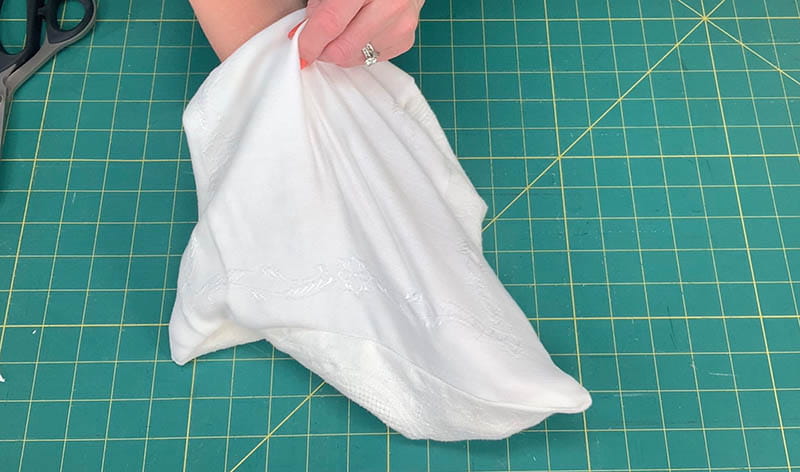
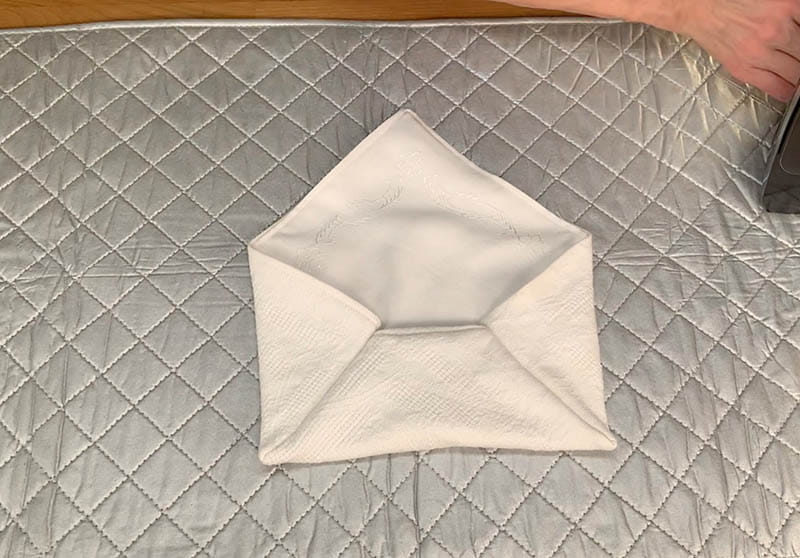
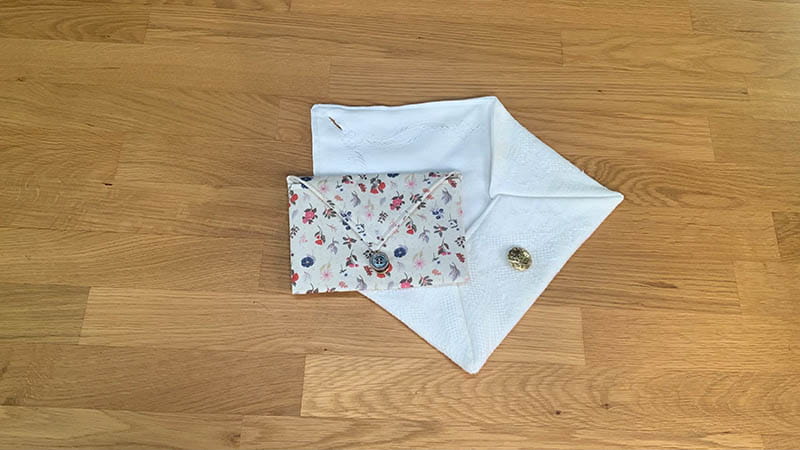
Turn it right side out making sure to push the corners out to make a point. It should look like a traditional envelope. Press it flat.
On the pointed flap of your fabric envelope, mark the location of the buttonhole.
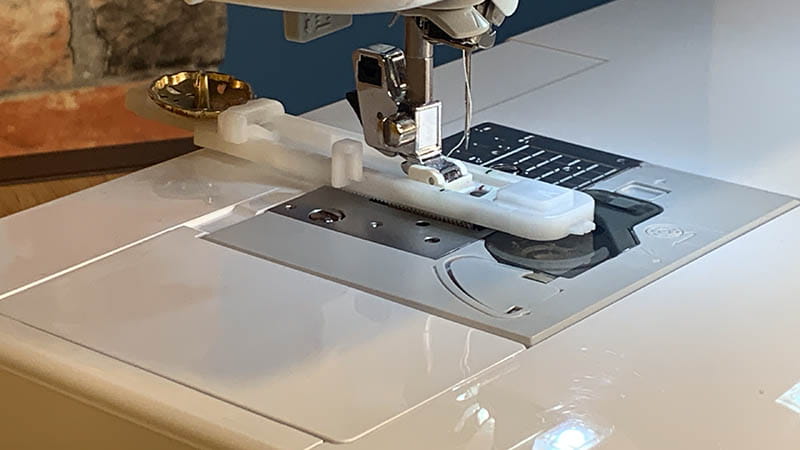
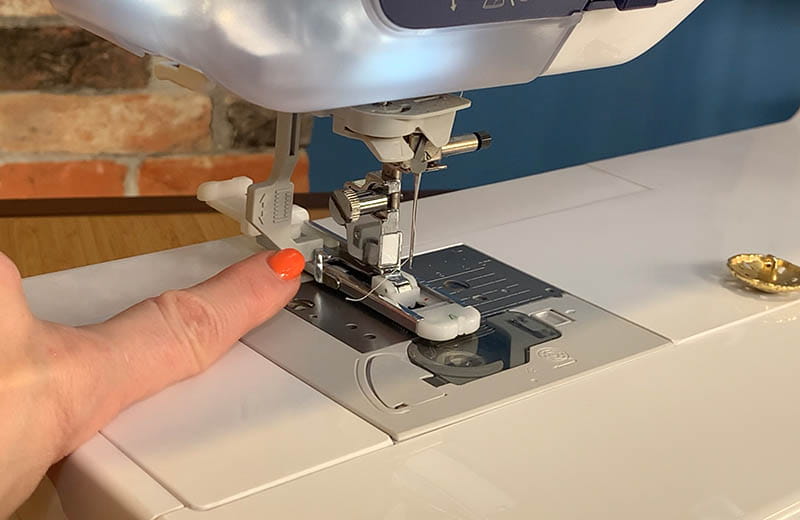
On your sewing machine, attach the buttonhole foot and create the buttonhole.
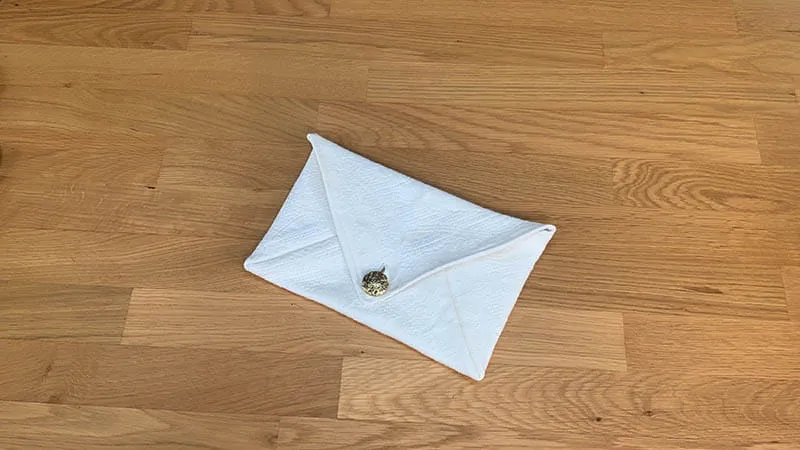
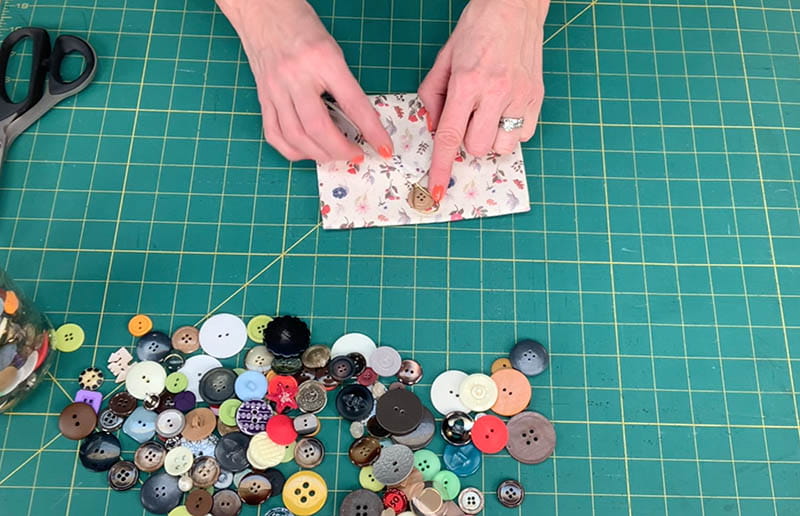
Find a decorative button and sew it on.
Close the opening flap and press.
Design #2
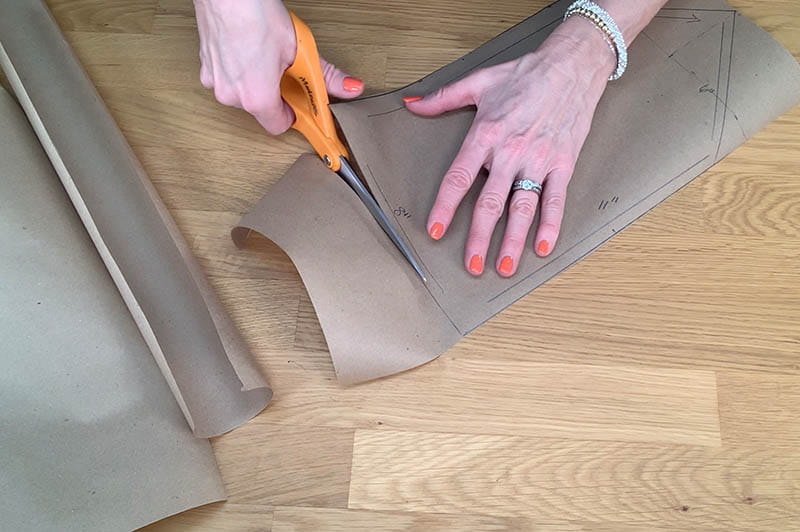
For design #2, create a basic pattern.
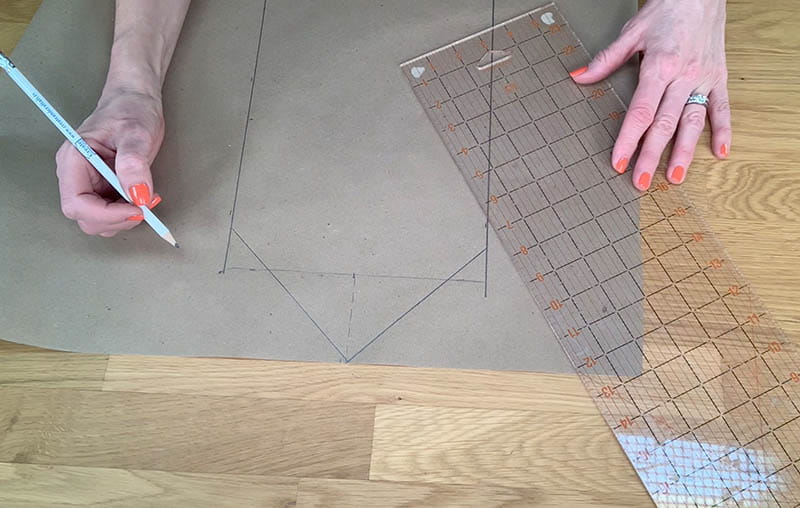
Lay your pattern paper flat and mark the bottom 8 inches wide and two sides 11 inches long. Connect the two sides with a point that is 5 1/2 inches from each side.
Cut the pattern out.
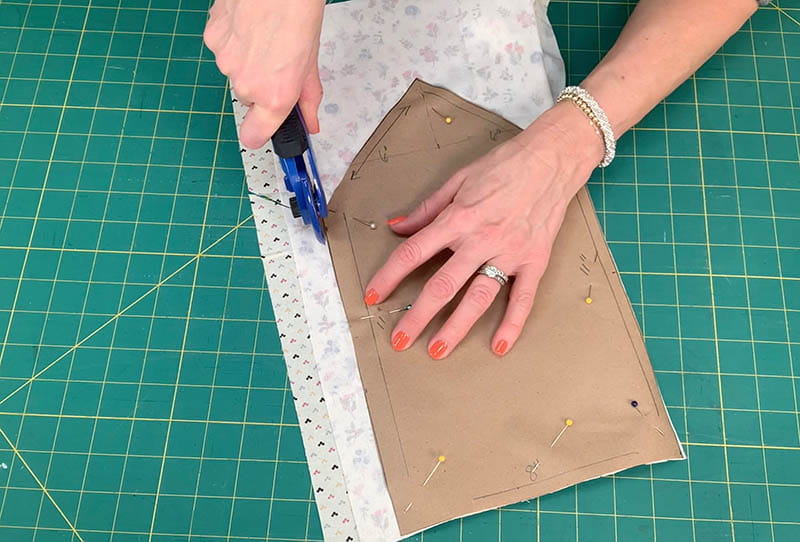
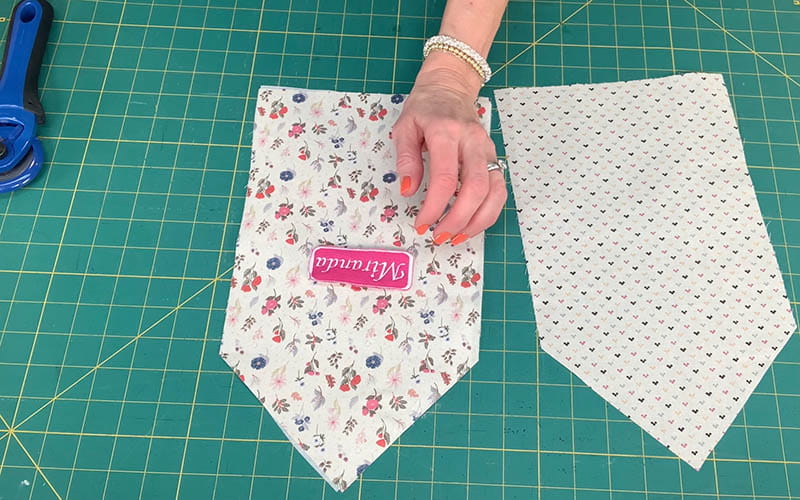
With two pieces of fabric right sides together, pin the pattern on and cut out the pattern.
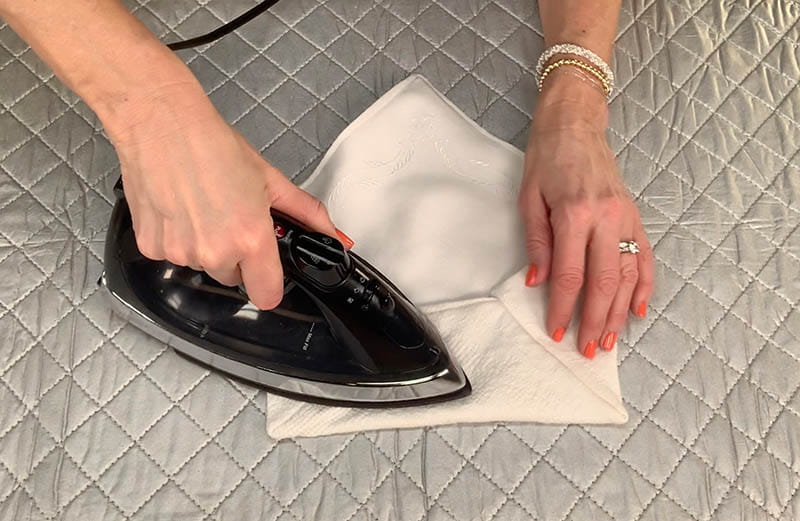
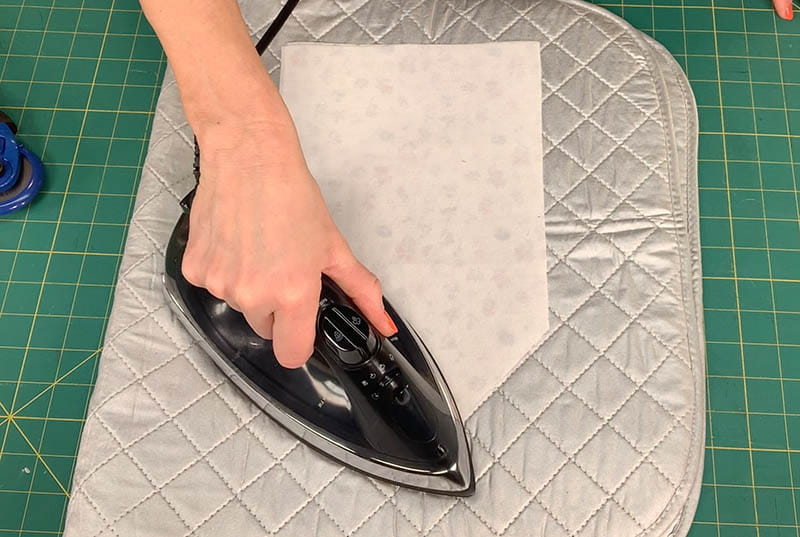
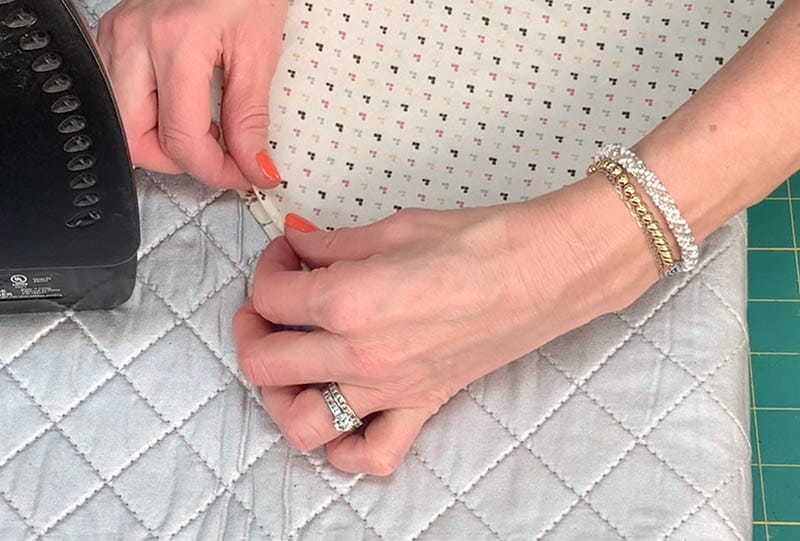
Cut one piece of lightweight fusible interfacing from the pattern and iron the interfacing on the wrong side of one piece of your cut fabric following the package directions.
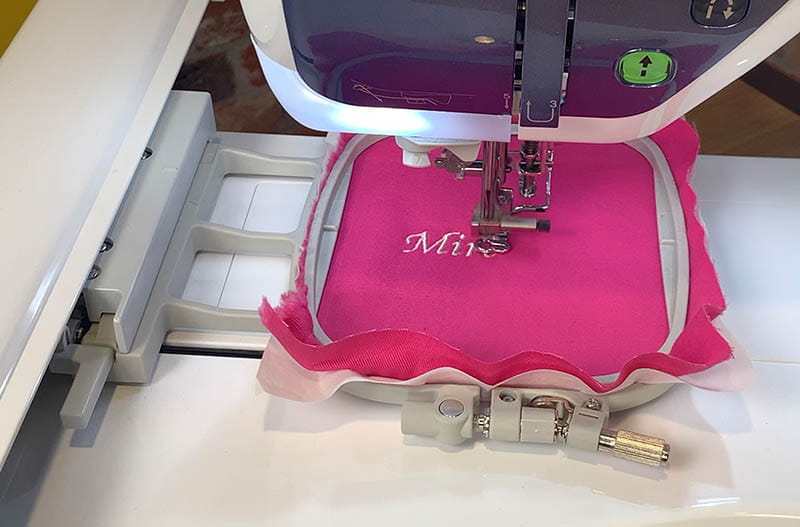
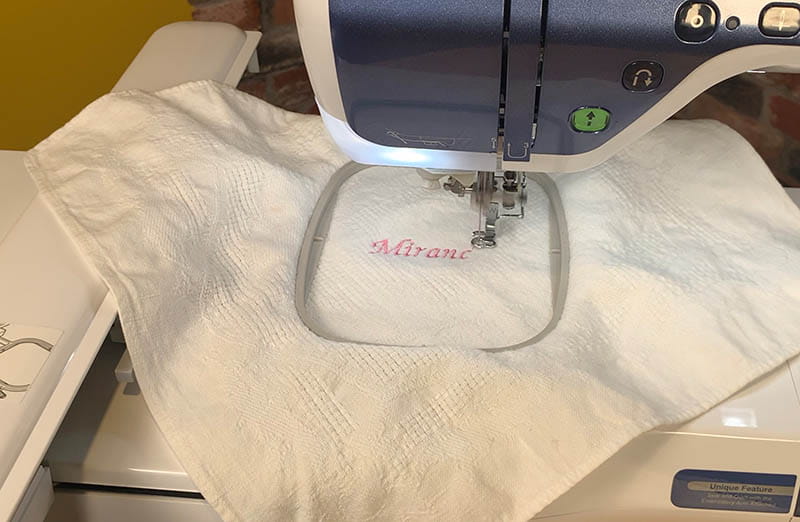
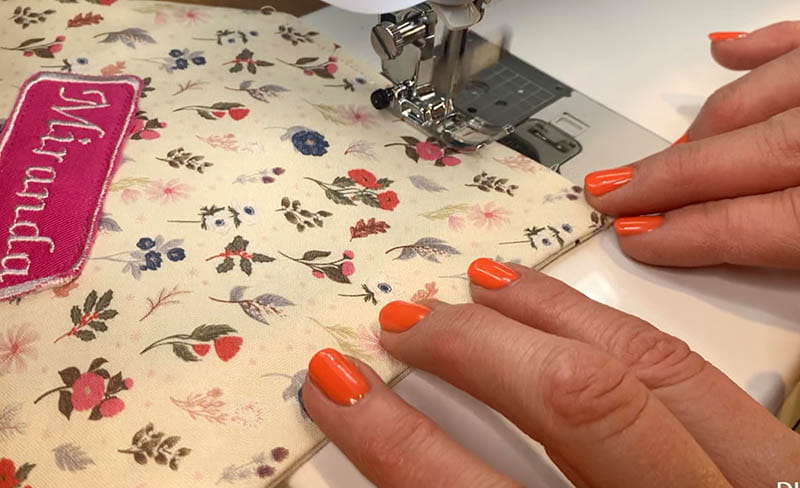
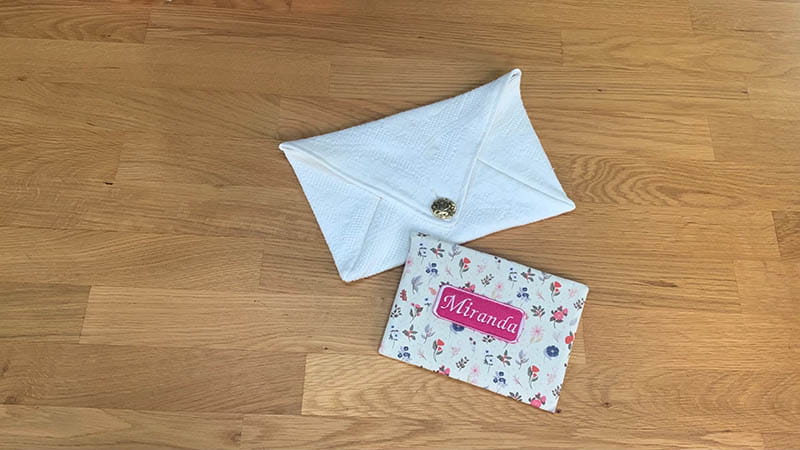
Personalize your fabric envelope now if you wish to add embroidery. Embroider the name of the recipient on a separate piece of fabric and cut it out.
If you are adding an embroidered personalized tag, sew it on the center back piece now.
With the right sides facing each other, place the two cut pieces together.
To add a loop closure instead of a buttonhole, cut a piece of ribbon or elastic make a loop and place it inward on the right side of the fabric from the top point.

Clip it in place.
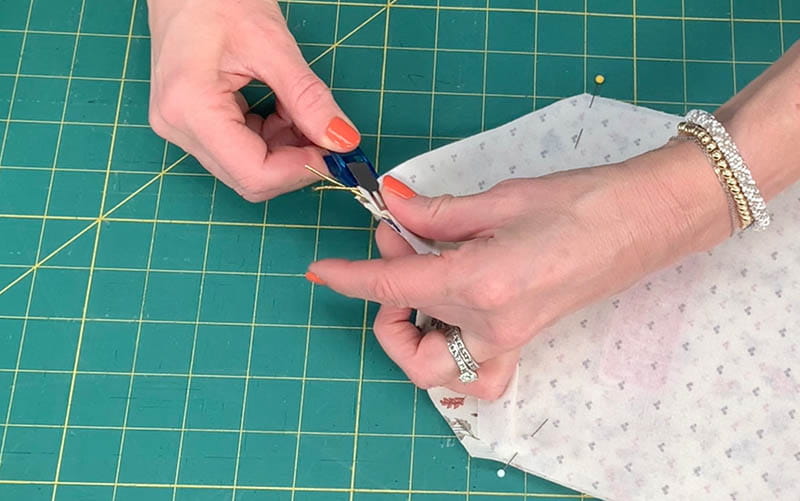
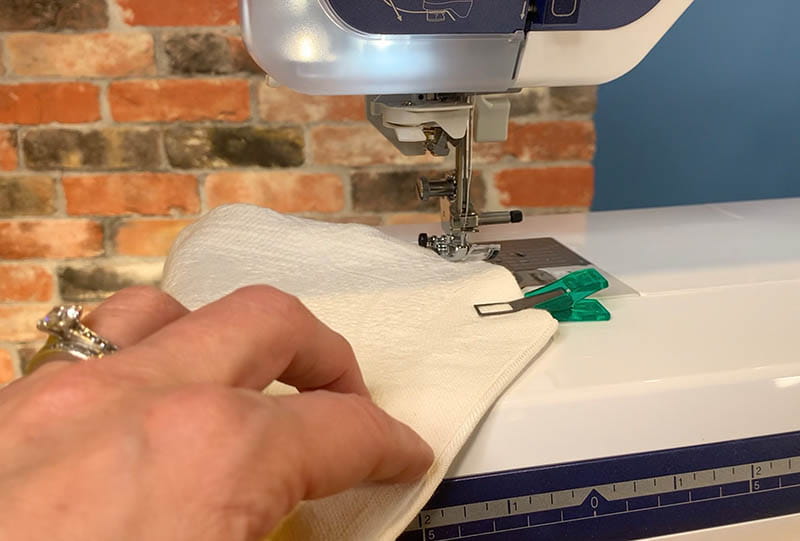
Starting at the center bottom, sew all the way around leaving an opening at the bottom.
Clip the corners before you turn the fabric piece right side out.
Fold in the raw edge at the bottom
Topstitch the bottom and topstitch the two sides of the pointed top.
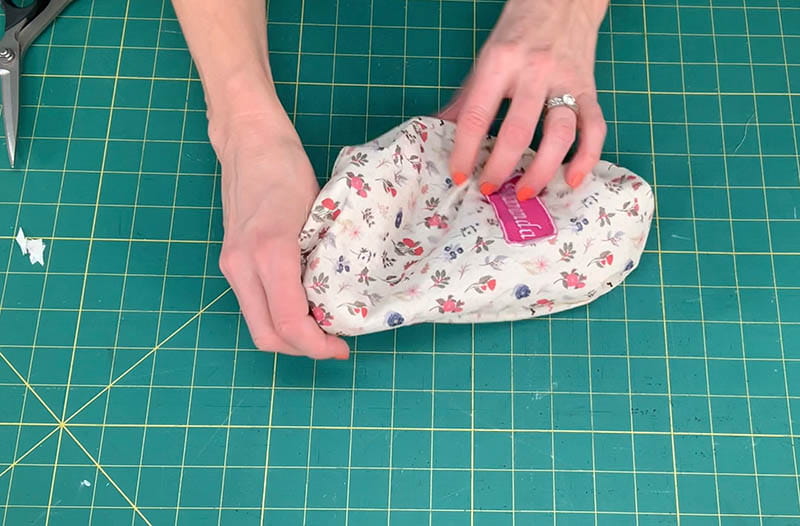
With the right sides facing down, fold the bottom half up just below the start of the pointed flap.
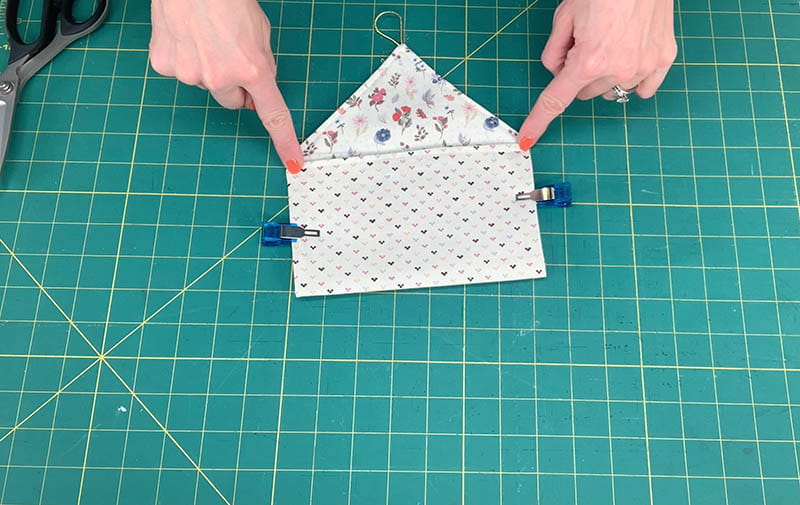
Turn the envelope right side out, push out the corners and press flat.
Determine where to put the button and sew on a decorative button.
And design number 2 is complete.


Related Projects
Stay Connected
* Required fields