Flowermania: Applique Edition!
So I’ve been doing a lot of traveling lately, which meant less time for me to spend with Felicia (my DreamWeaver XE
). And while I’ve been traveling, I’ve been exploring the world of English Paper Piecing, which has given me the opportunity to explore the relationship of various shapes together in a way that I never did strictly machine sewing. But now, as I do with most learnings and creative developments, I want to expand this into new arenas. Enter appliqué and Gina (my new ScanNCut2
).
Machines Used:
- DreamWeaver XE VM6200D
(AKA Felicia) - ScanNCut2 CM650WX
(AKA Gina)
Supplies Used:
- Main Fabric - one 18” x 18” & two 18” x 11”
- Applique Fabrics - based on shapes
- Matching Thread - based on colors selected
- Brother ScanNCut Iron-On Fabric Applique Contact Sheet
and I’ve almost completed a finished quilt which I’m beyond stoked to quilt up on Felicia. And I’m a big fan of creating complimentary pillows for quilts that aren’t matchy-matchy, but definitely belong in the same family as the quilt. Which is the intent of this post, to encourage you to open your mind, if you’re not doing it already, to alternate techniques when making various items that you want to go together. [caption id="attachment_10284" align="aligncenter" width="800"]
 Attack of the Applique![/caption]
PREPARING THE SHAPES
So Gina (ScanNCut) recently joined my family and as soon as I started tinkering around with her, I had the idea to create an appliqué version of the pattern of shapes using the included shapes with the machine. It literally took like two minutes to get the shapes ready online at ScanNCut Canvas and I was ready to cut out the shapes. I was using three different colors of fabric for the appliqué, so I affixed all three based on where I placed the shapes onto an appliqué contact sheet and then put it on the standard mat where it was ready for Gina’s magic to occur. And boy oh boy was it magical to watch.

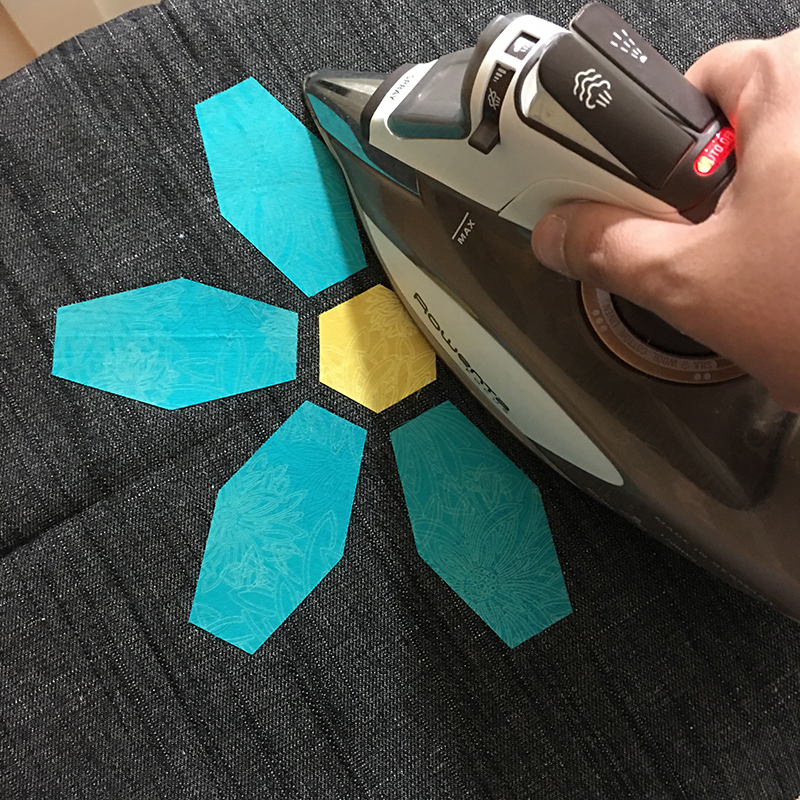
 After peeling up the shapes from the mat, I rough estimated the placement of each on the denim and ironed them in place.


APPLIQUE
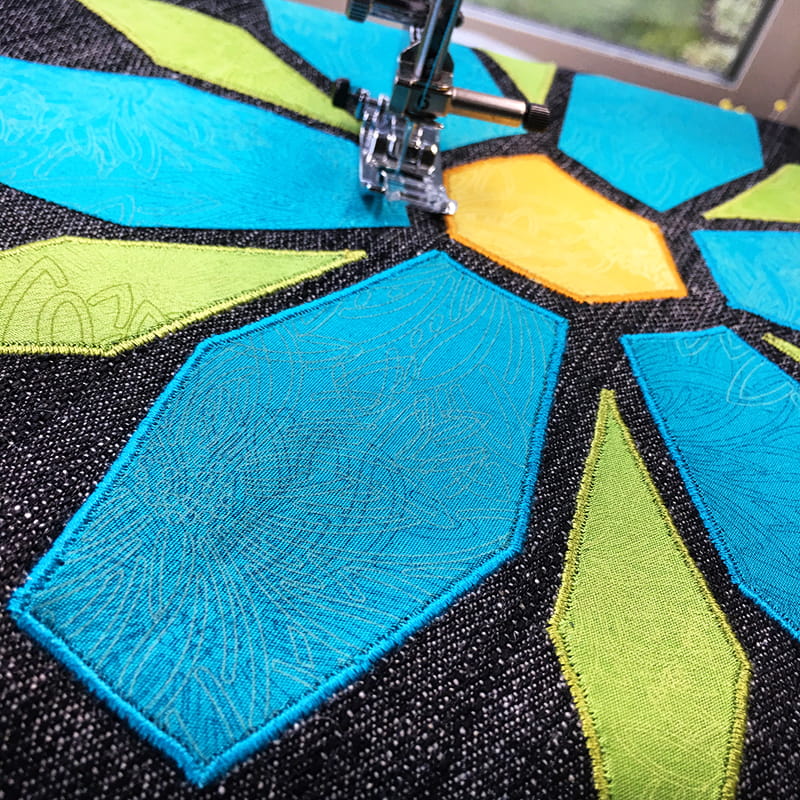
I used the white Brother embroidery thread in the bobbin and my choices thread choices to zigzag stitch (2.0 width, 0.2 length) around the edge of each shape following the center line of the J foot with the edge of the fabric. Once I was done with stitching the entire flower, I seriously stared at it for a long as I daydreamed of patting myself on the back because this amazing idea panned out better than I expected.

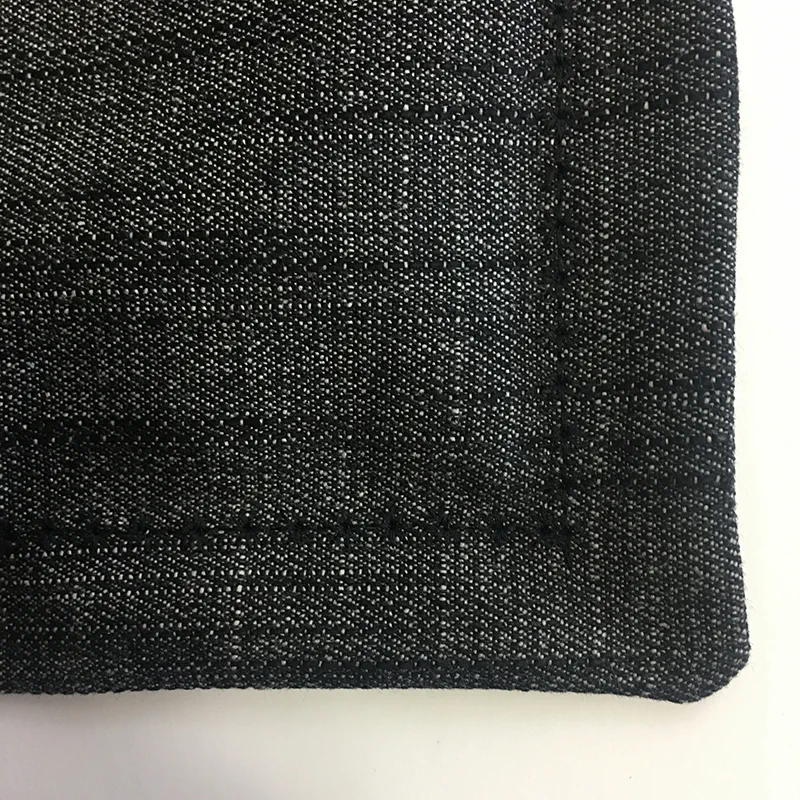
 So for the pillow, I created a basic envelop-backed pillow with the main fabric panels, where I sewed the edges at a 1/4” seam right sides together and then flipped it right side out. And this was legit pretty as it was, but I was feeling like it needed something subtle but fancy for the border. Instead of binding the border or using piping, I decided to use one of the decorative stitches on Felicia 1” on the inside of the seam to simulate the effect. And woweewow did it blow me away. I used a black thread for the stitching, so it’s very subtle, but the potential for variation in this technique of pillow borders is so ooh la la that I just had to include it in this post as well.
 And like seriously, from start to finish, this pillow took very little time and yet it looks very cool and chic and expensive to me. I will most definitely be using Gina a lot in the future to create this type of partner to my existing and future projects. I look forward to seeing y’all taking this idea and running with it!
Keep it positive y’all,
Mathew
(AKA Mister Domestic)


