Free Design: A Rose is a Rose for Mother’s Day
Mother’s Day is on its way and this embroidery motif is sure to make it special! You can use this Brother Free Design of the Month in so many different ways! Decorate a pretty package, a potted plant, or even a greeting card. For this super quick project I stitched the design on netting and attached it to ribbon for a simple decoration on a bud vase.
Materials and Supplies
- Brother Embroidery Machine
- Brother Embroidery Thread and Bobbin Thread
- MT999 Brother Gold Metallic Thread
– Optional - Two pieces of fine, soft netting (also known as bridal tulle), cut to fit the 4-inch hoop
- SA540 Water soluble Stabilizer
- Sheer or satin ribbon measuring 1 ½-inches wide X length needed to wrap around vase or other item
- Small bud vase or other item to decorate
- Good quality monofilament thread, or standard sewing thread to blend with netting and ribbon
- Curved tip scissors for trimming
- Roses for Mom FREE Brother Embroidery Design
Steps to Create Embroidered Decoration
- Transfer free design to your machine and decide on thread colors. This design features a few modified colors, including gold metallic as an accent. Assemble supplies. See Figure #1.
 Figure #1[/caption]
- Cut two pieces of water-soluble stabilizer and layer in the hoop as follows: One layer of water-soluble, two layers of tulle, and one additional layer of water-soluble. Be sure all layers are smooth in the hoop. See Figures #2a to #2c.
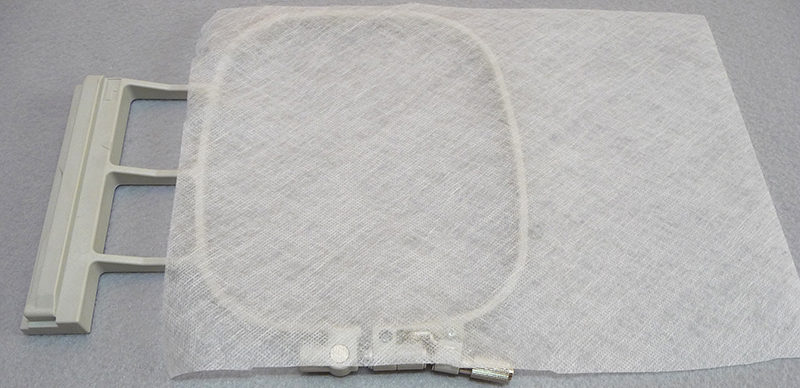 Figure #2a[/caption]
[caption id="attachment_6773" align="aligncenter" width="800"]
Figure #2a[/caption]
[caption id="attachment_6773" align="aligncenter" width="800"] Figure #2b[/caption]
[caption id="attachment_6774" align="aligncenter" width="800"]
Figure #2b[/caption]
[caption id="attachment_6774" align="aligncenter" width="800"]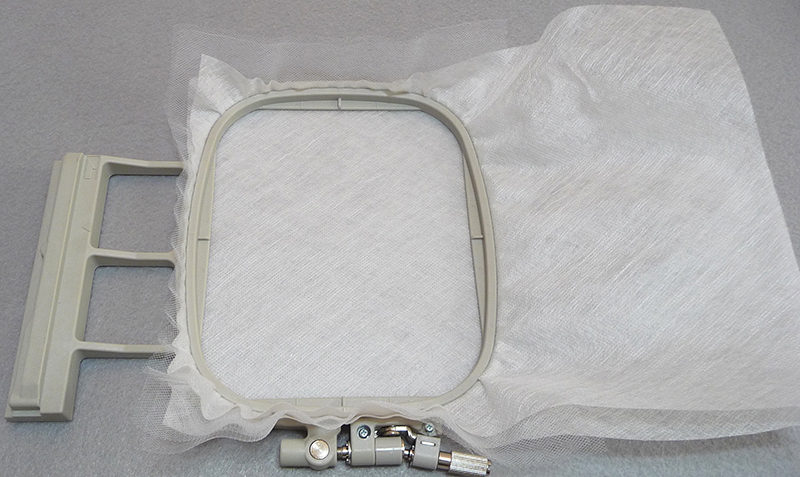 Figure #2c[/caption]
- Embroider design. Remove from hoop and trim, leaving a large margin around the design. Clip any thread tails on the back that may show through to the front or they will be trapped after stitching. See Figure #3.
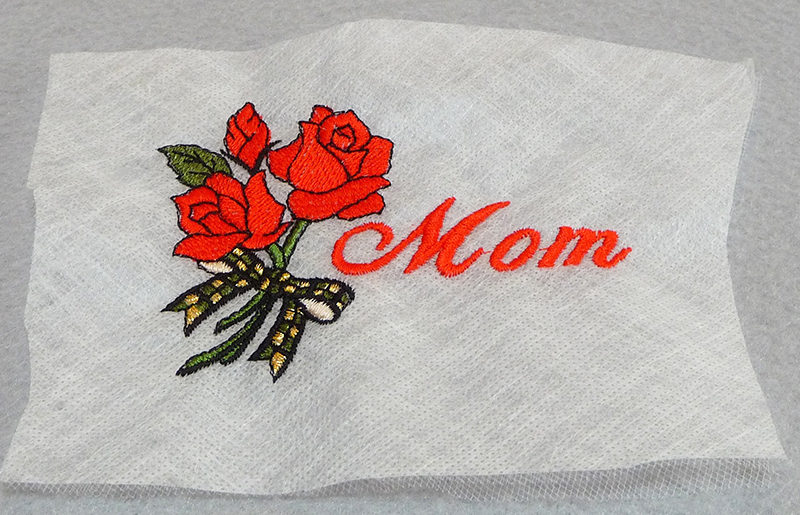 Figure #3[/caption]
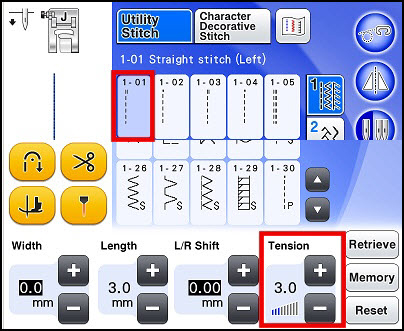
- Set up machine for sewing with a straight stitch. Use good quality monofilament in the needle if you wish or use thread to blend with ribbon. When using monofilament I like to lengthen the stitch and loosen the upper tension slightly.
- Tie ribbon around item to determine length. Tie a simple knot or a bow, leaving enough ribbon for a nice finish.
- Turn embroidered piece to the wrong side, center your length of ribbon over design and pin. See Figure #4.
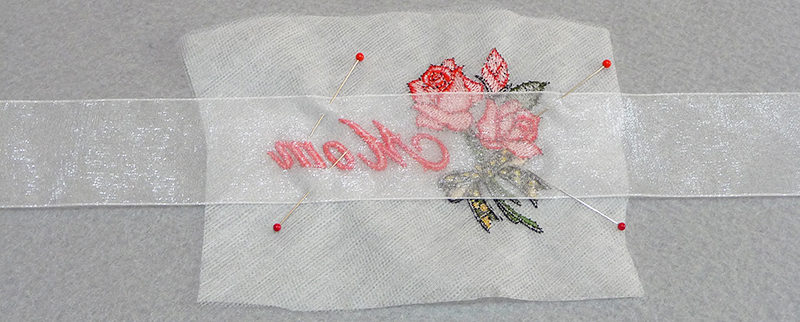 Figure #4[/caption]
- Flip design to right side and re-pin. See Figure #5.
 Figure #5[/caption]
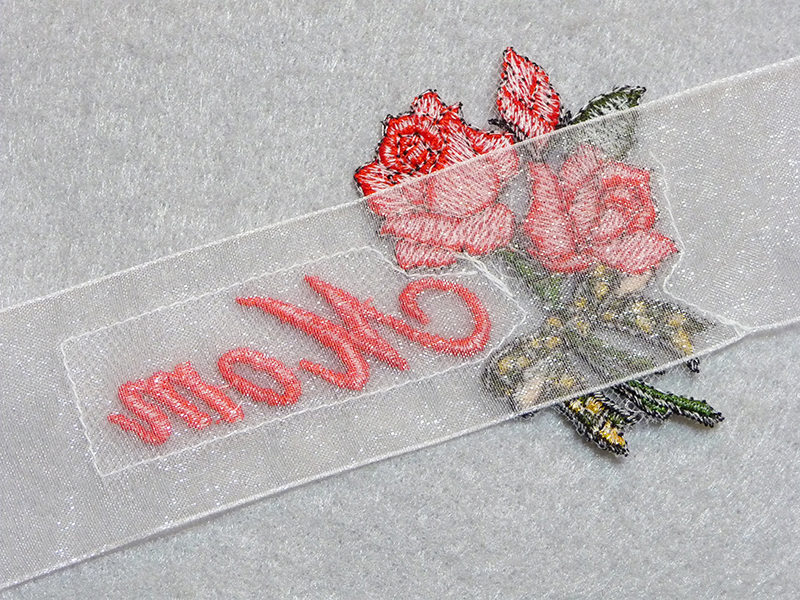
- Stitch a rectangle around the word “Mom”, and then stitch partially around the outer edge of the roses to anchor this area to the ribbon. See Figure #6a & #6b.
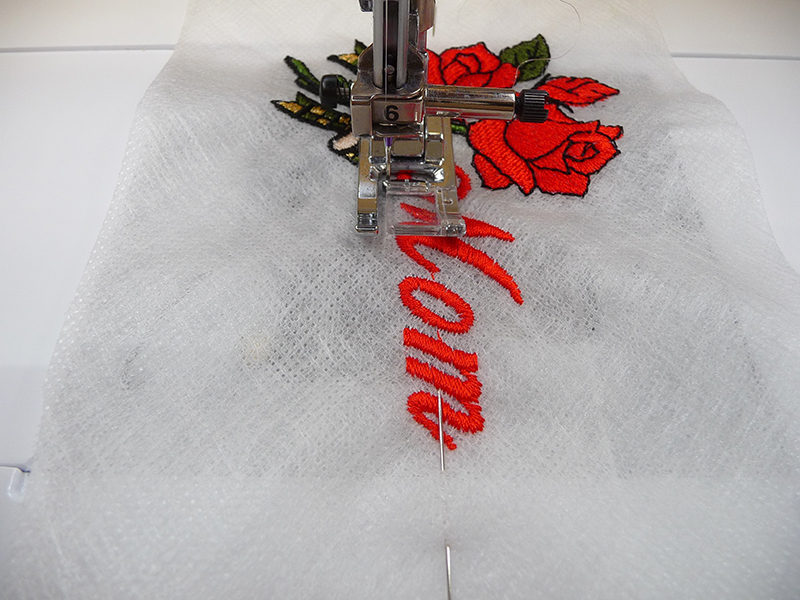 Figure #6a[/caption]
[caption id="attachment_6780" align="aligncenter" width="800"]
Figure #6a[/caption]
[caption id="attachment_6780" align="aligncenter" width="800"]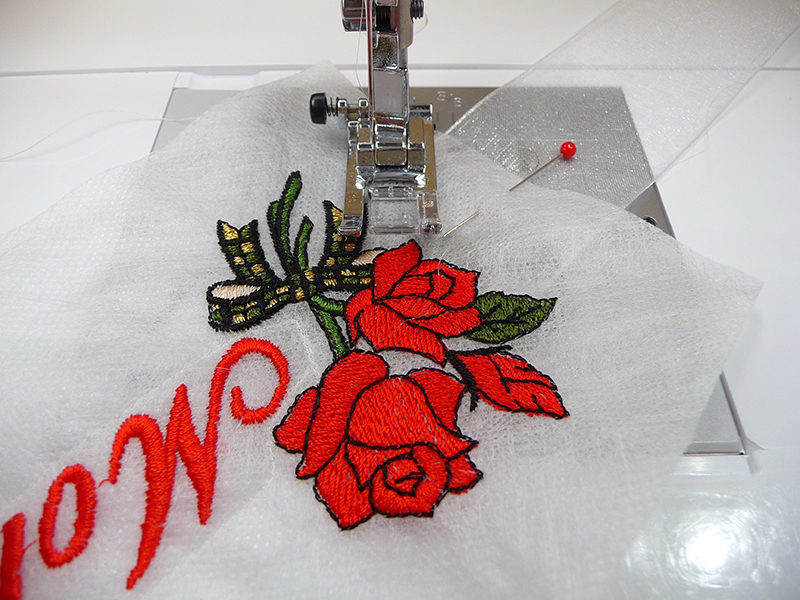 Figure #6b[/caption]
- Use curved tip scissors to carefully trim excess netting and stabilizer away from ribbon. See Figure #7.
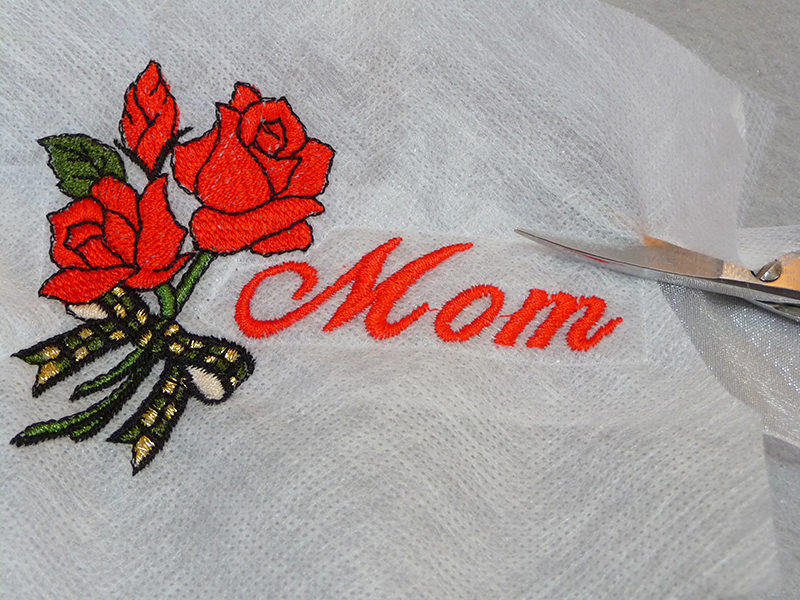 Figure #7[/caption]
- Wash, dry, and press with press cloth if necessary. See example below for back, front, and close-up on vase.
 Back[/caption]
[caption id="attachment_6784" align="aligncenter" width="800"]
Back[/caption]
[caption id="attachment_6784" align="aligncenter" width="800"] Front[/caption]
[caption id="attachment_6785" align="aligncenter" width="800"]
Front[/caption]
[caption id="attachment_6785" align="aligncenter" width="800"] Close-Up[/caption]
You are finished! Enjoy!
Happy Mother's Day!
Close-Up[/caption]
You are finished! Enjoy!
Happy Mother's Day!
Related Projects
Stay Connected
* Required fields