Free Design: In the Hoop Napkin Rings
Cloth napkins and custom napkin rings add class to any table setting. We used the Brother Free Design of the Month to accent easy embroidered napkin rings. Create these using an In-the-Hoop embroidery technique and combine the Bonus Designs offered here along with our Free Design of the Month. Make as many as you like and dress up your holiday table in no time at all.
Materials and Supplies
- Brother Sewing and Embroidery Machine with 4-inch X 4-inch hoop capability.
- SA541 Brother Pacesetter lightweight water-soluble stabilizer.
Embroidery designs for creating napkin ring:
- Brother Free Design of the Month: Golden Circular Crest.pes
- Brother Free Bonus Design: In the Hoop Napkin RingPt1.pes
- Brother Free Bonus Design: In the Hoop Napkin RingPt2.pes
Basic sewing supplies including thread to match ribbon:
Supplies for napkin ring:
- 7/8-inch wide grosgrain ribbon, one piece measuring 9-inches long for each napkin ring.
- Fabric for napkin ring, two pieces measuring 3 1/2-inches square for each napkin ring.
- One piece of medium weight interfacing measuring 3 1/2-inches square for each napkin ring.
Note: Napkin ring finishes at approximately 3-inches in diameter.
Steps to Create Napkin Rings
- Gather squares for creating napkin ring. Fuse interfacing to the wrong side of one square. See Figure #1.
 Figure #1[/caption]
- Tightly hoop a piece of water-soluble stabilizer in the 4-inch X 4-inch hoop.
- Transfer the following bonus designs to your machine:
- Design #1: In the Hoop Napkin RingPt1.pes
- Design #2: In the Hoop Napkin RingPt2.pes
- See Figure #2a, #2b.
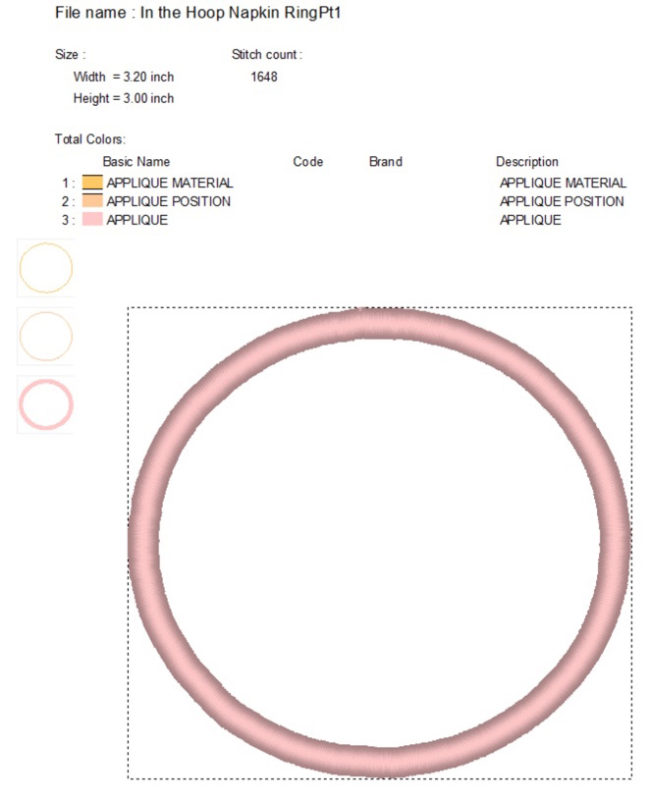 Figure #2a[/caption]
[caption id="attachment_17692" align="aligncenter" width="542"]
Figure #2a[/caption]
[caption id="attachment_17692" align="aligncenter" width="542"] Figure #2b[/caption]
- Transfer Design #3, the Brother Free Design of the Month, Golden Circular Crest.pes
to your machine. See Figure #2c.
 Figure #2c[/caption]
- Place the hoop on the machine. Select the applique outline, Design #1, In the Hoop Napkin RingPt1.pes. Begin by stitching the Appliqué Material placement line. See below:

- Layer the two squares of fabric together with wrong sides facing. Place over the stitched placement line and tape corners to keep fabric in place. Stitch Appliqué Position next. See below:

- Remove hoop from machine, keeping everything intact. Transfer hoop to a flat surface and use curved tip scissors to carefully cut excess fabric beyond the straight stitched circle.
Tips: When performing this step, be sure you do not distort the fabric in the hoop. Slashing the fabric along the outer edges of the circle makes it easier to trim. Simply hold pieces of fabric at a slight angle and trim close to the edge of the stitching line. See Figure #3a and #3b.
[caption id="attachment_17677" align="aligncenter" width="800"] Figure #3a[/caption]
[caption id="attachment_17678" align="aligncenter" width="800"]
Figure #3a[/caption]
[caption id="attachment_17678" align="aligncenter" width="800"] Figure #3b[/caption]
- Place hoop back on machine and stitch the Appliqué. Note how the tack down stitches cover the raw edges and the satin outline completely covers the edge. See below:


- Leave everything in the hoop. Return to menu and select buttonholes for the center, Design #2, In the Hoop Napkin RingPt2.pes. Stitch buttonholes.
- To finish the design, return to the menu once more and select Design #3, the Brother Free Design of the Month, Golden Circular Crest.pes. See Figure #4.
 Figure #4[/caption]
- Remove from hoop, trim excess stabilizer and soak to remove residue. Press and then open buttonholes. See Figure #5.
 Figure #5[/caption]
- Set machine for sewing. Slip ribbon through buttonholes. See Figure #6a. Bring the two ribbon ends together with right sides facing and sew ends using a ½-inch seam allowance. See Figure #6b.
 Figure #6a[/caption]
[caption id="attachment_17682" align="aligncenter" width="800"]
Figure #6a[/caption]
[caption id="attachment_17682" align="aligncenter" width="800"] Figure #6b[/caption]
- Use a straight stitch to tack down the seam allowances at each end and keep them flat. See enhanced photo of stitches in Figure #7.
 Figure #7[/caption]
- Slip ring over napkin and admire your creation! See closeup below:

Options and Ideas:
- Consider making placemats or a tablecloth to coordinate with the napkin rings.
- Embroider a small monogram letter at the center of the ribbon so it is prominent when the ribbon is laced through the ring.
- Stitch the napkin ring using decorative fabric and skip the crest. See below:

Related Projects
Stay Connected
* Required fields
Follow Us
- Product Support
- Product Support Assistant
- Terms of Sale
- Product-Registration
- Search Supplies/Accessories
- Ordering & Shipping Information
- Ordering & Account FAQs
- View Order Status
- Warranty & Extended Warranty Information
- Recall Information
- Return Policy
- Security Support Information(Opens in a new tab)
- Contact Brother
