Fun DIY Camera Case Project
Hello fellow sewing community! Laura here from Trash to Couture
and I recently got the new ST4031HD Brother Strong and Tough Serger
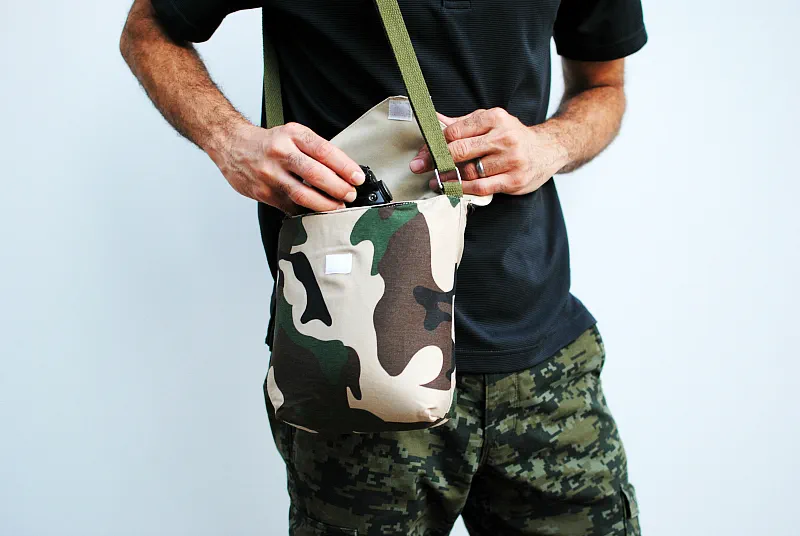
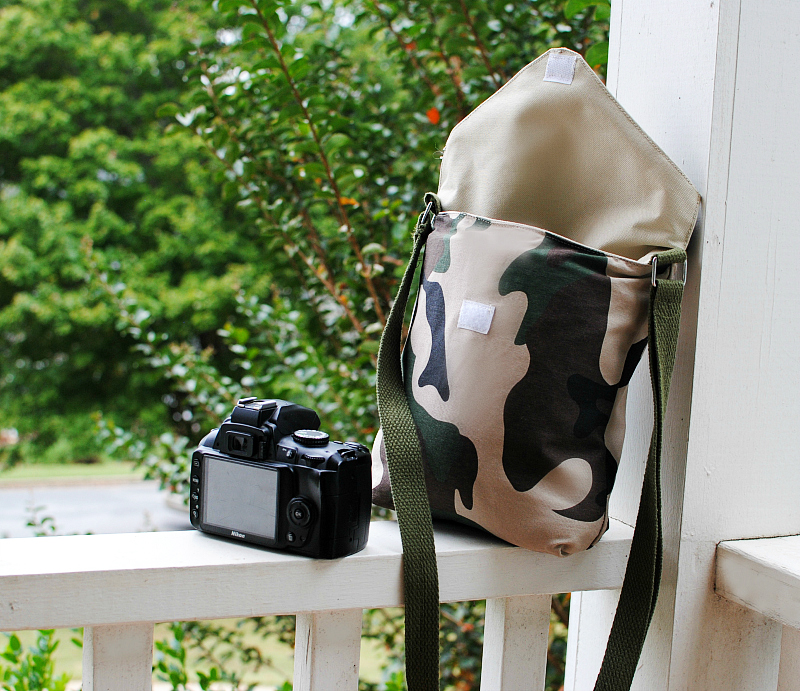
and couldn’t wait to test it out on heavy duty projects. I was inspired to make something that was STRONG and TOUGH for my husband. He’s an excellent photographer and does most my blog photos as well as some for his company. He uses my custom camera case when taking photos and it makes me giggle with the feminine details and my monogrammed initials on the front. What a perfect project to test out on the ST4031HD Serger
and make him a camera case. It needs to be made with layers of heavy weight fabrics like canvas or vinyl. It’s also the perfect DIY project for you photographers or gift for one in your life. Get the details below on how to sew or serge a padded camera case in no time.

Supplies:
- 1/2 yd. exterior (medium to heavy weight fabric: (canvas, vinyl, etc)
- 1/2 yd. liner (medium to heavy weight fabric)
- 1/2 yd. 1/2" thick padding (You can find this at any local fabric store in the stuffing section)
- Hook and loop fastener attachment
- Rectangle rings
- Straps
- 2 Swivel hooks
- Strong and Tough Serger

Cutting:
- 1 exterior piece 11" x 27"
- 1 liner piece 11" x 27"
- 1 padded piece 10.5" x 26"" (It should be slightly smaller to fit inside the case once sewn).
Tip: I made
enough room so that
the camera and lens attached would fit perfectly.
You will want to measure your
specific
camera and adjust accordingly.
enough room so that
the camera and lens attached would fit perfectly.
You will want to measure your
specific
camera and adjust accordingly.
Note: For the Hem Allowance, I made the hem ¼” because I used my serger. If you plan to use your sewing machine use a 5/8” hem allowance.

Steps:
- Fold over each flap so that there is a 1" gap on the top raw edge.
Press and cut.
Then use this as your template for the liner and padding.

- Add your (soft side) hook and loop fastener attachment at midpoint and 2.5" down from the raw edge.


- Fold your exterior and liner pieces 1.5" from where the slant starts.
Sew right sides together for the exterior piece (where the pins are).
For the liner you will need to leave a 3.5" opening on the side.
I'd make sure it's 2" up from the bottom since we will be sewing a fold right there.


- Fold each corner so the seams lay flat in the middle.
Press the seam allowance over to one side and mark about 1 1/4" up a straight line across.
Pin into place.

- Sew along the line. Cut the remaining edge off and serge. Repeat for liner.

- Cut 2 x 2” of the belting and fold over the square rings. Baste along the raw edge to keep them from moving.

- Place the exterior piece right side out into the liner so the right sides are together. Pin the rings in between the exterior and liner along the sides (where the pins are) so that the ring part is facing down and the raw edges are aligned. You can baste stitch them into place before serging.
- Pin everything into place and you will sew or serge starting at the side seam going across the to the other side seam, up the flap and all the way back down to the seam you started at.
There should be no opening.

- Now take everything out from the opening in the liner.
You can then top stitch the flap and front.

- Create a padded liner by repeating steps 3 through 5. I would suggest using a sewing machine and not the serger for the padding.

- Take your padded piece and place it in the liner opening.
It works!
Take your time tucking it in and make sure it's positioned right. Adjust so it fits perfectly in between the liner and outside.

- Sew the (hard part) hook and loop fastener attachment to the tip of the flap edge. I just sewed a square and then an x in the middle.
- Sew the liner opening up.

- Add the strap by either sewing it around the rings or add a swivel hook.
 Now you have a camera case that is not only convenient for travel but effective at protecting your camera. If you have any questions or comments let us know below. For more DIY tutorials and projects visit Trash to Couture

