Fun Doll Quilt
Lately, I’ve been a bit obsessed with my ScanNCut,
and I found this cute little doll quilt that turned out to be a fun sewing project. The ScanNCut
helps with the fabric cutting and, in a short time, I completed the project. And along with my Brother NS1750D,
I also tried some free motion quilting (this was a great project to try out that technique). Here’s my finished quilt, then we will dive into the tutorial.
 For this project, I used
- Four fat quarters
- Doll Quilt.svg File
- ScanNCut machine
- Brother NS1750D

- Upload the SVG file
to your ScanNCut software, then transfer it to your cutting machine. Use a high tack mat on top of your regular mat for the fabric.

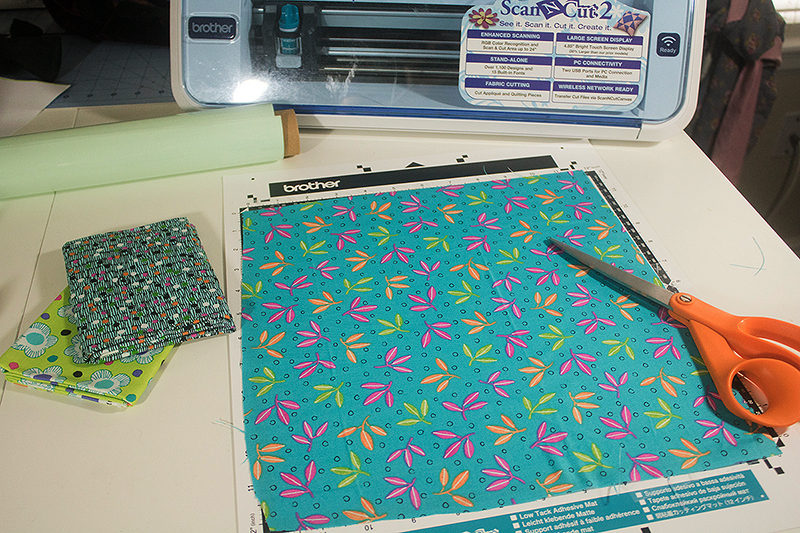
- Cut a 12 x 12” square of fabric and apply it smoothly to the high tack mat. Adjust the cutting blade for your fabric.

- Load mat into machine and cut. Repeat with two other fabrics, you should have three different fabrics cut. The fourth fat quarter will be the backing.


- Lay out your squares and triangles into the design of your choice. My doll quilt was 4 x 4 squares, but you have enough to make it 4 x 5 if you want. Begin by sewing the triangles into squares. Use a narrow ¼” seam allowance.

- Arrange your squares again and then begin sewing each row together. I used the same ¼” seam allowance. After you have the rows sewn, line up the corners and sew the rows together to form the quilt.

- Cut the quilt backing the same size as the quilted front. Place the front and back together with right sides touching. Sew the perimeter of the blanket with a ⅜” seam allowance. Leave a 2” opening to turn.

- Turn the quilt right side out and press. Fold in the opening and stitch it closed, as well as top-stitching around the entire edge of quilt. Quilt by sewing on the grid lines or experiment with free motion quilting as I did. I made some basic loops. This is a great project to try out free motion as it’s nice and small.
 What a fun little project. If you want it bigger you can just cut more squares with your ScanNCut. The quilting design possibilities are endless. Design, cut and have fun!!


