Fun Embroidered Christmas Jumper
I’ve made my favorite jumper pattern as my Daughter’s Christmas dress for a couple years now and this year I’m adding a fun touch with a Disney Embroidery Design created on my Brother Innov-ís NS1750D.
I love the fun Disney® Christmas Designs you can purchase on the iBroidery site
this holiday season. Here are a few tips for creating a super cute embroidered Christmas Jumper.
 Super cute right? This is the free crisscross jumper pattern from Life Sew Savory and I love the sweet back and the button strap is adorable.

- Let’s talk about putting embroidery on a dress. I like having a lining to cover up the back side of the design and also so it doesn’t rub your skin. So first find a pattern you want to use and a cute Christmas design from iBroidery.com.
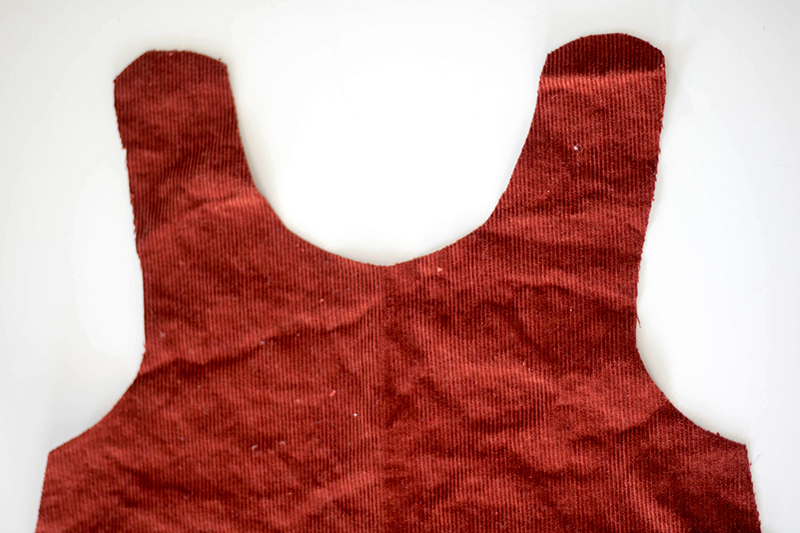
Cut out your dress front.
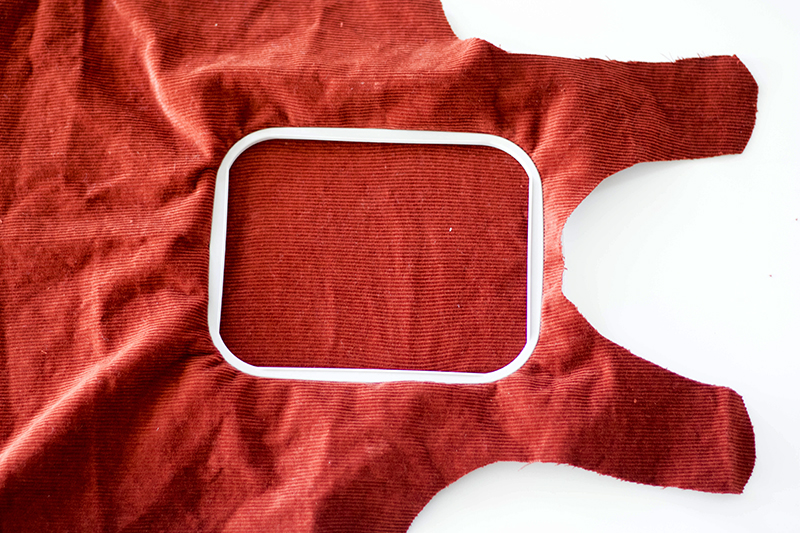
- Center your hoop (with stabilizer on the back) in the place you want your design.
- Use your machine to embroider the design. I love this Christmas design that I used. I edited it from four colors to three colors to just green, white and red.
- Now you have a finished front design and the back.


- You could leave it just like this but adding a lining covers stitching and if you use soft flannel like I did, makes for a pretty comfortable jumper. This jumper is put together by sewing the outside all together, then the lining together, then sewing the whole thing right sides together and turning.

- Add adorable buttons to the straps and you have a wonderful festive Christmas jumper all ready to go. I used the buttonhole foot on my Brother Innov-ís machine and it worked like a dream for a perfectly sized hole.


- There are so many fun new Disney Christmas designs you will have to check out. What will you embroider on this season? I want to make some festive dish towels and maybe some new stockings… I can’t wait to try more designs!
Related Projects
Stay Connected
* Required fields