Fun Fabric Gift Tags

You are going to love these cute fabric gift tags. They are versatile and add a handmade touch to any gift. I love giving homemade gifts, but sometimes a gift card is really the best option (teacher gifts!!!) So, I started making these adorable fabric gift cards, so I can still give a bit of handmade love with the gift cards my child’s teacher really wants. You can also make fabric tags for Christmas.
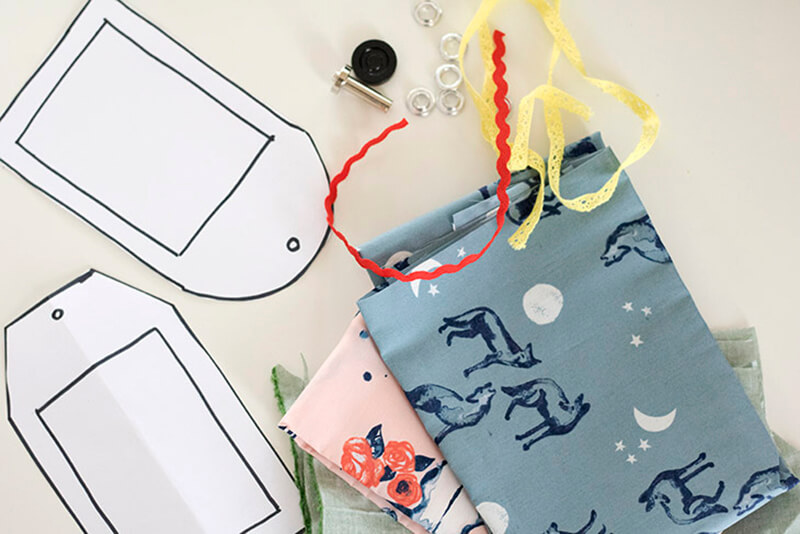
Gather the supplies you will need!
- Embroidery machine designs you want to make
(think Thank You, Merry Christmas...etc.) - Click here to print the template
- Scraps of fabric
- Iron on interfacing (light or medium weight)
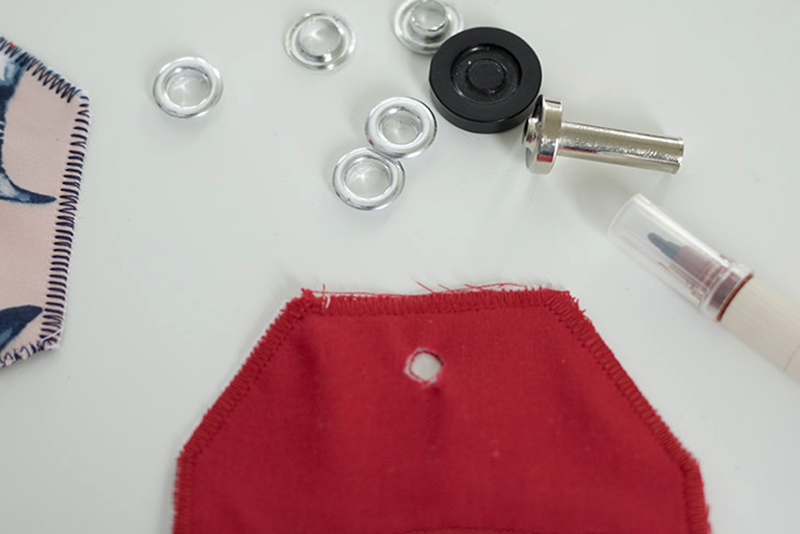
- ½” grommets
- Cut the fabric as directed on the template. You will need one full cut of fabric and interfacing, one cut out middle of fabric and one rectangle of a solid, light colored fabric to embroider on. (do the embroidery before you cut to size). Fuse the interfacing to the wrong side of the full fabric. This will give some stability to the tag.

- Use a Brother embroidery machine
to add a note to your gift tag.


- Layer the fabric with the interfacing side of the back, then the rectangle with the words.

- Finally, lay the cut-out piece on top, right side up.
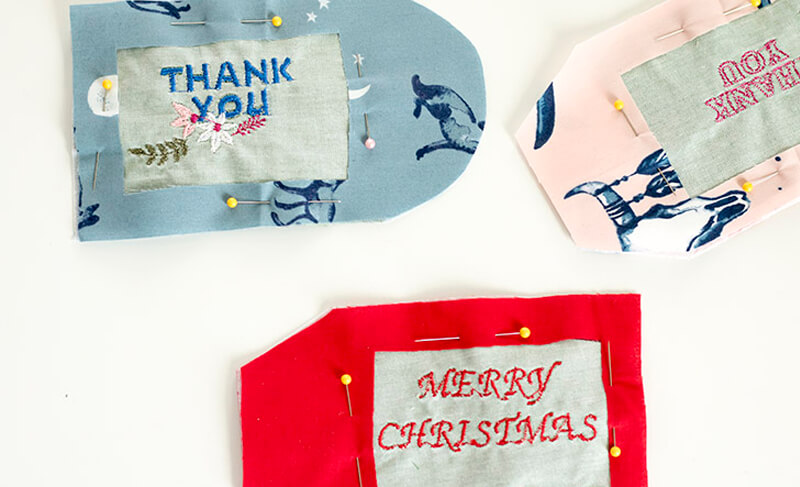
- With a close zig-zag stitch, sew around the opening on the tag and the outside perimeter. Catch all the layers of fabric when you sew.

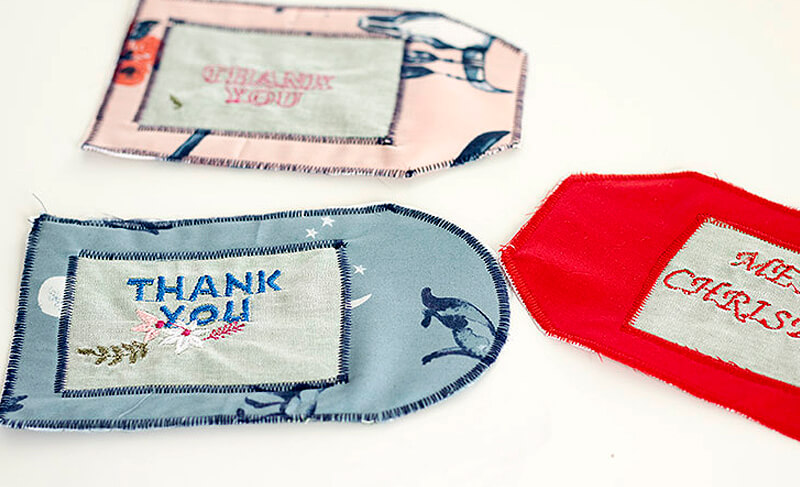
- The backside will show your stitches so choose your bobbin color with this in mind.
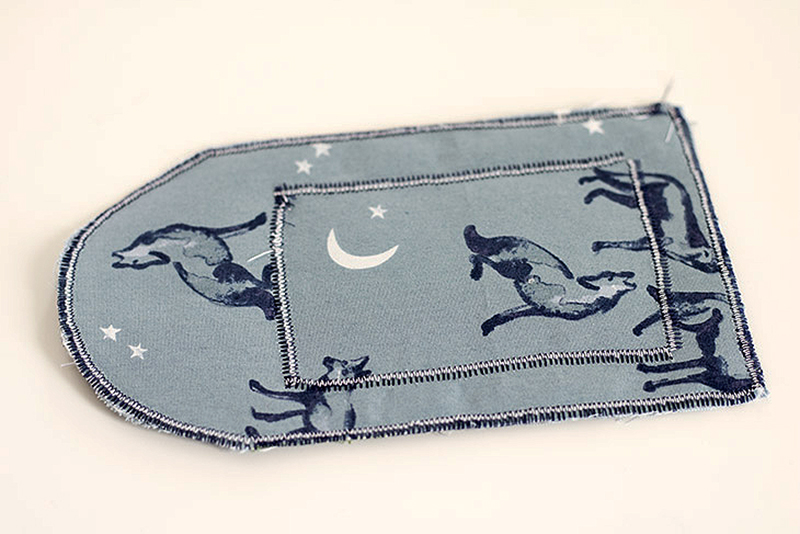
- You can sew a ribbon on the top of the tag, or you can add a grommet for a cute detail. Mark where you want the grommet.

- Cut a small hole in your tag with sharp scissors and insert the grommet, tapping with a hammer to secure in place.
- And you are finished!! What will you use these adorable tags for? Teacher appreciation? Birthday gift? Christmas or Thank You? So many options!!

Related Projects
Stay Connected
* Required fields