Fun Quilt Block Envelope Pillow
Brother Sews Blogger
If you’re anything like me, anytime I see a really cool quilt pattern that I just have to make, I drop everything I’m doing and make precisely one block. It’s cute, I post it to the ‘Gram, and then I go back to my regularly scheduled programming. 5 years into quilting, I have a couple dozen gorgeous quilt blocks on my UFO (Unfinished Objects) pile that will never grow to their full potential even though I love each and every one of them to bits. Now don’t fret everyone, I’ve got the solution to your quilt blocks woes: turn it into an envelope pillow.
More often than not, this grid-on-point is my go-to, minimally planned, maximally fabulous quilting design for small project. Similar to a little black dress, it seems to look really good no matter the occasion.
If you’re anything like me, anytime I see a really cool quilt pattern that I just have to make, I drop everything I’m doing and make precisely one block. It’s cute, I post it to the ‘Gram, and then I go back to my regularly scheduled programming. 5 years into quilting, I have a couple dozen gorgeous quilt blocks on my UFO (Unfinished Objects) pile that will never grow to their full potential even though I love each and every one of them to bits. Now don’t fret everyone, I’ve got the solution to your quilt blocks woes: turn it into an envelope pillow.
What You’ll Need:
- Quilt Block (I taught Angela Wolf how to make this quilt block on Brother Sews Facebook Live)
- 24” x 16” of fabric for backing
- Fusible Fleece & Fabric Square for lining the size of the block (mine is 16” x 16”)
Product Used:
Brother SE 1900
(AKA Alphonso)
Walking foot
(AKA Alphonso)
Quilting the Block (Grid on Point)
More often than not, this grid-on-point is my go-to, minimally planned, maximally fabulous quilting design for small project. Similar to a little black dress, it seems to look really good no matter the occasion.


- Sandwich and baste the quilt block, fleece & lining
- With a ruler & temporary marking tool, draw the diagonal from corner to corner
- Using a 3 mm stitch length, sew along the diagonal line


- Moving the needle all the way to either side & using a 3 mm stitch length, line the edge of the walking foot opposite the needle to the diagonal stitch-line and sew.
- Continue this will all lines going in one direction before following the entire process to quilt the perpendicular direction to the original lines.
- Square up the quilted pillow front.
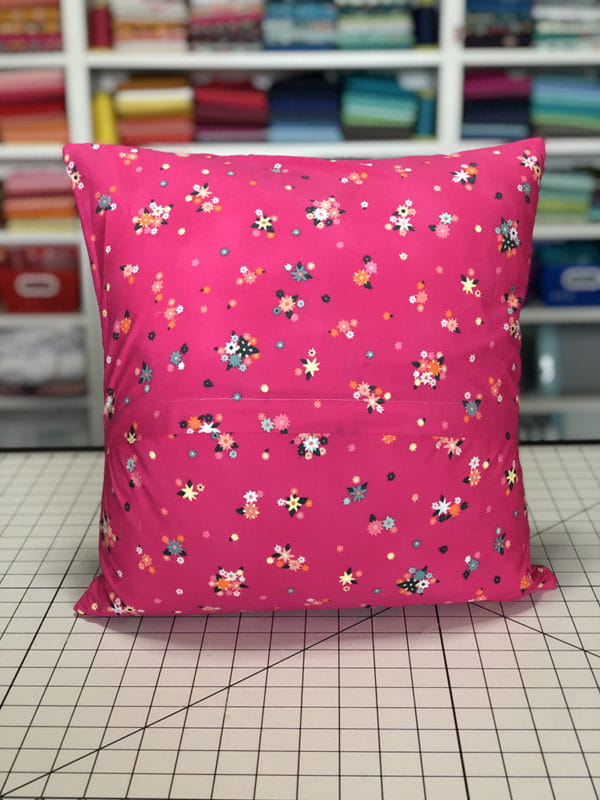
Envelope Back Goodness
- Cut the 24” x 16” piece of backing fabric into two equal 12” x 16” rectangles

- Take one rectangle and along one of the 16” raw edges, fold at 2” and press.
- Open fold and refold raw edge along the press line from the previous fold.
- Fold the fold (called a double fold) and press.

- Using the same thread in the bobbin as the top stitch, edge stitch along the fold from the back.
- Take second rectangle and follow the same process.
Constructing the Pillow Form


- With the pillow front face up, lay the top portion of the envelop back right-sides-down on top, lining up the top and side raw edges.
- Do the same with the bottom portion along the bottom and side raw edges.


- At a minimum, clip/pin the double-folded sections to avoid shifting as you sew.
- Since quilt blocks are constructed using a 1/4” seam allowance, sew around all four raw edges using 1/4” seam allowance.
- To reinforce the envelop back opening, stitch along the side seams a couple more times.
- Turn right-side out, poke out the corners and press.
- Insert the pillow form and enjoy your 100% totally intentionally created pillow form moving one tally from the UFO column onto the FINISHED column.

 Fun Quilt Block Envelop Pillow_Stitching Sewcial PDF
Related Projects
Stay Connected
* Required fields