Functional DIY Phone Cross Over Pouch
Whether it’s the pool, beach, or lake, summer break for my family means spending a lot of time around water. Both my kids are on a swim team and I’m a timer for the meets, which means getting splashed a lot! So, I wanted to make a simple/small cross-over pouch with a clear panel to keep the essentials safe from the water and still have them on me. I designed this to be large enough just to fit my phone, keys, and money. I like having the clear vinyl pouch so I can glance at a buzzing phone and even reply to texts and such without even taking it out of the pouch. It’s a quick project that can be done in no time. Get the details below and make your own.

Supplies:
- Brother Sewing Machine SE1900
- All Purpose Zipper 7”
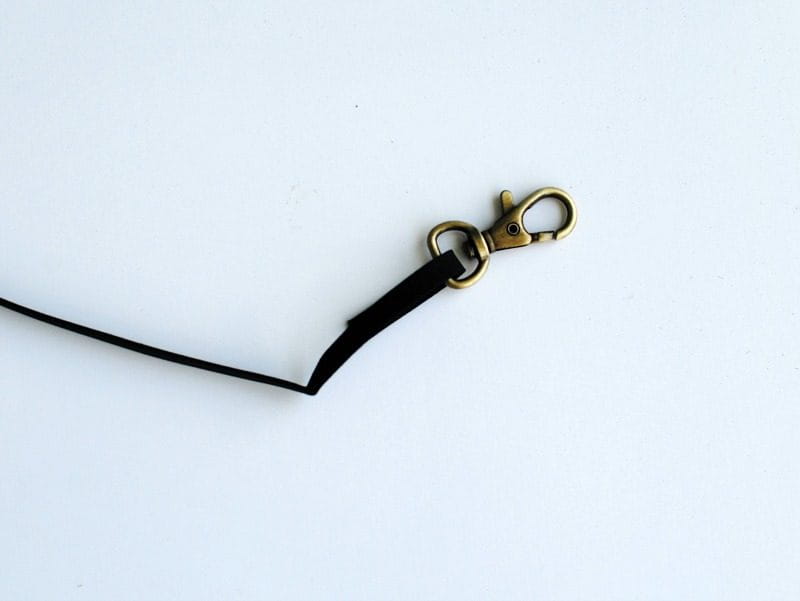
- 2 small swivel hooks
- Clear Vinyl
- Vinyl
- Double Fold Bias tape ¼”
Cut out the following:
- 1 back 5” x 8.5” (I’m using a black vinyl)
- 1 front top panel 5” x 2”
- 1 front clear vinyl 6”x 5”
- 2 x 1” tabs
- 1 long strap (your measurements)

Step 1
- Sew a strip of bias tape along one side of the zipper tape.
- Place zipper right side up along clear vinyl and topstitch along the edge. You may need to add tissue paper underneath the vinyl so it doesn’t get stuck under the presser foot.

Step 2
- Place top panel along the top zipper tape so right sides are together. Sew into place.

Step 3
- Topstitch the top panel down along the zipper about 1/8” or so from the edge.

Step 4
- Make sure zipper pull is in the center and trim the zipper to match the sides.
- Fold the tabs in half and place right sides together along the top front edge. About ½” in from the sides. Baste stitch into place.

Step 5
- Place front and back piece right sides together. Make sure zipper pull is open enough to flip right sides out. Be careful you don’t pull the zipper slide off. Pin or clip pieces together and sew all the way around the edges pivoting at each corner.

Step 6
- Clip corners. Flip right sides out. This can be difficult with the materials we are using but it works just fine.

Step 7
- Measure a strip of bias tape/trim/or belting to fit how you’d like around the shoulders. Use a set of swivel hooks and sew the strapping over the swivel hooks.

- Attach the swivel hooks to the top tabs.


