How to Make A DIY Holiday Banner
Holiday decorating is a maker’s favorite time of year! Learn how to make this beautiful holiday banner that can be customized for any celebration. It is easy to create when you use your Brother ScanNCut, the roll feeder accessory, and your Brother serger.
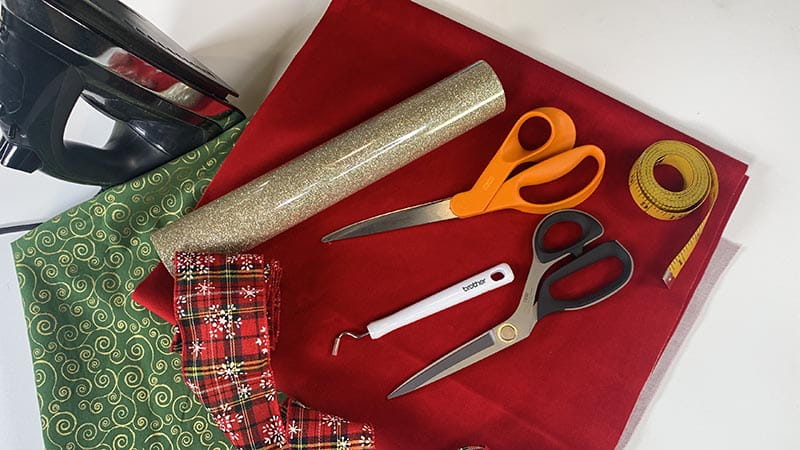
Supplies:
- Brother ScanNCut and Roll Feeder accessory
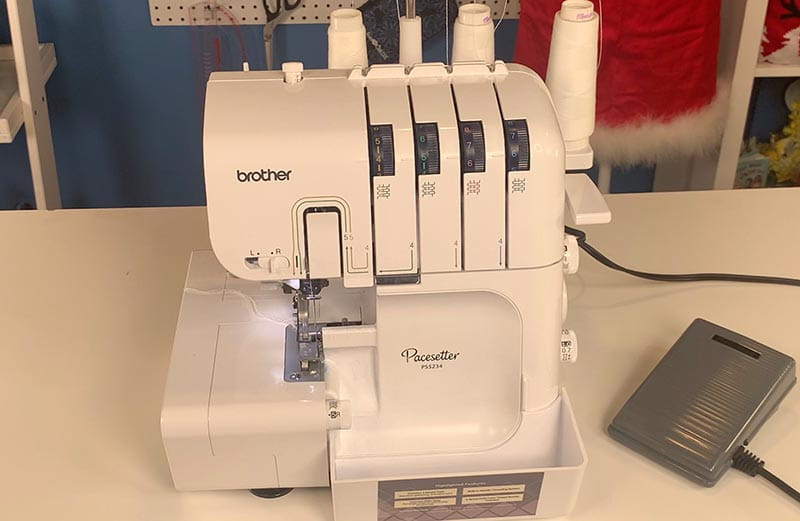
- Brother Serger
- Brother sewing machine
- Two pieces of coordinating fabric - 55 inches in length and 6 inches wide
- Heat transfer vinyl
- Weeding tool
- Paper scissors and fabric scissors
- A measuring tape
- Ribbon
- An iron and parchment pape
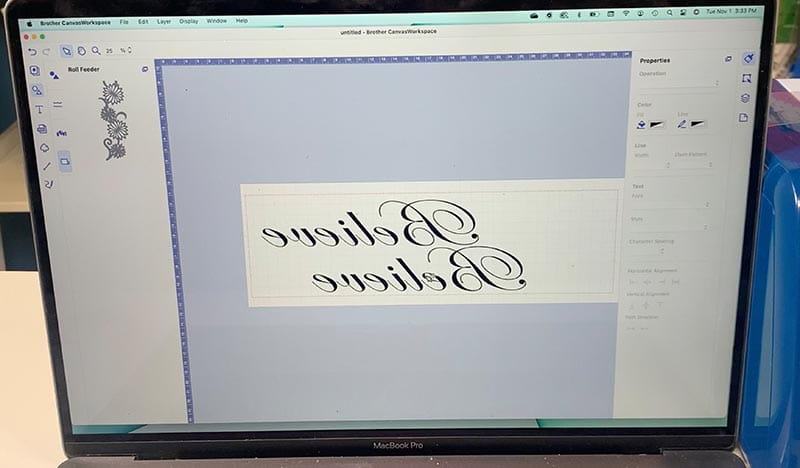
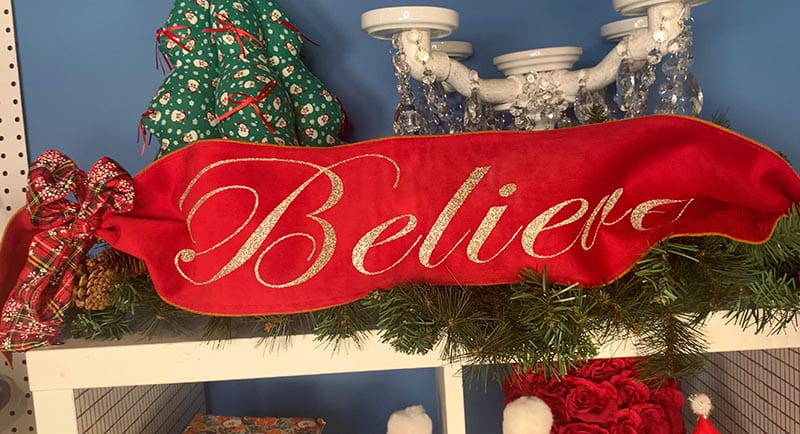
Using your Brother CanvasWorkspace, create your personalized design. If you are using a word like “Believe,” be sure the design is inverted so it will end up the right way after you press it to the fabric.
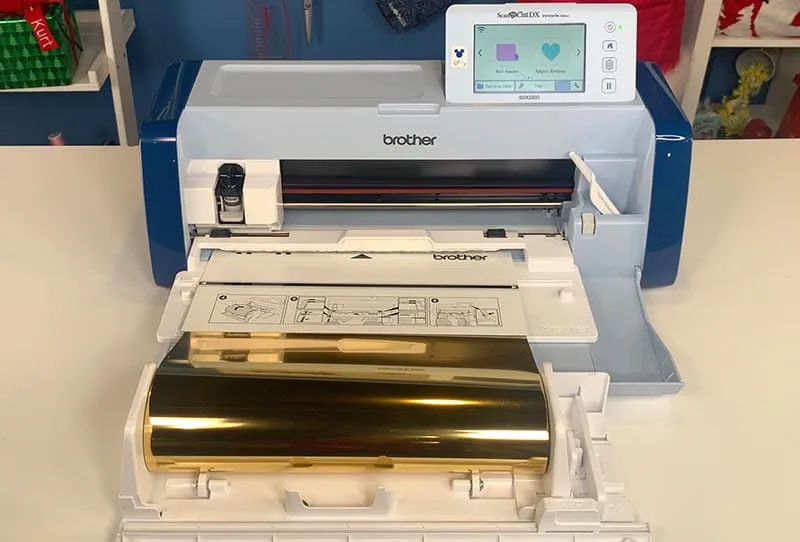
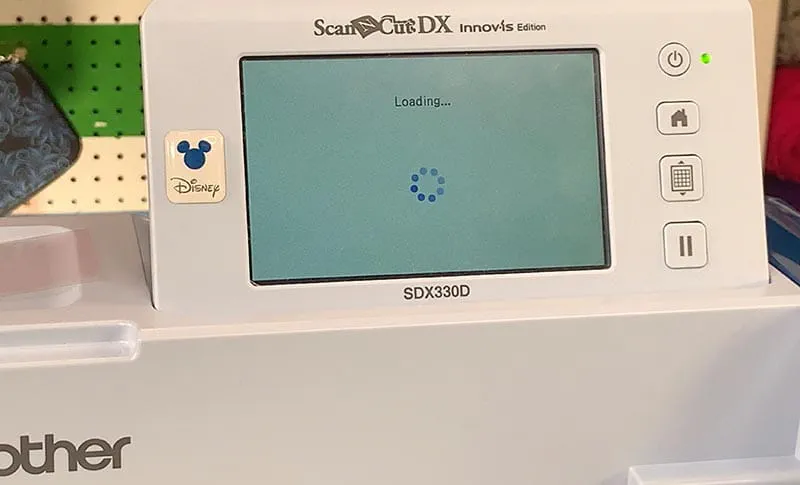
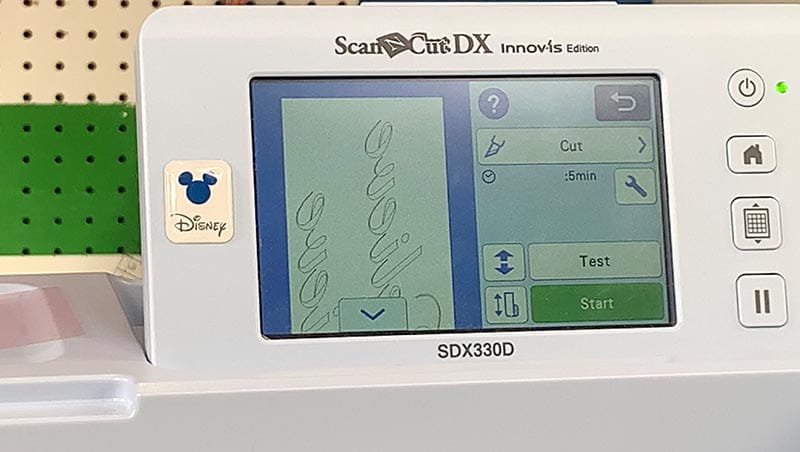
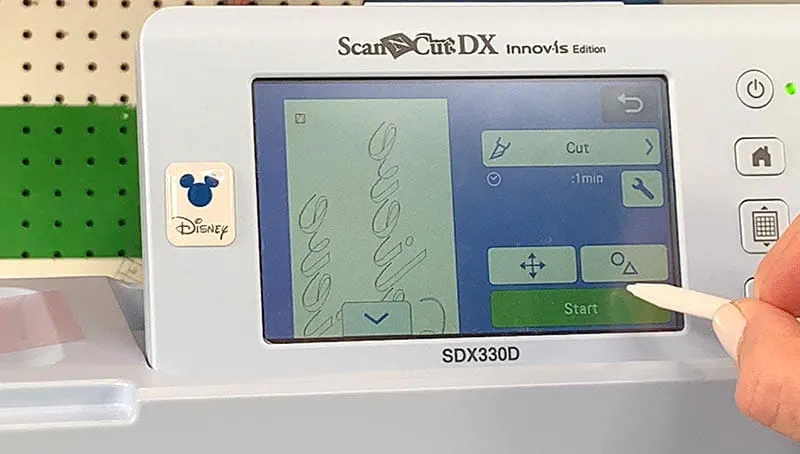
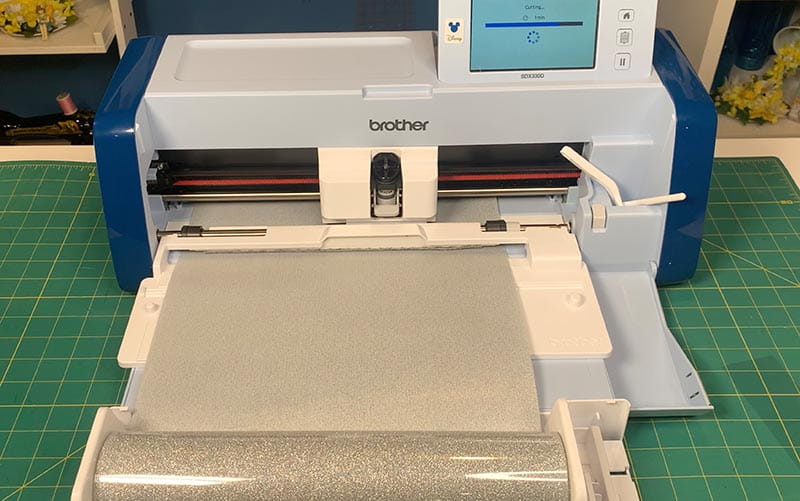
Transfer the design to your Brother ScanNCut and attach the roll feeder accessory. Load the heat transfer vinyl, set the ScanNCut to cut your design and let the machine do the work!

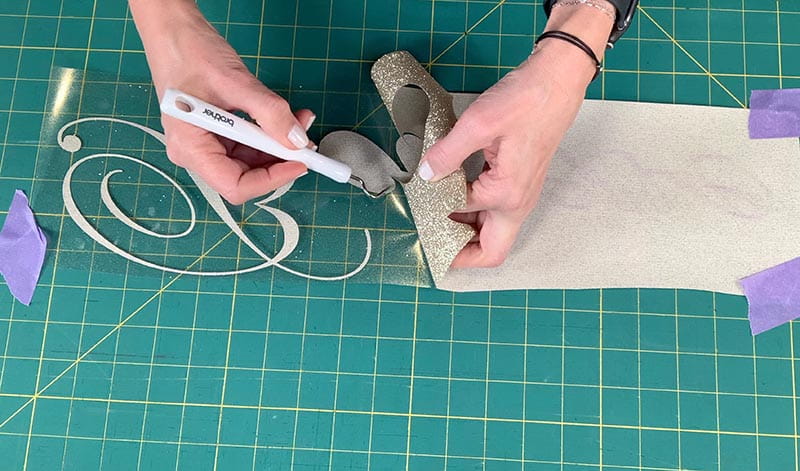
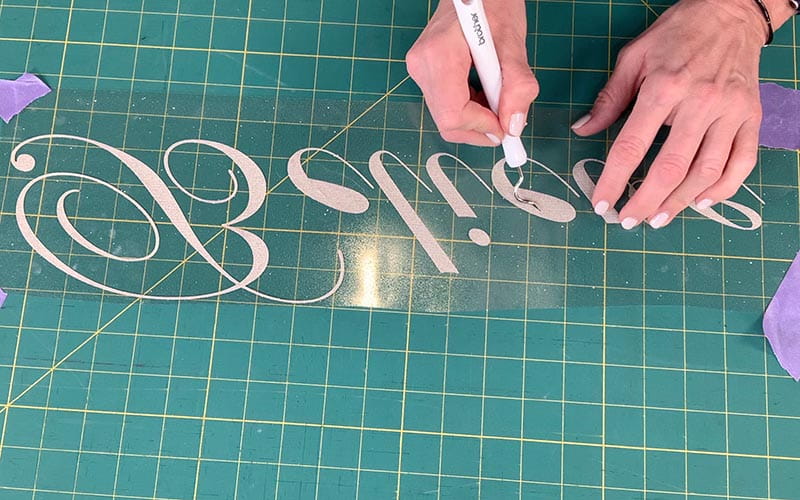
When the cut is complete, use a weeding tool to help remove the excess vinyl.

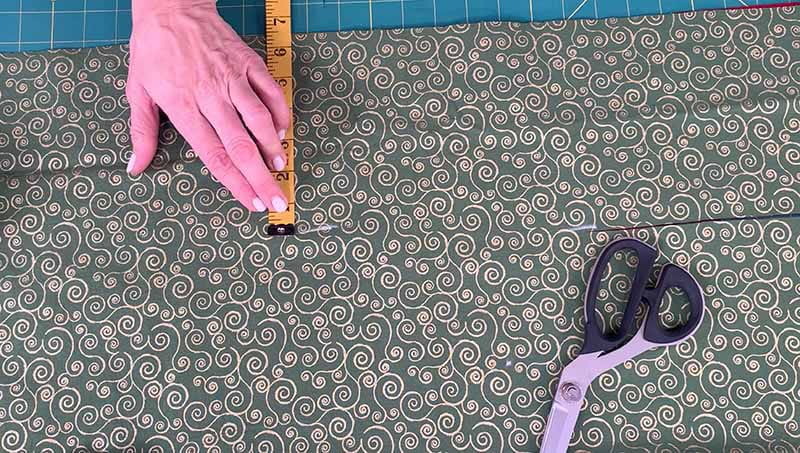
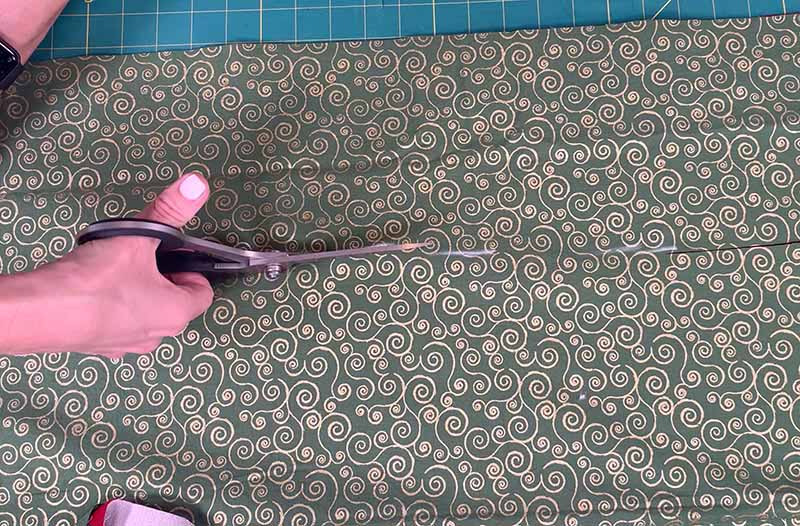
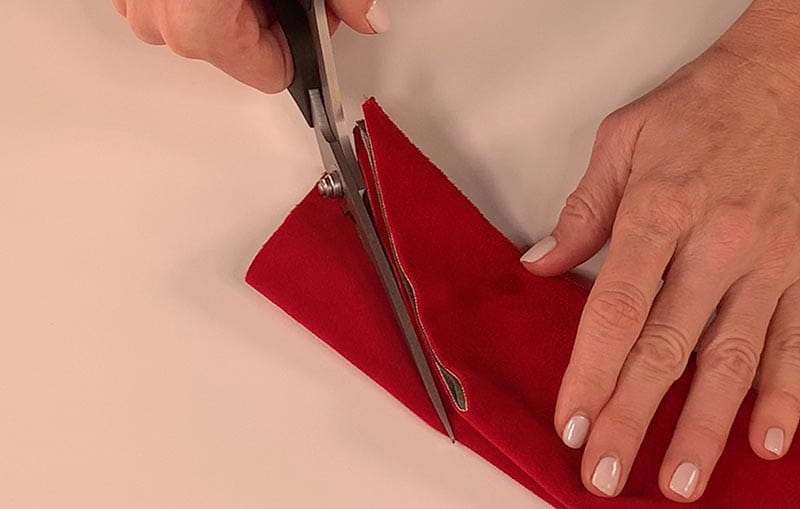
To prepare the fabric, cut two pieces of fabric 55 inches long by 6 inches wide. You can adjust the length to fit the location.

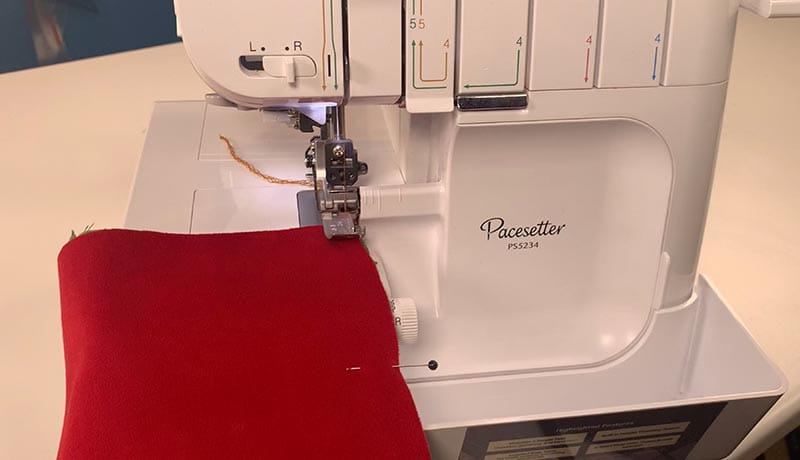
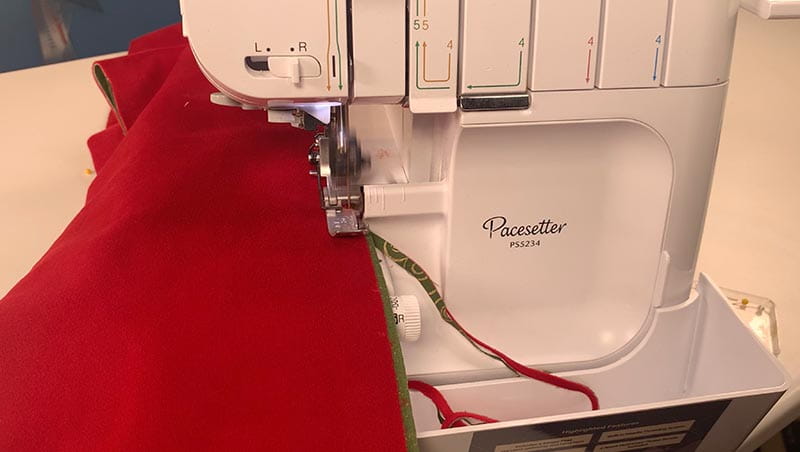
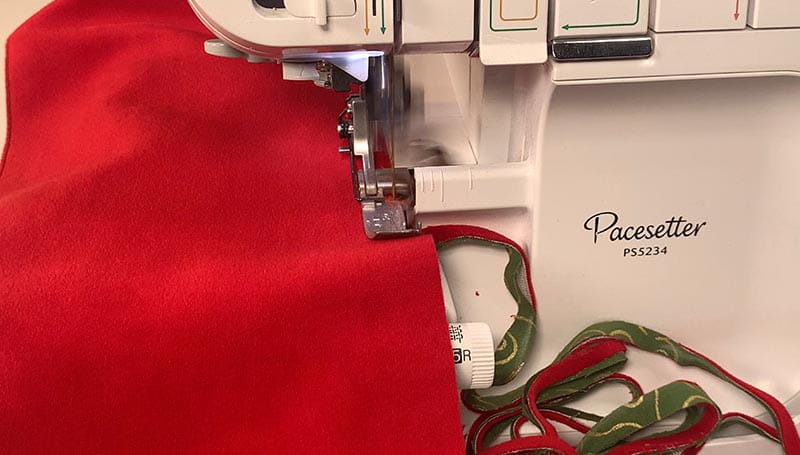
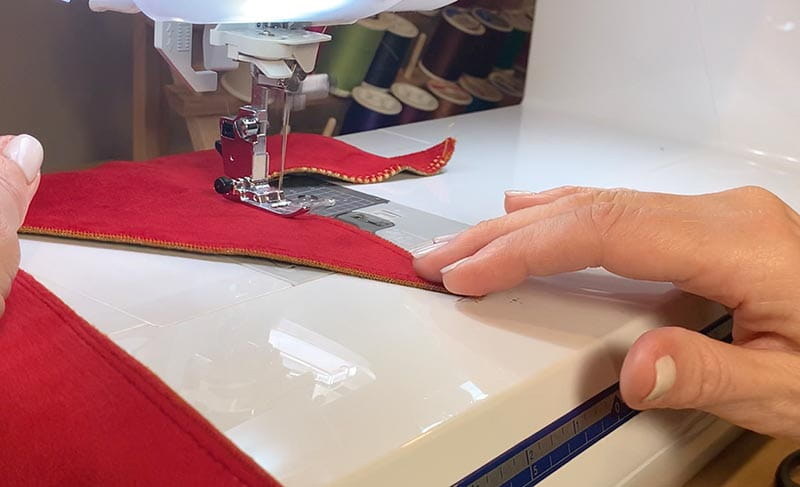
Add the rolled hem foot to your serger, adjust the settings, and with the right sides of the fabric pieces facing out, finish the edges with a rolled hem.
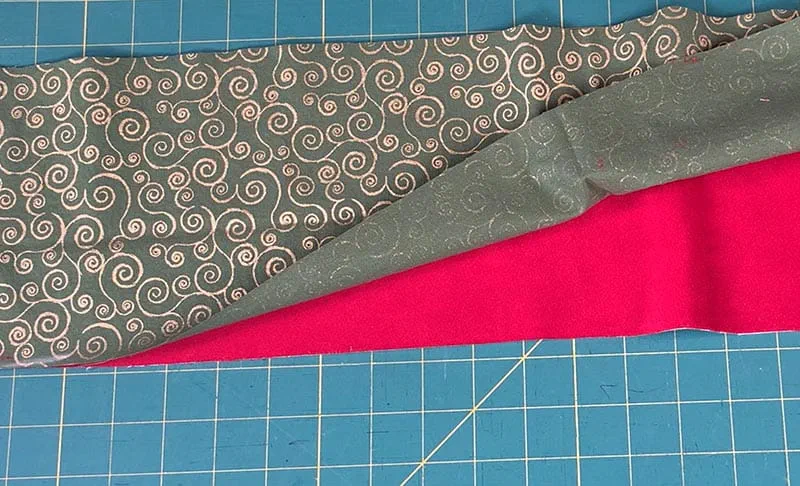
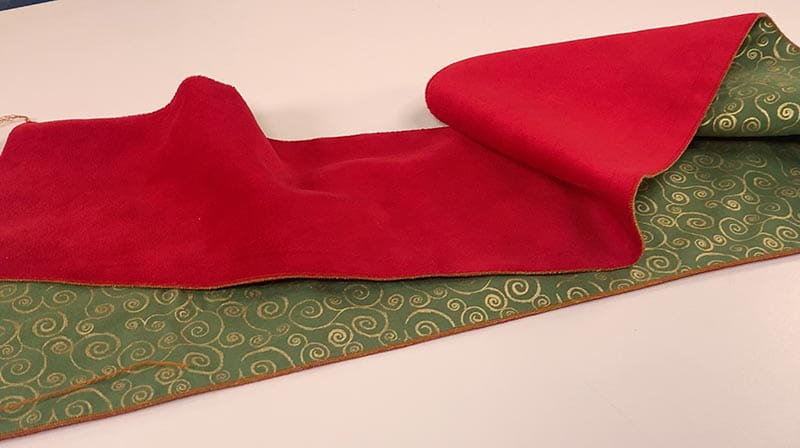
Next, fold the banner in half lengthwise

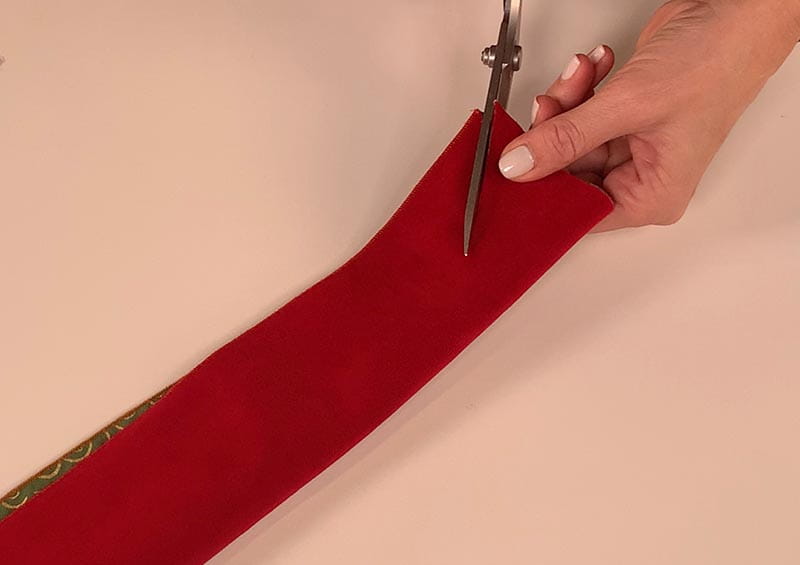
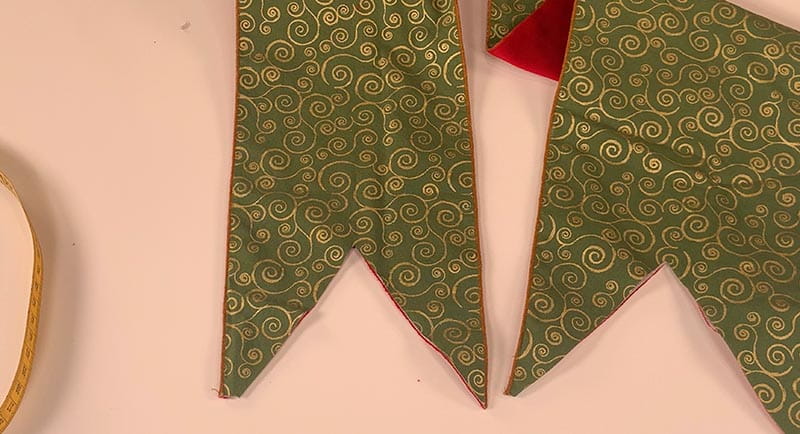
Using one of the many decorative stitches on your Brother sewing machine, top stitch the V-shape ends of the banner.
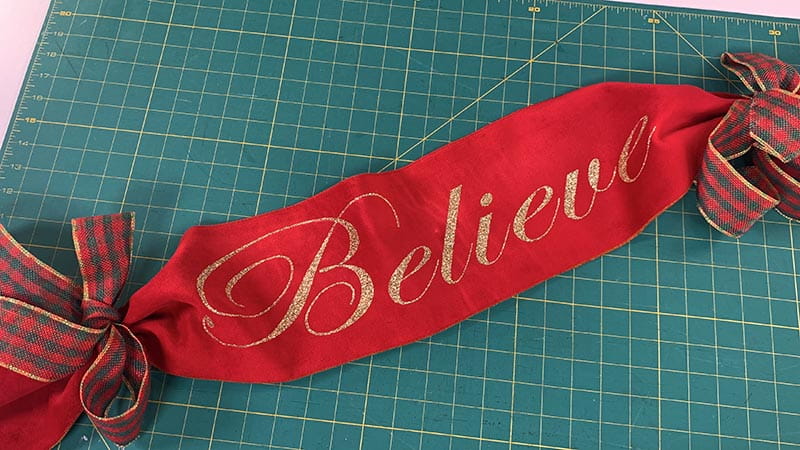
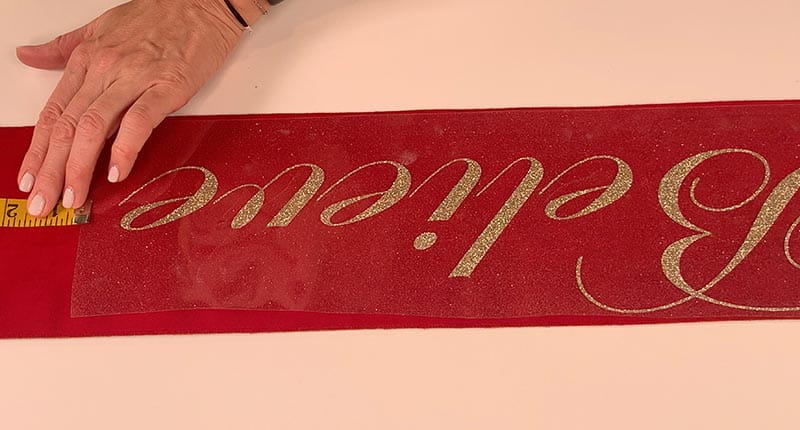
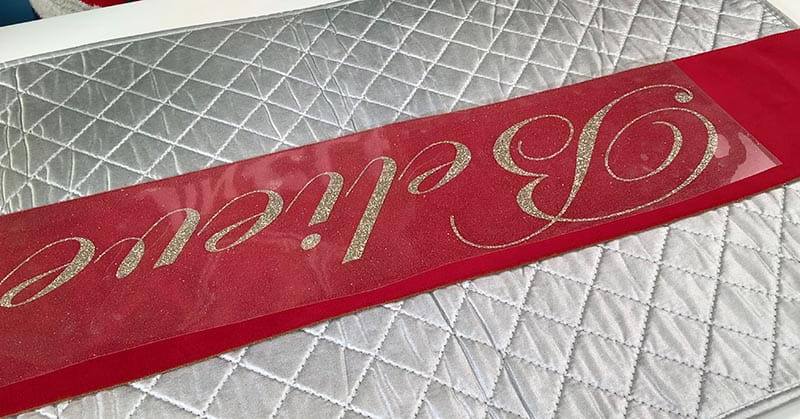
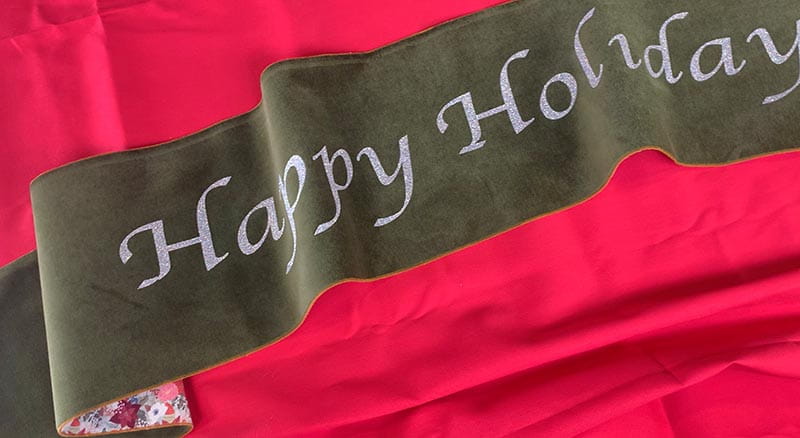
With the banner laying face up, place the heat transfer vinyl design on the center of the banner,
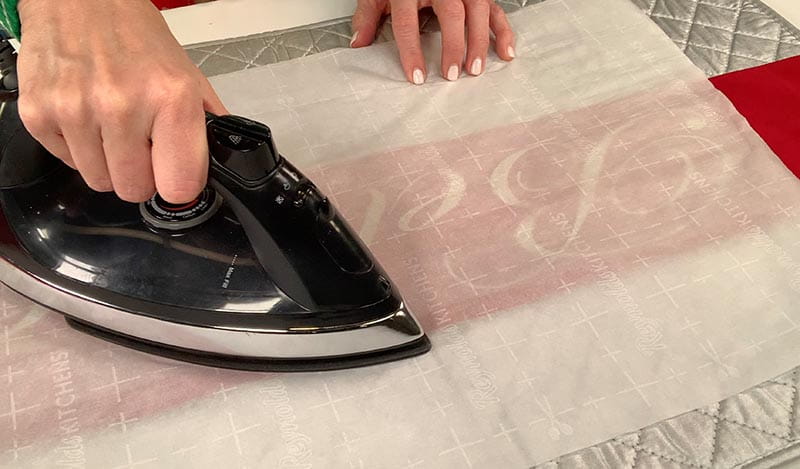
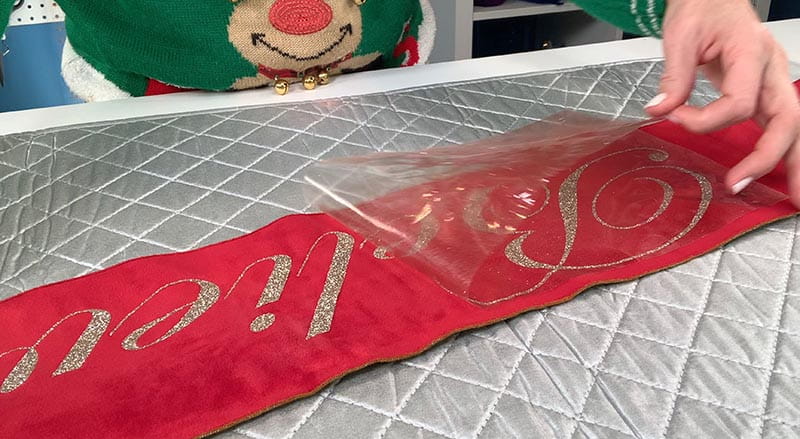
Allow it to properly cool then peel away the protective paper to reveal the design.

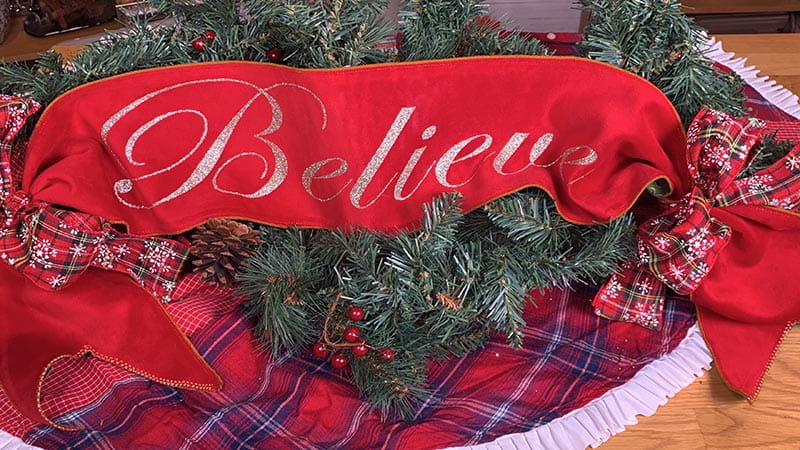
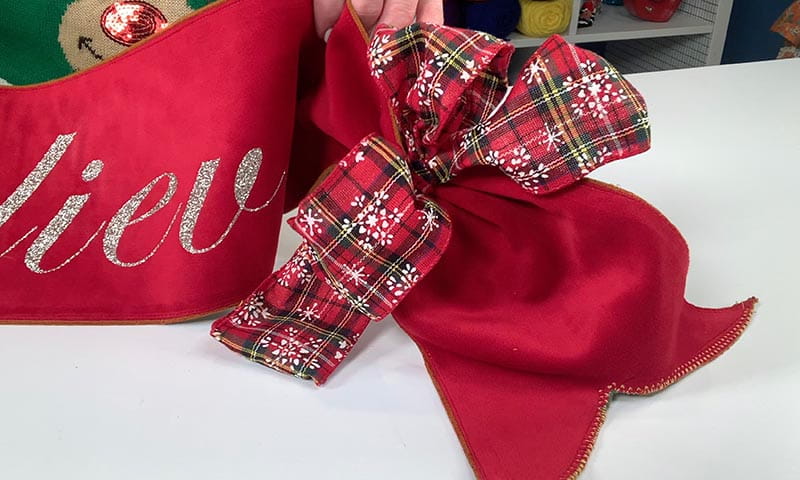
And your project is complete, a holiday home décor banner! Tie the ends with decorative ribbon

There are so many ways to get creative with this project! Use your Brother ScanNCut and incorporate this festive idea into your holiday home décor!


Related Projects
Stay Connected
* Required fields
Follow Us
- Product Support
- Product Support Assistant
- Terms of Sale
- Product-Registration
- Search Supplies/Accessories
- Ordering & Shipping Information
- Ordering & Account FAQs
- View Order Status
- Warranty & Extended Warranty Information
- Recall Information
- Return Policy
- Security Support Information(Opens in a new tab)
- Contact Brother
