How to Embellish a Stocking with Appliqué
286 Embellishing Christmas stockings with applique is a fun way to utilize decorative stitches on the Brother sewing machine and ScanNCut! Mix and match other colors of felt for a completely different look, remember you are the designer.
Machines:
Supplies:
- FREE Stocking Pattern PDF Download for A4 size paper
- FREE Stocking Pattern PDF Download for Letter size paper
- ScanNCut Standard Mat CAMATF12(Opens in a new tab)
- ScanNCut Standard Cut Blade Holder CAHLP1(Opens in a new tab)
- ScanNCut Standard Cut Blade CABLDP1(Opens in a new tab)
- Felt - Main Fabric – 3/4 yd
- 3 Contrast colors of felt for Appliqués, Listed as Colors 1, 2 & 3
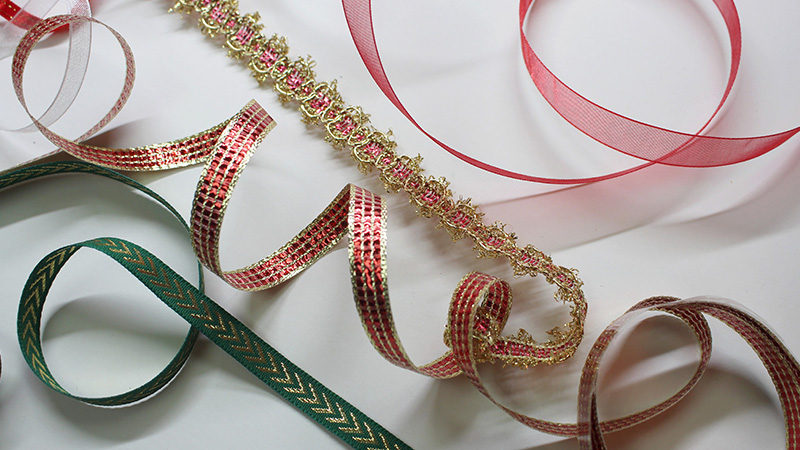
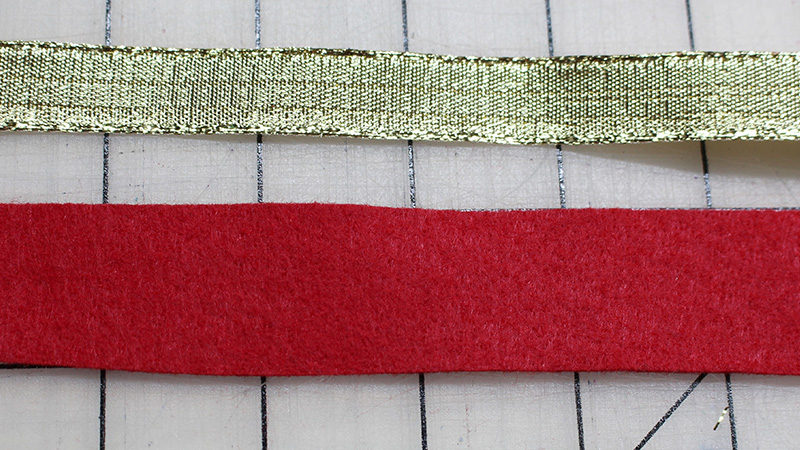
- 3 spools of various ribbon ½” to 1” wide
- Ribbon for Trim on Stocking – 14” long
Steps to Embellish a Stocking with Appliqué
Cutting of Felt Fabric:
- Stocking Piece A: ¾ yard felt
- Top of Stocking Piece B 13” by 5”
- Appliqué C (CUT 1) 2” by 2”
- Appliqué D (CUT 2) 3” by 3”
- Appliqué E (CUT 1) 2” by 3”
- Appliqué C (CUT 1) 2” by 2”
- Appliqué D (CUT 2) 3” by 3”
- Appliqué E (CUT 1) 2” by 3”
- Appliqué C (CUT 2) 2” by 2”
- Appliqué D (CUT 2) 3” by 3”
- Appliqué E (CUT 1) 2” by 3”
PREPARE THE APPLIQUÉ PIECES C, D, E
Cut out the individual pieces with the Brother ScanNCut- Place the pieces of felt on the cutting mat and press the fabric firmly to stick without wrinkles as shown
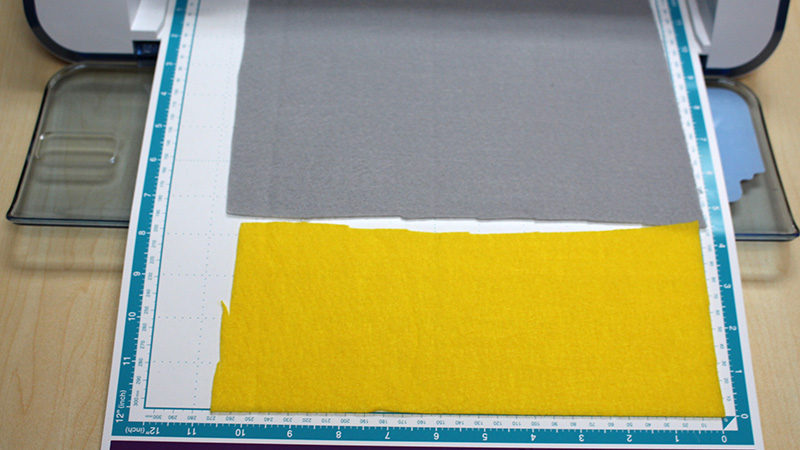
- Test cut a small box to determine the best number for the cutting knife and your chosen felt. I used a setting of 8, but don’t skip this testing step.
- On the home screen choose the pattern icon

- Choose the box icon and adjust the size of the box to 3” by 3” and quantity as needed for the colors on the cutting mat.
- Click add. Choose the box icon and adjust the size to 2” by 2” and quantity as needed for the colors on the mat.
- Click add. Choose the box icon and adjust the size to 3” by 2” and quantity needed for the colors on the mat.
- Scan in the fabric and move the boxes around to the accurate cutting area.
- Click Cut and watch the magic happen!

Designer Note: Check out the built-in patterns in the ScanNCut for additional design opportunities!
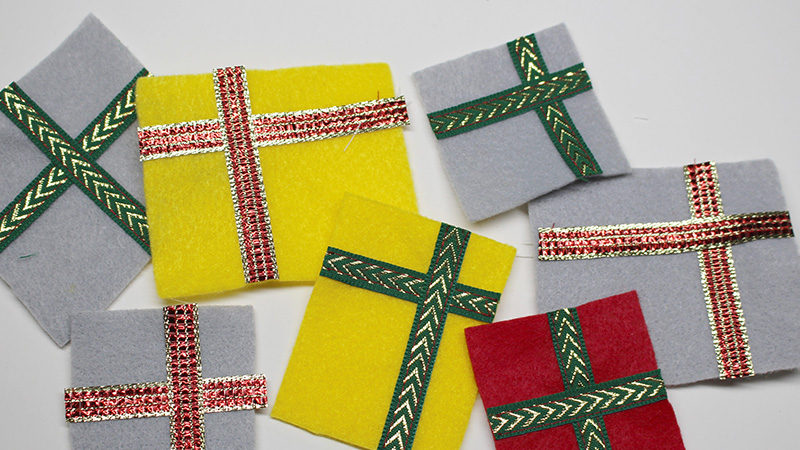
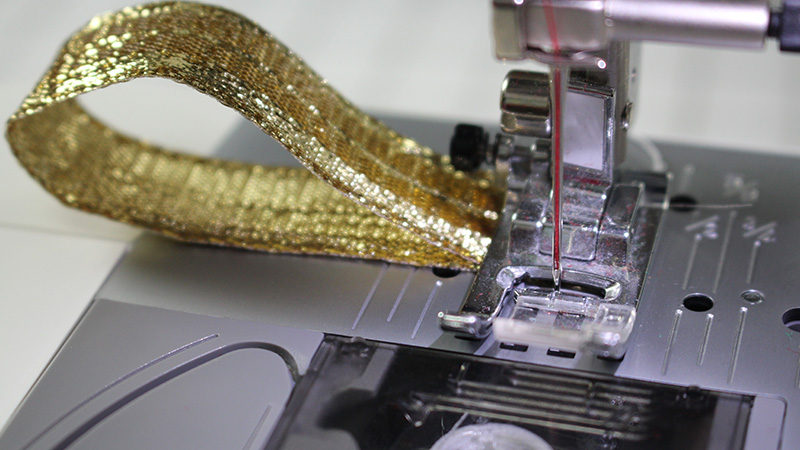
ADDING THE RIBBONS TO THE PACKAGES
- The ribbons represent the gift wrapping on a package. Gold and silver metallic add a touch of glimmer of holiday lights.
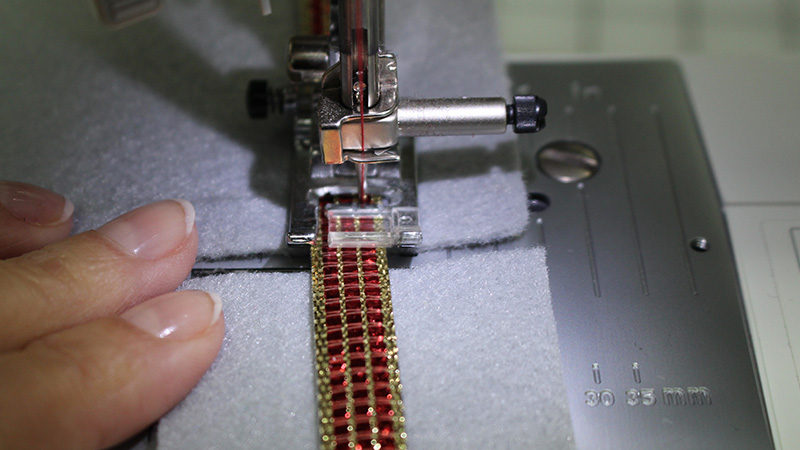
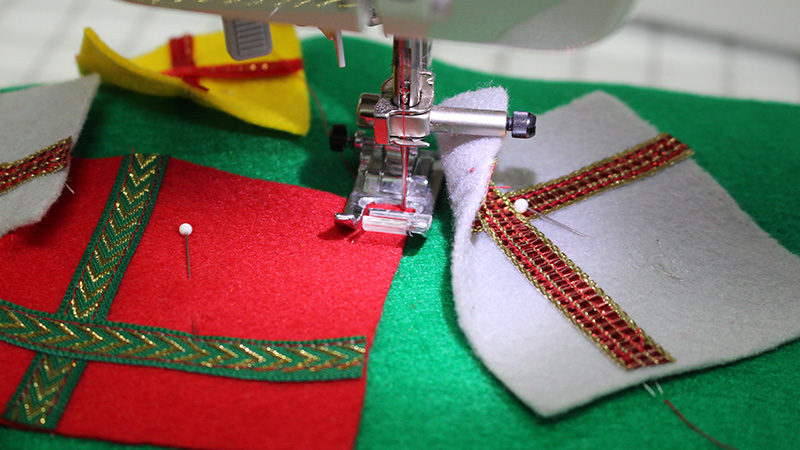
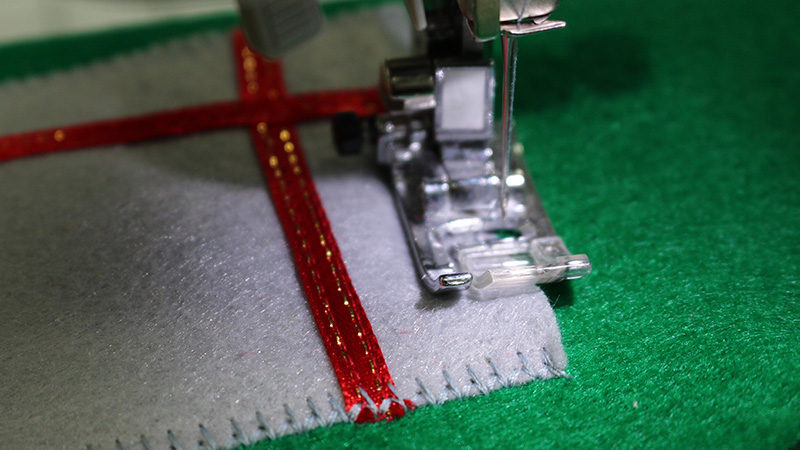
- Line up the ribbon on the first square as shown
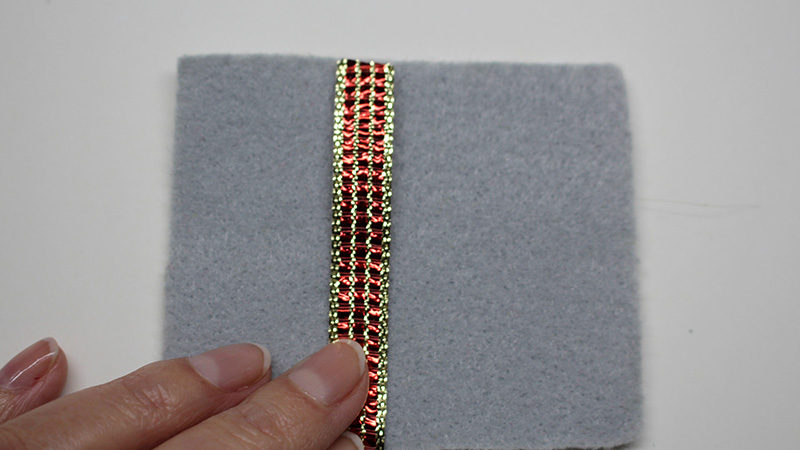
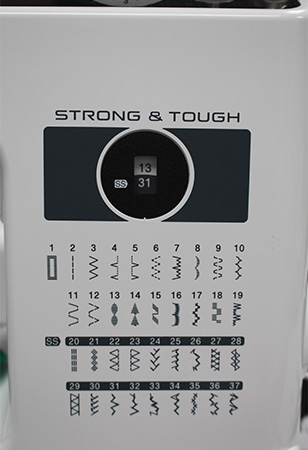
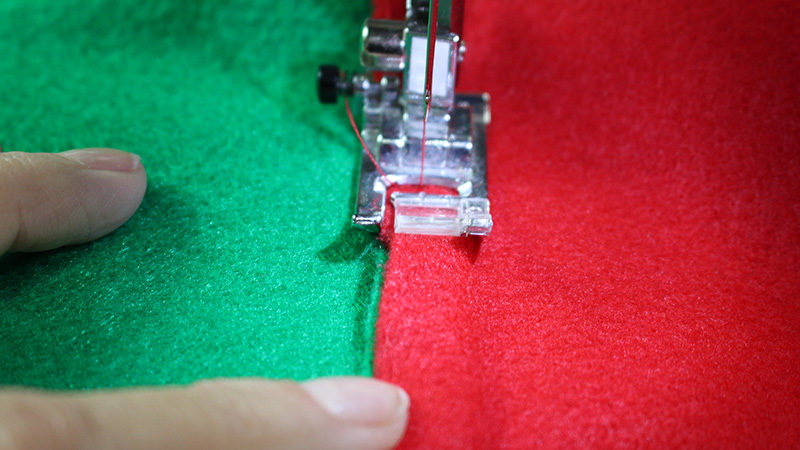
- Set up your sewing machine for a straight stitch.
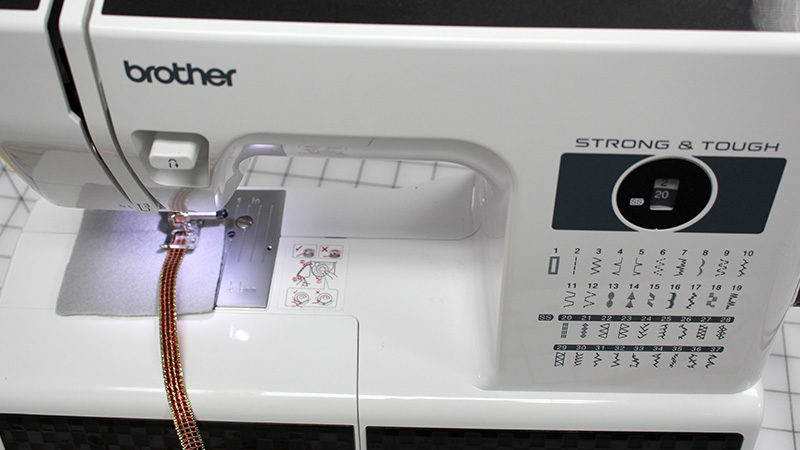
- Stitch down one side of the ribbon. As you get to the end of the first box, line up the 2nd box and continue stitching – continue to add boxes. This is referred to as chain piecing. It's often used when assembling quilts, but works well when assembling any groups of pieces.
- Once you have sewn the boxes with the specific ribbon, cut the thread and remove the boxes from the machine. Turn the line of boxes around and line up the opposite side of the ribbon and stitch.
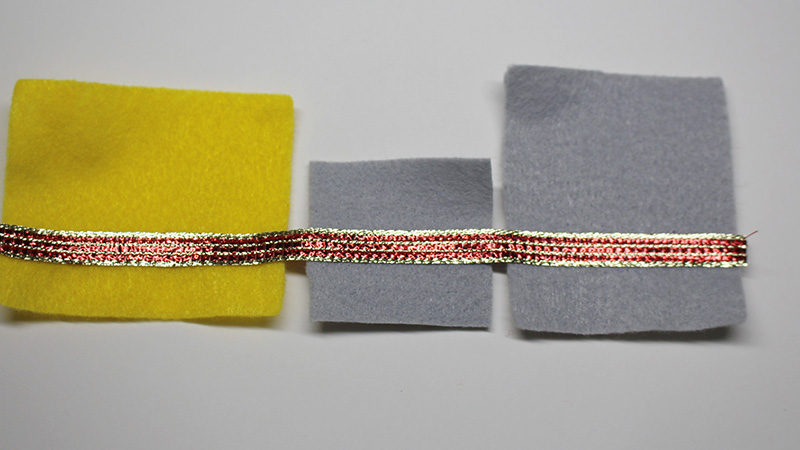
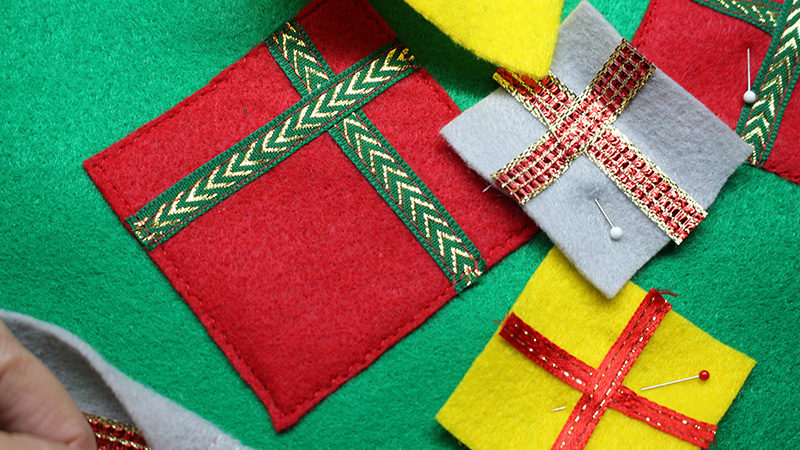
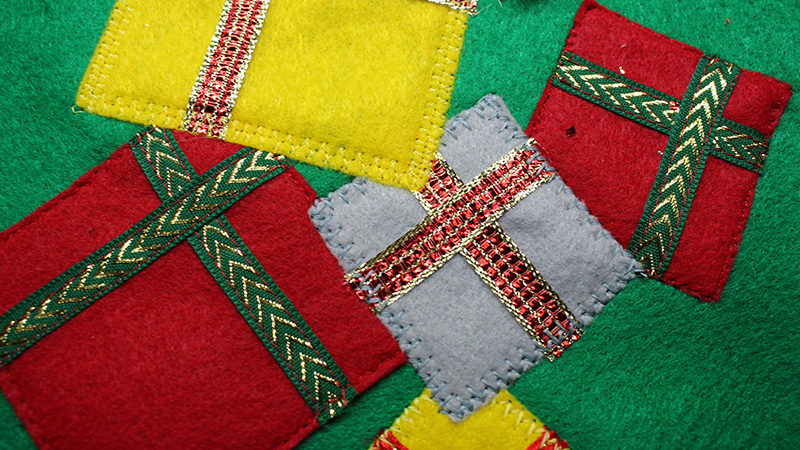
- Separate each box by cutting the ribbon. Line up the ribbon perpendicular to the first ribbon and stitch.
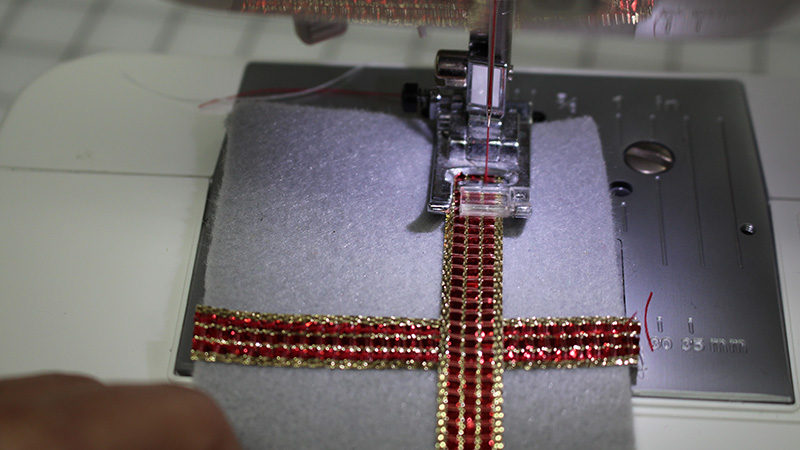
- Stitch on each side of the ribbon. Cut the boxes apart.

Designer Note: The ribbon does not need to run down the center of the square. Change each box as you go!
- Follow steps 9 through 14 for the each ribbon you are using.
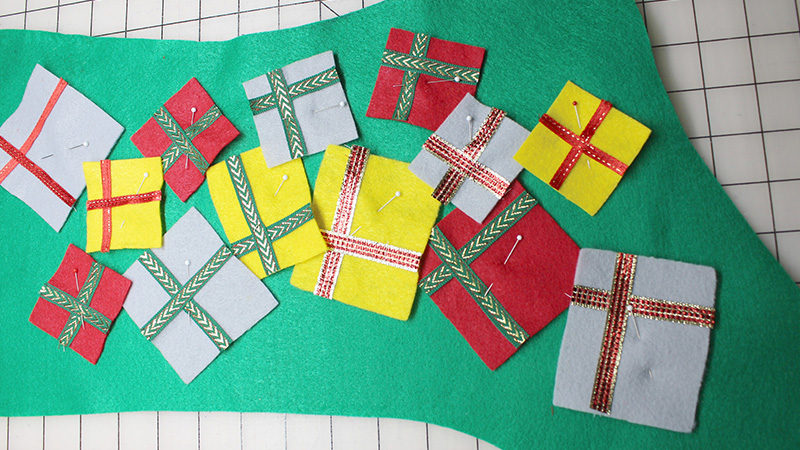
ATTACH APPLIQUÉ PIECES ONTO STOCKING
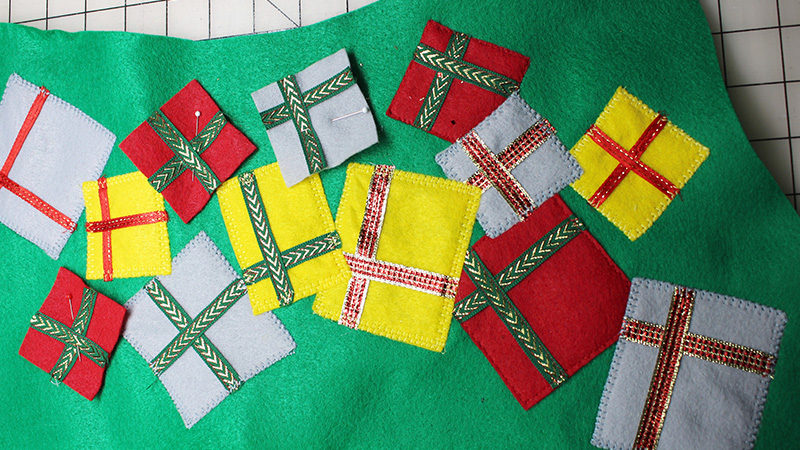
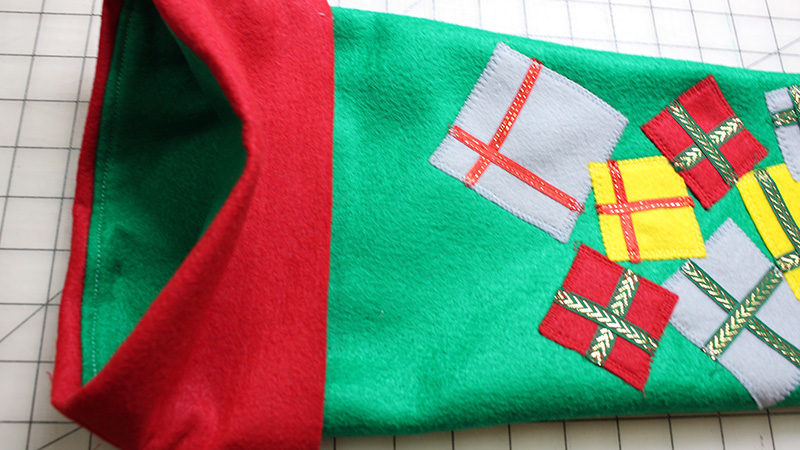
- Randomly organize and layer the appliques onto the right side of one-layer of the stocking and pin, as shown.
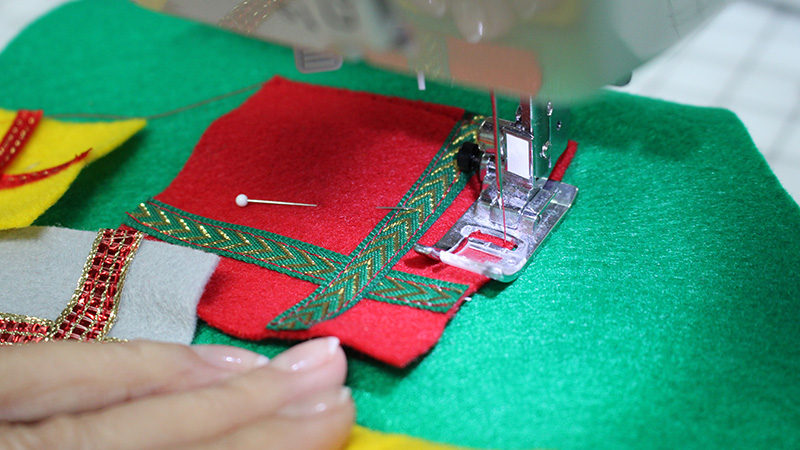
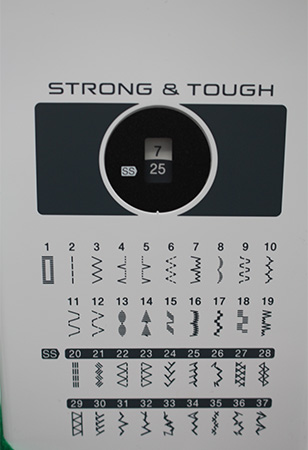
- Choose a decorative stitch to stitch around the outside of each box.
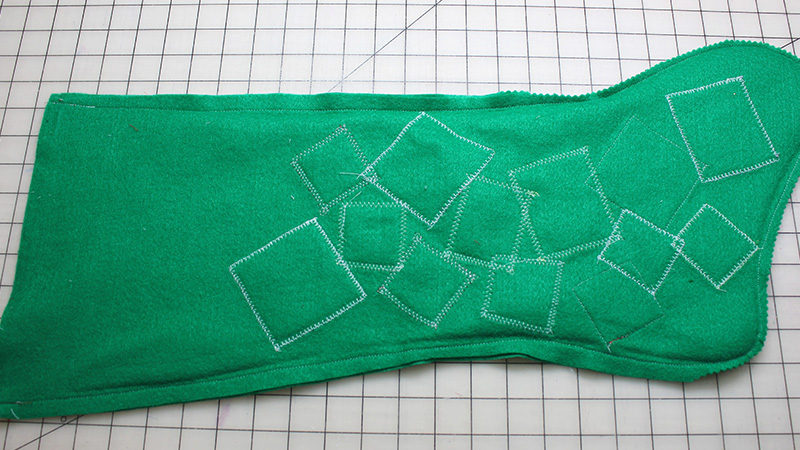
- Locate the boxes on the bottom of the layers.

- Stitch around the outside of the box, pushing the corners of the other boxes out of the way
- Stitch all the boxes on the lowest level
- Choose a different decorative stitch and continue to stitch around each package for each layer of boxes until they are all stitched on.

SEWING THE STOCKING
- With right sides together, pin Piece A together along each side and lower curve. Stitch.
- With right sides together, pin Piece B together along each side seam. Stitch and Press seam allowances open.
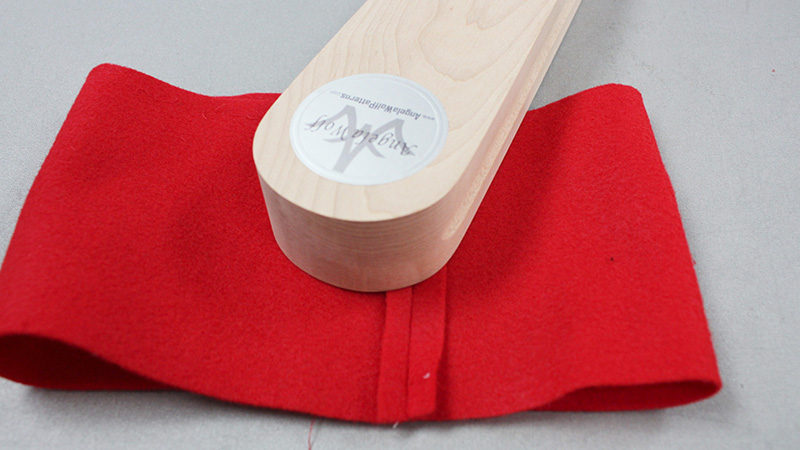
Designer Tip: Press seams open with a touch of steam and use a tailor’s clapper for a crisp crease.
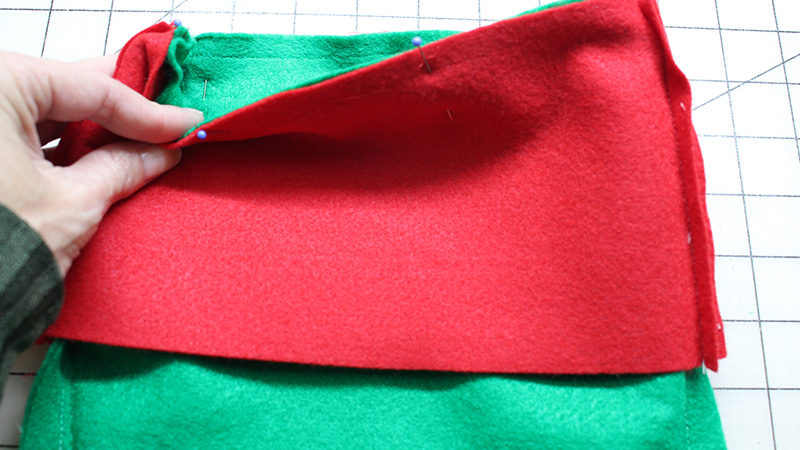
- With right side of Piece B facing the wrong side of Piece A, align the side seams and pin along the top opening.

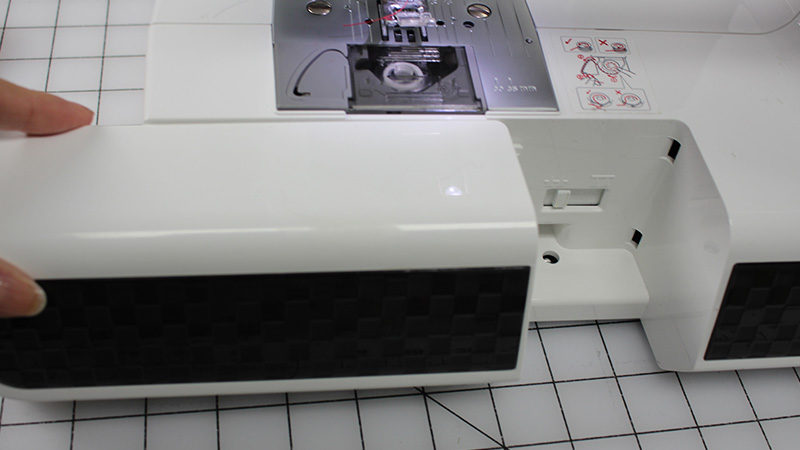
- Remove the flatbed to expose the free arm on the sewing machine.
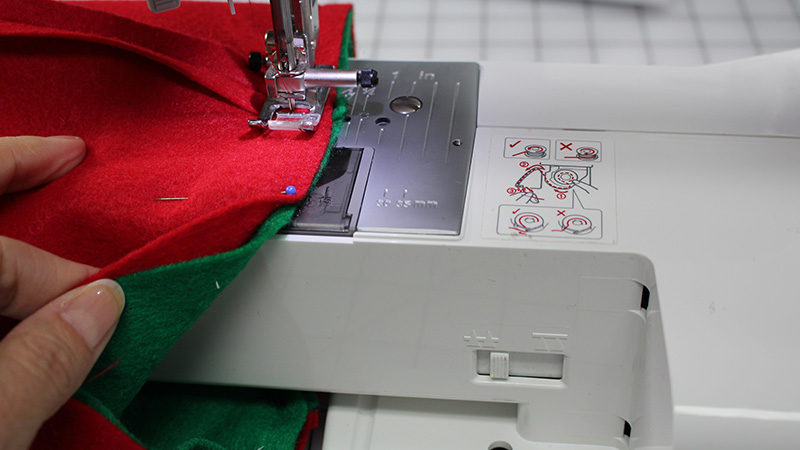
- Slide the stocking onto the machine and stitch.
- Turn the stocking right side out and press the seam allowance toward the lower part of the stocking. Stitch the seam allowance toward the lower part of the stocking as shown.
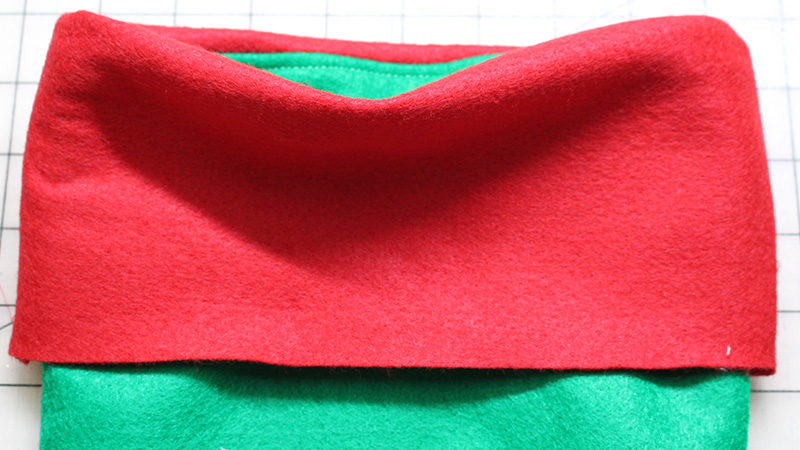
- Turn the top of the stocking toward the right side
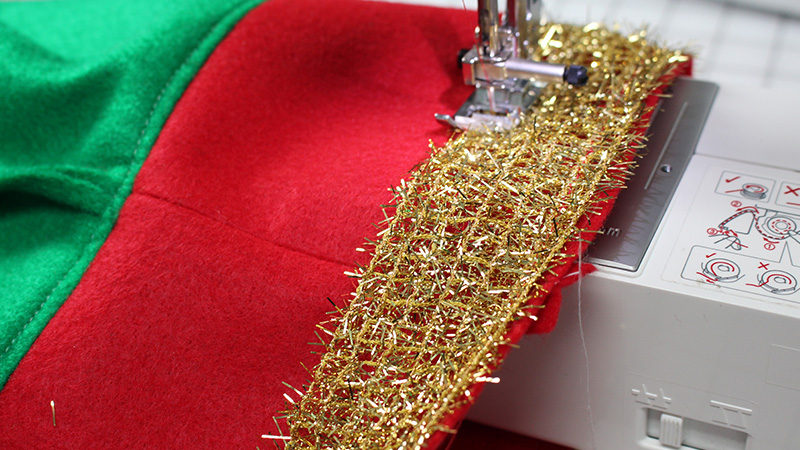
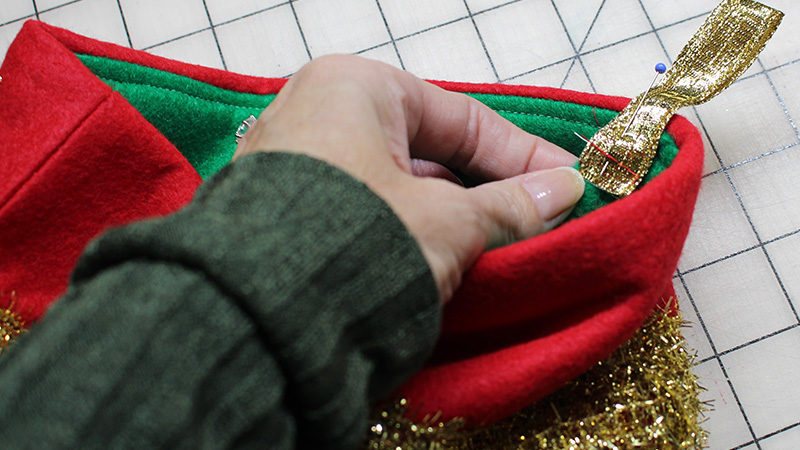
ADDING THE FINAL TOUCHES
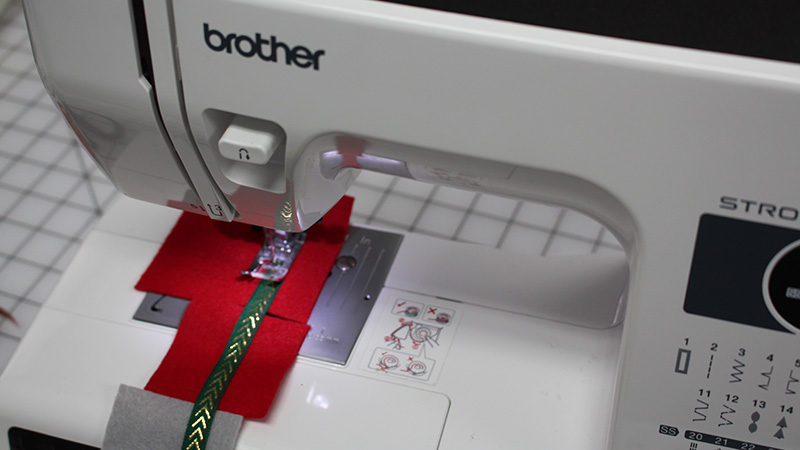
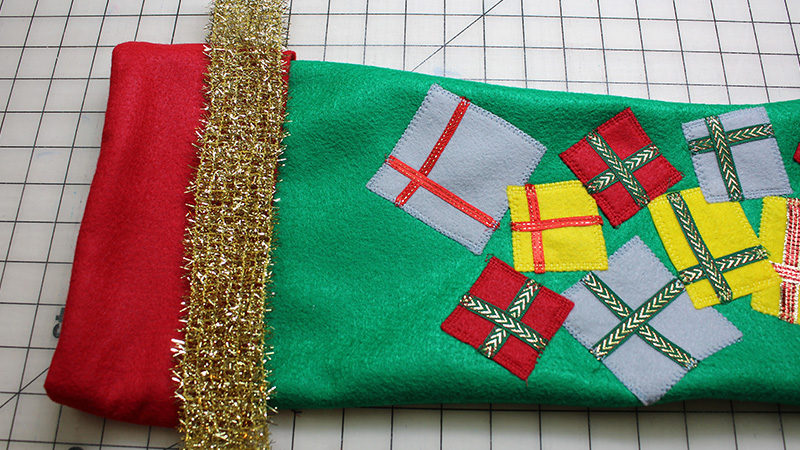
- Pin various trims in place to determine which thickness and design you prefer.
 and 254)
- Open the top flap of the stocking out with right side facing up. Stitch the trim in place.
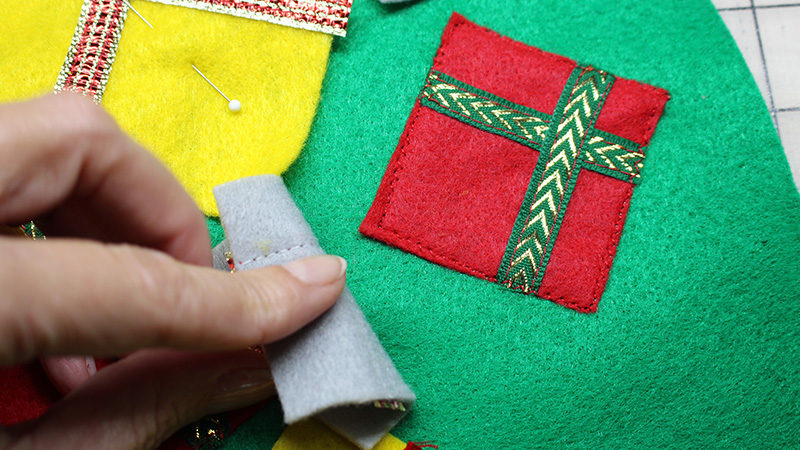
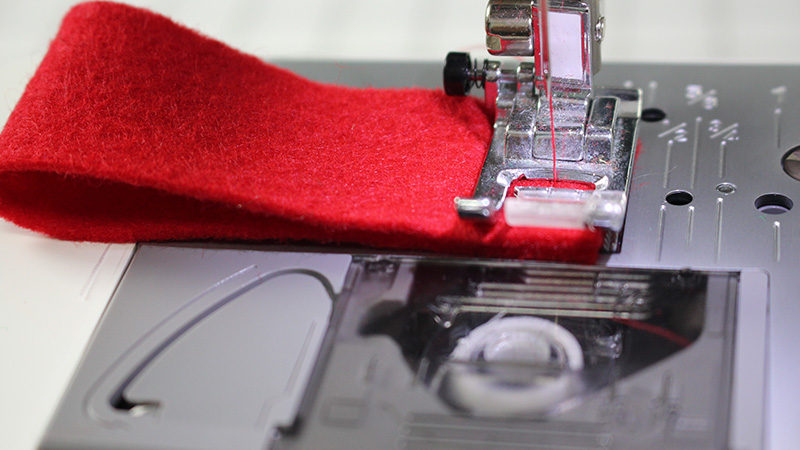
- The Loop to hang the stocking with can be made from excess ribbon or felt, cut about 6” long.
- Fold the 6" piece in half and stitch.
- Pin the loop to the seam allowance inside the stocking, about 2” from the top edge. Stitch in place.

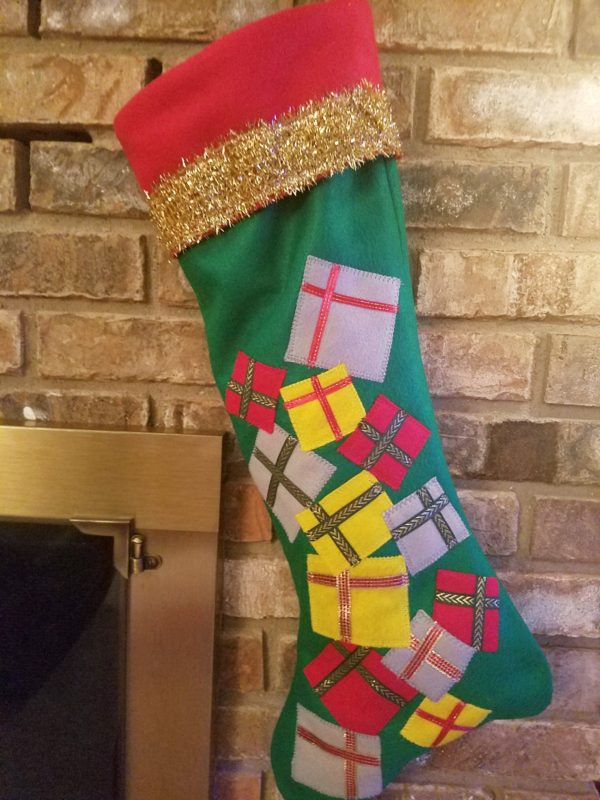
 Congratulations, the stocking is ready to hang!
 Cheers,
Angela
Cheers,
Angela

The Tailor's Clapper is an Angela Wolf Pattern Collection™ product and Brother International Corporation makes no representations or warranties regarding such product.
Related Projects
Stay Connected
* Required fields