How to Sew Fall Scrunchies
- Brother Sews Blogger
Hair accessories have come back on the scene in a big way. Whether you are looking for headbands to pull your hair back or scrunchies to tie your hair together, the options that are available are so up-to-date and can fit everyone’s style. One thing I did notice though is the price tag. If you are like me, that can be a deal breaker and I always find a way to recreate the look you want.
I love finding designer inspiration in all things fashion because of the difference in materials they use which is one element that increases the quality and look of handmade items. I don't really care for things that I make to look “handmade” or “diy”. It’s not my cup of tea. I want the items I make to look like they were found in a really nice retail store. So again, finding designer scrunchies and recreating them by similar fabric textures is the way to go.
Let’s talk about fabric. When it comes to luxurious Fall fabric, some can be bit finicky, I would highly suggest that you practice making a scrunchie with cotton first. Once you get the hang if it, graduate to other fabrics. Some Fall fabrics that I think would look so beautiful in our hair are satin, velvet, faux suede, charmeuse, and even mesh. Keep in mind that you may have to adjust your style of sewing or a couple of the steps depending on the type of fabric you are working with. Overall, experimenting with different
fabrics is the fun part about sewing. Enjoy the sewing process and most importantly enjoy accessorizing your hair.
SUPPLIES & TOOLS
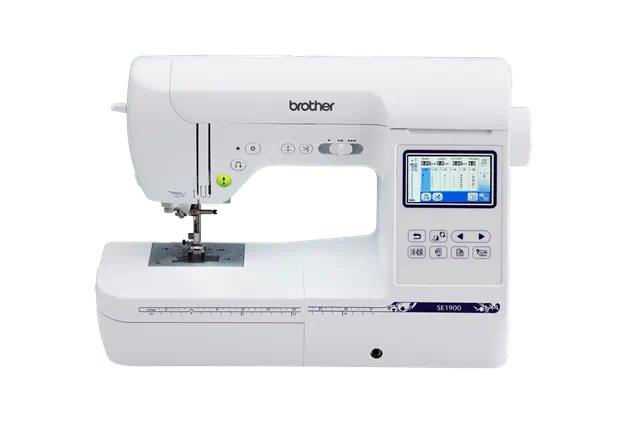
- Brother Sewing Machine
- Fabric (Metallic Fall color)
- Matching Thread & Bobbin
- Scissors or Rotary Cutter
- Safety Pin
- Elastic Cord
- Long Ruler
- Iron + Ironing Board
- Fabric Glue
INSTRUCTIONS
1. Cut 3 scrunchie pattern pieces in reference to Illustration A. Note: The easiest way to cut the larger pieces is to cut them on the fold. Just be sure to keep the measurements in mind.

2. Cut your elastic at 9”
3. Once the pattern pieces are cut, let’s start to assemble Piece B. Set the other pieces aside. Hem all three sides. Starting with one side, Fold the fabric over ¼ “. Press. Fold over again ¼”. Press. Sew in place. Repeat on the remaining two sides. 
4. Grab the point of the triangle and the center of opposite side. Pinch together. Secure with elastic by tying a knot. Set aside.
5. With Piece A, fold fabric right sides together. Pin fabric in place to hold. Sew down side seam at 1/4 “ seam allowance leaving 1” of both ends unsewn.

6. Turn Piece A right side out.

7. Pin ends together, right sides together and stitch in place at ¼” seam allowance. Take your time as you will have to adjust the fabric as you sew.

8. Take your elastic and pin it through the end of your elastic. Thread the safety pin and one end of the elastic through your scrunchie. Take ends of elastic and tie into a knot making sure it is secure.


9. Fold the opening of your scrunchie in. Sew as close to the edge as possible.
10. With Piece C, fold one edge to center. Press. Fold opposite end to center. Press. Set aside.
11. Now we are going to assemble all the pieces together. Place Piece B on top of the seam of Piece A.
12. Take Piece C and wrap around center of both pieces. Using fabric glue, secure in place.

13. That’s it!! Have fun!


