Modernized Embroidered Dickey
Brother Sews Ambassador
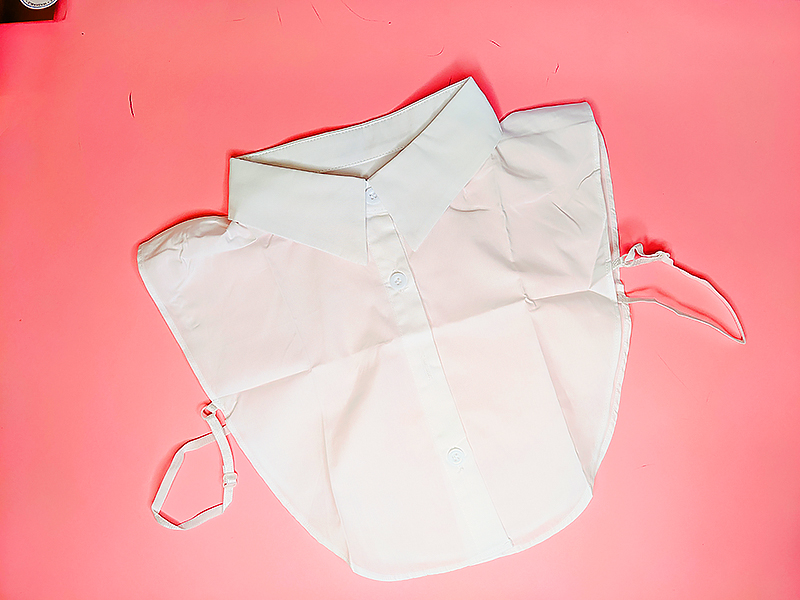
Embroidered Dickey The temperature is dropping, which means it’s time to layer up. Layering my wardrobe is one of my favorite things about Fall fashion. When it comes to layering buttons-ups under sweaters, however at times it can look kind of strange because of the bulky fabric underneath. If you think dickeys are out style, think again! I don’t care what anyone says, this invention is absolutely genius. Modernize it by customizing the dickey to your style. I plan on making tons of dickeys this year and hope that you’ll be joining me.
SUPPLIES:
INSTRUCTIONS: 1. As I mentioned above the RTW Dickey only comes in black or white. I purchased the white and used fabric dye to create a beautiful Kelly Green.
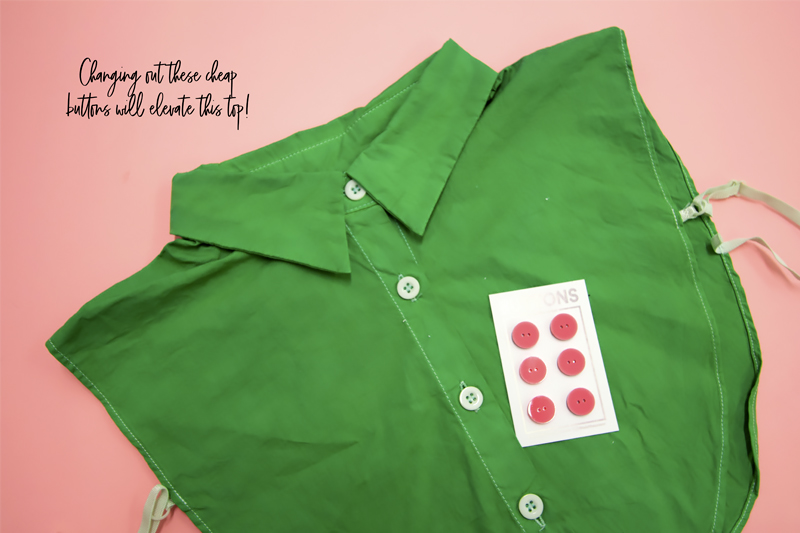
2. To elevate the look of the top, I also changed out the buttons. Cheap buttons are the bane of my existence.
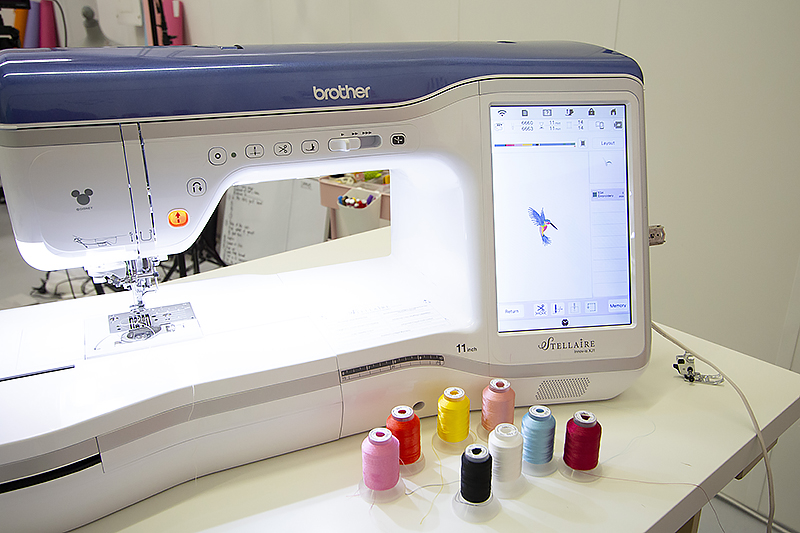
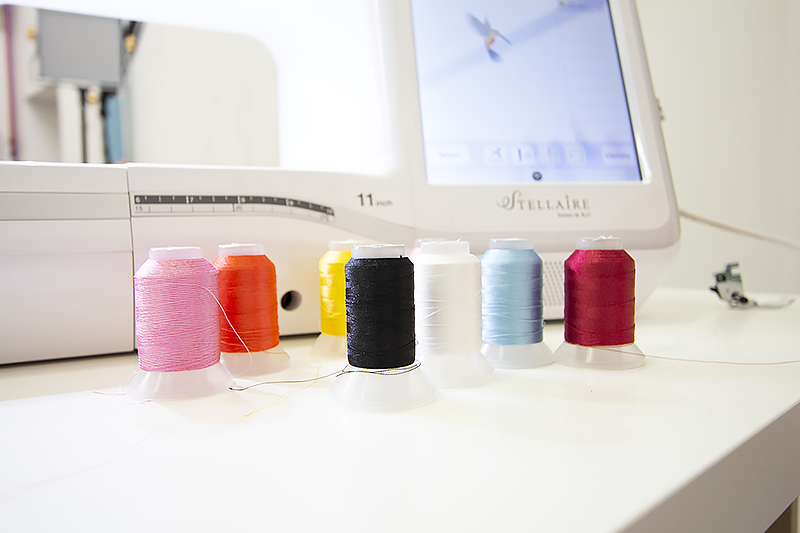
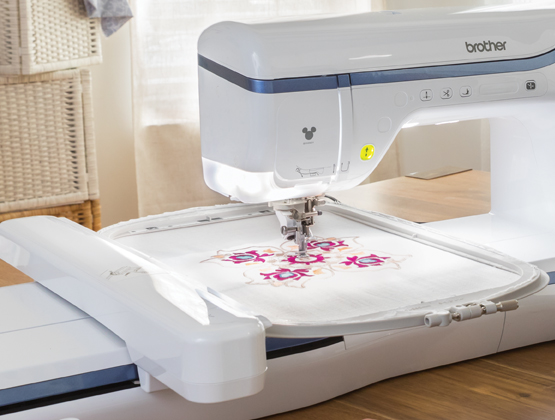
3. For the embroidery, I placed a canvas fabric and tear away stabilizer into a 4x4 hoop. 4. From here, the machine basically does all the work. Just be sure to change out the threads each time your machine moves on to a different part of your design.
5. Once your machine has finished with embroidering, remove it from the machine and cut out the design with sharp scissors.
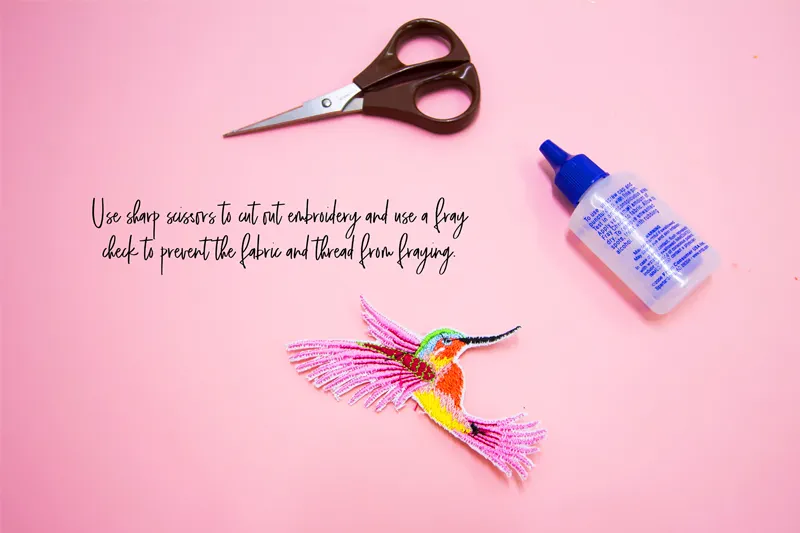
6. Use fray check to seal in the threads and prevent your fabric from fraying. 7. Glue your patch onto the collar of your shirt and that’s it!

CLICK HERE FOR PDF!
Embroidered Dickey The temperature is dropping, which means it’s time to layer up. Layering my wardrobe is one of my favorite things about Fall fashion. When it comes to layering buttons-ups under sweaters, however at times it can look kind of strange because of the bulky fabric underneath. If you think dickeys are out style, think again! I don’t care what anyone says, this invention is absolutely genius. Modernize it by customizing the dickey to your style. I plan on making tons of dickeys this year and hope that you’ll be joining me.
SUPPLIES:
- Brother Stellaire Innovis
Sewing Machine - RTW Dickey (They are available in Black or White)
- Embroidery Thread
- Fabric Dye (Optional)
- Fabric Glue
- Tear Away Stabilizer
- 4x4 Embroidery Hoop
- ‘W’ Foot
- Embroidery Design of your Choosing. I chose a hummingbird.
INSTRUCTIONS: 1. As I mentioned above the RTW Dickey only comes in black or white. I purchased the white and used fabric dye to create a beautiful Kelly Green.
2. To elevate the look of the top, I also changed out the buttons. Cheap buttons are the bane of my existence.
3. For the embroidery, I placed a canvas fabric and tear away stabilizer into a 4x4 hoop. 4. From here, the machine basically does all the work. Just be sure to change out the threads each time your machine moves on to a different part of your design.
5. Once your machine has finished with embroidering, remove it from the machine and cut out the design with sharp scissors.
6. Use fray check to seal in the threads and prevent your fabric from fraying. 7. Glue your patch onto the collar of your shirt and that’s it!
CLICK HERE FOR PDF!
Tags
Shop this Project
Have you ever seen a project (like this one) and said, 'I want to try that?' Well, Brother has you covered! The products in this fun project are available for purchase, so you can click, shop, and get to embroidery!
Embroidery Sewing Machines
Related Projects
Stay Connected
* Required fields
Follow Us
- Product Support
- Product Support Assistant
- Terms of Sale
- Product-Registration
- Search Supplies/Accessories
- Ordering & Shipping Information
- Ordering & Account FAQs
- View Order Status
- Warranty & Extended Warranty Information
- Recall Information
- Return Policy
- Security Support Information(Opens in a new tab)
- Contact Brother
