Old Flannel Shirts into a Tree Skirt!
Brother Sews Ambassador
As you start decorating your Christmas tree this holiday season, think about finishing it off with a heartwarming DIY tree skirt made from old flannel shirts. The process is simple, and the finished product is adorable.
SUPPLIES:


CREATING THE FLANNEL TOP:
1. Deconstruct the flannel shirts first by cutting off the arms. Then cut the sides of the shirts so they remain attached at the shoulders. Do this with all three flannel shirts.


2. Decide on the shirt that will be the center of the tree skirt and lay it flat. The existing buttons of the center shirt will be used as the opening of the skirt and the neck hole is for the stem. 3. Cut the remaining two shirts at the shoulders so you have 4 pieces.
4. Using a rotary cutter or scissors, even out the shirts at the shoulders and sides so they all have straight edges to create rectangles.

5. Sew two of the shirts together at the shoulders, then sew the other two at the shoulders. Top Tip: to vary the patterns, mix the shirts when sewing together at the shoulder. 6. Lay the long sides of the shirt panels together and sew.
You should have one large square.

CREATING THE PATTERN
1. To make a 42” tree skirt you will create a pie shaped pattern that has two 21” radius lines from the center.

2. To make sure the arc is correct, tie one end of the string around a pencil. Secure the other end at the center as the counterpoint of the pie. Make sure the string length is 21” when taut and draw the edge of the circle.


FINISHING THE SKIRT
1. Lay the pattern on the folded flannel square and cut. Cut the same pattern on the coordinating piece of fabric.


2. Cut off the collar of the center piece from the flannels. 3. From the coordinating piece of fabric, cut a 2” circle from the center point of the pie. You can do this while it is still folded from the pattern piece.

4. Cut through one side of the width of the fabric. Press in and sew the raw edges of the ends.


5. If you are planning on adding embroidery, this is a good time to do it since the shape of the skirt has now been cut. You can put the embroidery anywhere but, the center flannel piece that is opposite of the button opening is a great option.

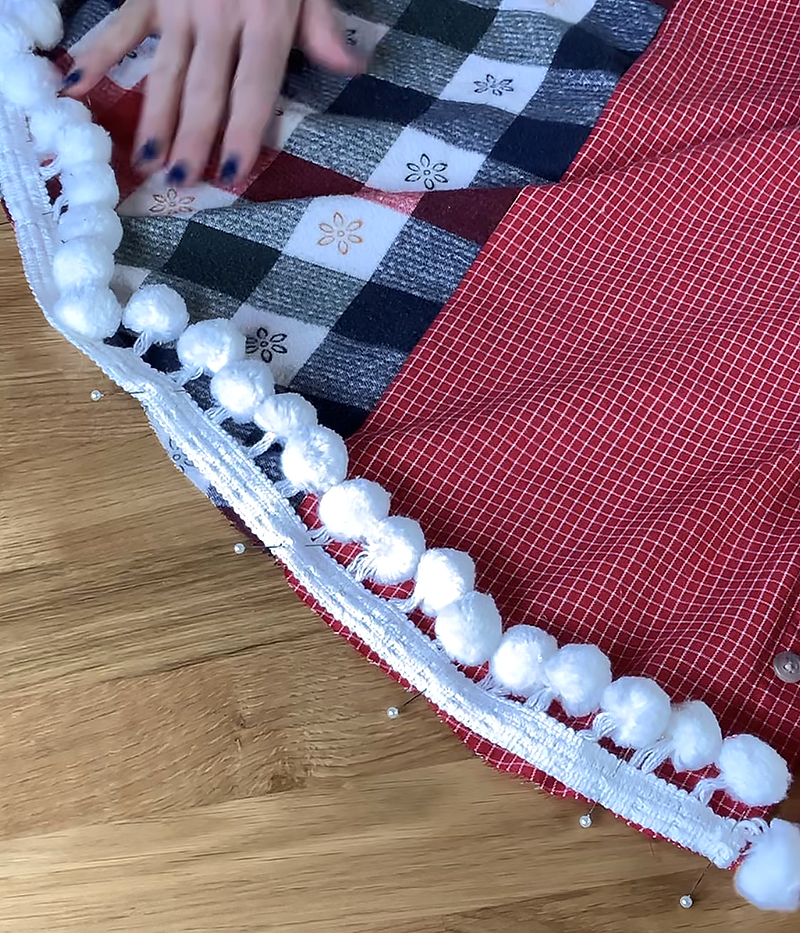
6. With the right side of the flannel circle facing up, pin the trim around the outside edge facing in, and sew it in place.

7. Lay the two right sides of the circles together, pin in place and sew around the circumference of the circle, leaving the ends open.


8. Clip the curves of the collar area and skirt and turn right side out. Press.

9. Top stitch and sew the open edges to secure the back fabric in place. Press and place under the tree!

10. Your refashioned flannel tree skirt is complete.

Happy Holidays Everyone!

CLICK HERE FOR PDF!
As you start decorating your Christmas tree this holiday season, think about finishing it off with a heartwarming DIY tree skirt made from old flannel shirts. The process is simple, and the finished product is adorable.
SUPPLIES:
- Brother Sewing & Embroidery Machine
- 3 flannel shirts; mix and match patterns and colors.
- 1.5 yds of coordinating fabric 44” wide
- Pattern paper
- 4 yards decorative trim
CREATING THE FLANNEL TOP:
1. Deconstruct the flannel shirts first by cutting off the arms. Then cut the sides of the shirts so they remain attached at the shoulders. Do this with all three flannel shirts.
2. Decide on the shirt that will be the center of the tree skirt and lay it flat. The existing buttons of the center shirt will be used as the opening of the skirt and the neck hole is for the stem. 3. Cut the remaining two shirts at the shoulders so you have 4 pieces.
4. Using a rotary cutter or scissors, even out the shirts at the shoulders and sides so they all have straight edges to create rectangles.
5. Sew two of the shirts together at the shoulders, then sew the other two at the shoulders. Top Tip: to vary the patterns, mix the shirts when sewing together at the shoulder. 6. Lay the long sides of the shirt panels together and sew.
You should have one large square.
CREATING THE PATTERN
1. To make a 42” tree skirt you will create a pie shaped pattern that has two 21” radius lines from the center.
2. To make sure the arc is correct, tie one end of the string around a pencil. Secure the other end at the center as the counterpoint of the pie. Make sure the string length is 21” when taut and draw the edge of the circle.
FINISHING THE SKIRT
1. Lay the pattern on the folded flannel square and cut. Cut the same pattern on the coordinating piece of fabric.
2. Cut off the collar of the center piece from the flannels. 3. From the coordinating piece of fabric, cut a 2” circle from the center point of the pie. You can do this while it is still folded from the pattern piece.
4. Cut through one side of the width of the fabric. Press in and sew the raw edges of the ends.
5. If you are planning on adding embroidery, this is a good time to do it since the shape of the skirt has now been cut. You can put the embroidery anywhere but, the center flannel piece that is opposite of the button opening is a great option.
6. With the right side of the flannel circle facing up, pin the trim around the outside edge facing in, and sew it in place.
7. Lay the two right sides of the circles together, pin in place and sew around the circumference of the circle, leaving the ends open.
8. Clip the curves of the collar area and skirt and turn right side out. Press.
9. Top stitch and sew the open edges to secure the back fabric in place. Press and place under the tree!
10. Your refashioned flannel tree skirt is complete.
Happy Holidays Everyone!
CLICK HERE FOR PDF!
Tags
Shop this Project
When inspiration strikes, Brother has you covered! The products in this stylish project are available for purchase so you can click, shop, and get to sewing!
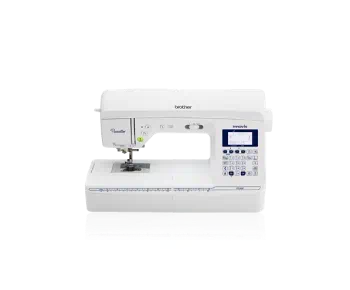
Embroidery Sewing Machines
Related Projects
Stay Connected
* Required fields
Follow Us
- Product Support
- Product Support Assistant
- Terms of Sale
- Product-Registration
- Search Supplies/Accessories
- Ordering & Shipping Information
- Ordering & Account FAQs
- View Order Status
- Warranty & Extended Warranty Information
- Recall Information
- Return Policy
- Security Support Information(Opens in a new tab)
- Contact Brother
