Options for Sewing the Rick Rack Stitch
-Brother Sews Ambassador
The rick rack stitch has always been one of my favorite decorative stitches. It’s a common stitch on many Brother machines. In reality, it’s a simple zig zag. However, because it sews twice, the thread builds up, giving the stitch noteworthy prominence. When sewn with top-stitch thread, it resembles the time-honored rick rack trim. I love using different stitches and stitch techniques on my Brother machine to mimic trims and create special effects. This one is fun, easy, and works for so many different Brother machine models! Are you ready? Let’s go sew!
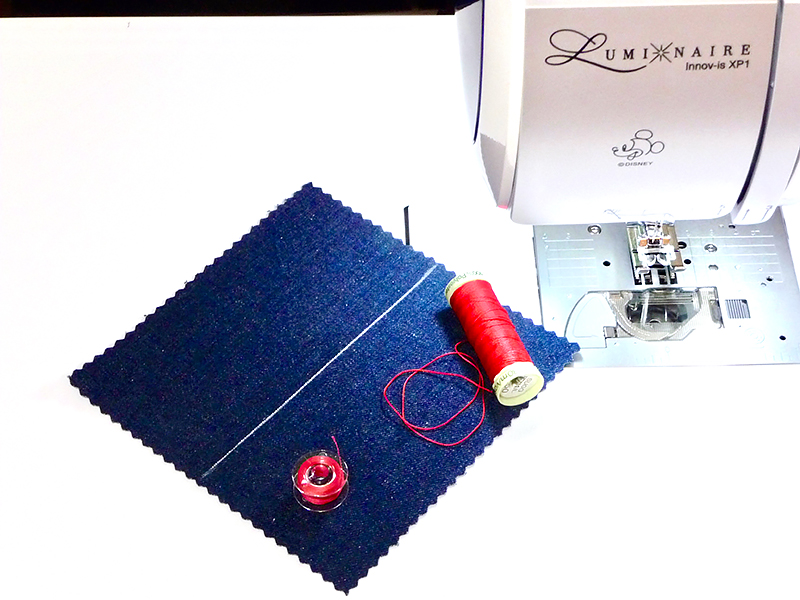
Below are the supplies I used to stitch this sample:
 Figure #1[/caption]
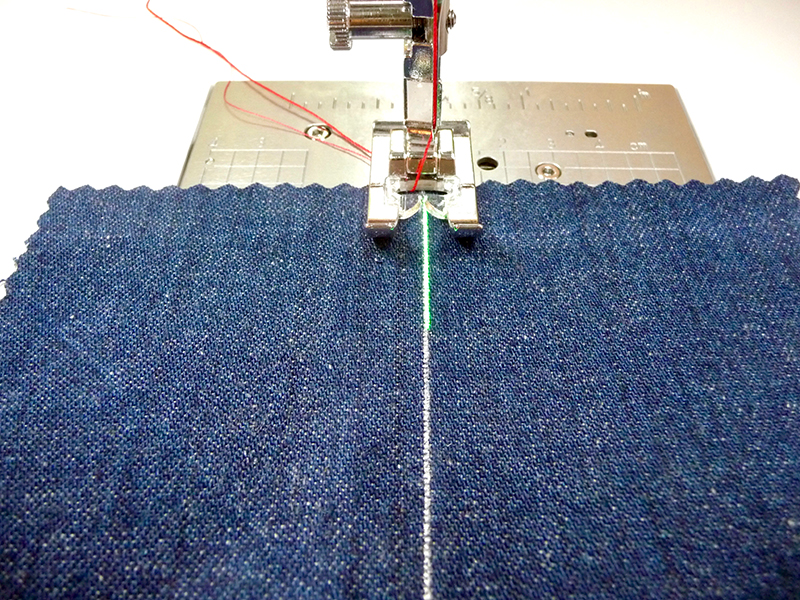
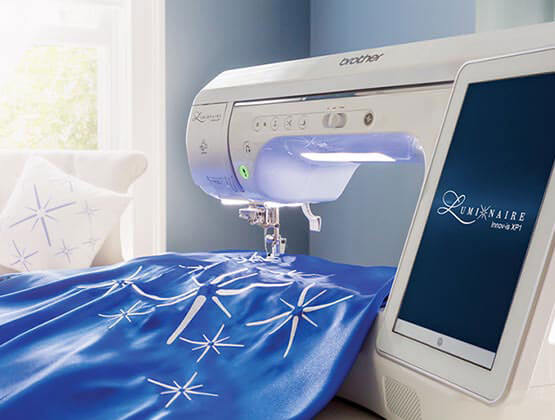
I stitched this sample using the Brother Luminaire
with the guideline marker aligned with my center mark, and then used the gridlines for an aid in placement for the remaining lines. See Figure #2a and Figure #2b. [caption id="attachment_25925" align="aligncenter" width="800"]
 Figure #2a[/caption]
[caption id="attachment_25926" align="aligncenter" width="800"]
 Figure #2b[/caption]
As an alternative you can mark evenly spaced lines or even use the side edge of your presser foot when aligning each additional row.
You’ll find the rick rack stitch in the utility stitch menu of the sewing machine. It looks like a zig zag on the screen but as I mentioned before, it sews a double zig zag. When using thicker topstitch thread I like to lengthen the stitch and increase the upper tension. The longer stitch length is helpful because the thread is thicker and takes up more space. See Figure #3. [caption id="attachment_25927" align="aligncenter" width="800"]
 Figure #3[/caption]
Brother embroidery thread is another great option for any style of decorative stitch and the sheen makes for a nice contrast when combined with the topstitch thread.
This embroidery thread also ideal when you want to stitch on fabric that doesn’t pair well with a topstitch needle. A standard embroidery needle works fine for this thread. Note: If you are continuing the stitching on woven fabric, it’s perfectly okay to sew remaining rows with that needle in place. You can also return to using the automatic needle threader when switching to embroidery thread. See Figure #4.
[caption id="attachment_25928" align="aligncenter" width="800"]
 Figure #4[/caption]
Stitching a sampler like this gives you a better idea of the creative possibilities packed inside your Brother machine. This technique would make a great accent for home décor, boho style blouses, trim on pockets and hems, and so much more!
Enjoy playing with different threads, thread colors, and fabrics. Use your sampler as inspiration for a future project trimmed with the rick rack stitch! CLICK HERE FOR PDF!
The rick rack stitch has always been one of my favorite decorative stitches. It’s a common stitch on many Brother machines. In reality, it’s a simple zig zag. However, because it sews twice, the thread builds up, giving the stitch noteworthy prominence. When sewn with top-stitch thread, it resembles the time-honored rick rack trim. I love using different stitches and stitch techniques on my Brother machine to mimic trims and create special effects. This one is fun, easy, and works for so many different Brother machine models! Are you ready? Let’s go sew!
Below are the supplies I used to stitch this sample:
- Good quality, smooth topstitching thread for sewing machine. Note: It’s important to choose thread that will flow smoothly through the machine and is not waxed or coated. I used a polyester thread.
- Topstitch needle size 14-16. Note: Manually thread machine when using topstitch thread. You should not use an automatic needle threader for this thicker thread. It is best to use topstitch thread on fabric that has some body such as denim or other firm woven cloth. A topstitch needle has a sharp point and is not suited for knitted fabrics.
- Brother Embroidery thread.
- Standard sewing thread or embroidery thread for bobbin.
- Foot “N” for decorative stitching.
- Wash out marking pen or pencil to draw center line.
 Figure #1[/caption]
I stitched this sample using the Brother Luminaire
Figure #1[/caption]
I stitched this sample using the Brother Luminairewith the guideline marker aligned with my center mark, and then used the gridlines for an aid in placement for the remaining lines. See Figure #2a and Figure #2b. [caption id="attachment_25925" align="aligncenter" width="800"]
 Figure #2a[/caption]
[caption id="attachment_25926" align="aligncenter" width="800"]
 Figure #2b[/caption]
As an alternative you can mark evenly spaced lines or even use the side edge of your presser foot when aligning each additional row.
You’ll find the rick rack stitch in the utility stitch menu of the sewing machine. It looks like a zig zag on the screen but as I mentioned before, it sews a double zig zag. When using thicker topstitch thread I like to lengthen the stitch and increase the upper tension. The longer stitch length is helpful because the thread is thicker and takes up more space. See Figure #3. [caption id="attachment_25927" align="aligncenter" width="800"]
 Figure #3[/caption]
Brother embroidery thread is another great option for any style of decorative stitch and the sheen makes for a nice contrast when combined with the topstitch thread.
This embroidery thread also ideal when you want to stitch on fabric that doesn’t pair well with a topstitch needle. A standard embroidery needle works fine for this thread. Note: If you are continuing the stitching on woven fabric, it’s perfectly okay to sew remaining rows with that needle in place. You can also return to using the automatic needle threader when switching to embroidery thread. See Figure #4.
[caption id="attachment_25928" align="aligncenter" width="800"]
 Figure #4[/caption]
Stitching a sampler like this gives you a better idea of the creative possibilities packed inside your Brother machine. This technique would make a great accent for home décor, boho style blouses, trim on pockets and hems, and so much more!
Figure #4[/caption]
Stitching a sampler like this gives you a better idea of the creative possibilities packed inside your Brother machine. This technique would make a great accent for home décor, boho style blouses, trim on pockets and hems, and so much more!Enjoy playing with different threads, thread colors, and fabrics. Use your sampler as inspiration for a future project trimmed with the rick rack stitch! CLICK HERE FOR PDF!


