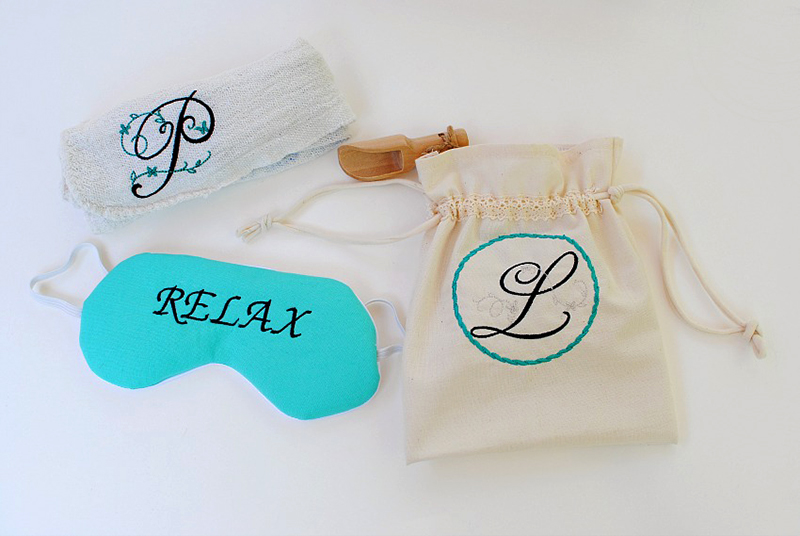
Part 1: DIY Spa Gift Collection
 My favorite projects to sew are gifts for my loved ones. I feel the process of sewing is that much more enjoyable and thought out. I can tailor each gift to the person I’m making it for, like these little spa kits. They’re an all-around a great gift that you can give to your mom or to your best friend. Customizing each project is made easy with Brother’s SE625 Sewing & Embroidery Machine.
You can sew the project and use the 4x4” embroidery hoop to monogram, add lettering, or a design. It’s my go-to for sewing gifts like this! Get the details below on how to sew your own spa kit complete with a custom eye mask, monogrammed drawstring pouch, and towel. Eye Mask Supplies:
- Brother SE625 Sewing & Embroidery Machine
- 4x4” hoop
- Pacesetter Medium Weight Tear-Away Stabilizer
- Embroidery Thread
- Fusible fleece
- Exterior fabric
- Interior fabric
- 18” of ½” elastic
- General sewing supplies
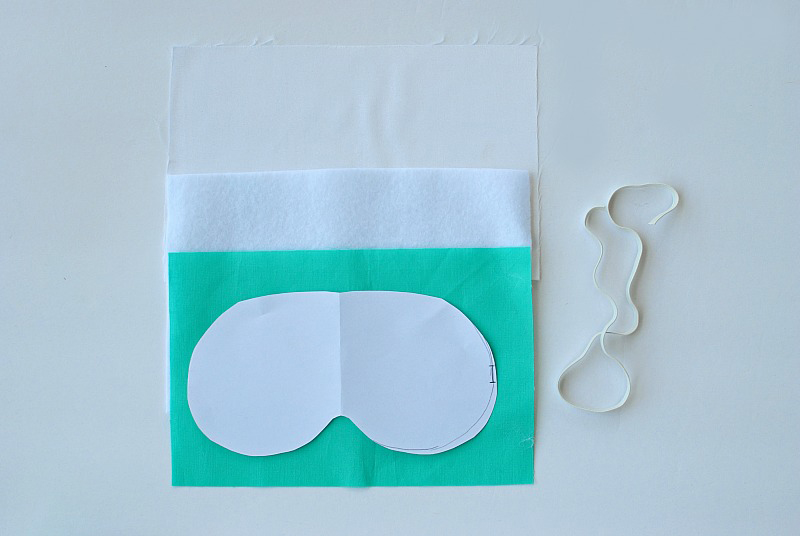
- Use the template to print out the eye mask pattern or draft one. Download the eye mask template here!
- Cut 3 rectangles measuring 6”x 10” for the exterior, interior, and fusible fleece.
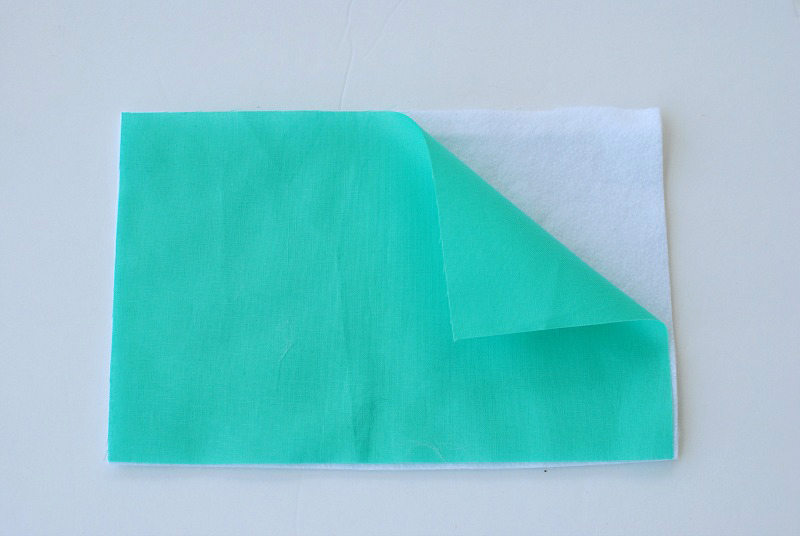
- Iron the fusible fleece to the wrong side of the exterior fabric.
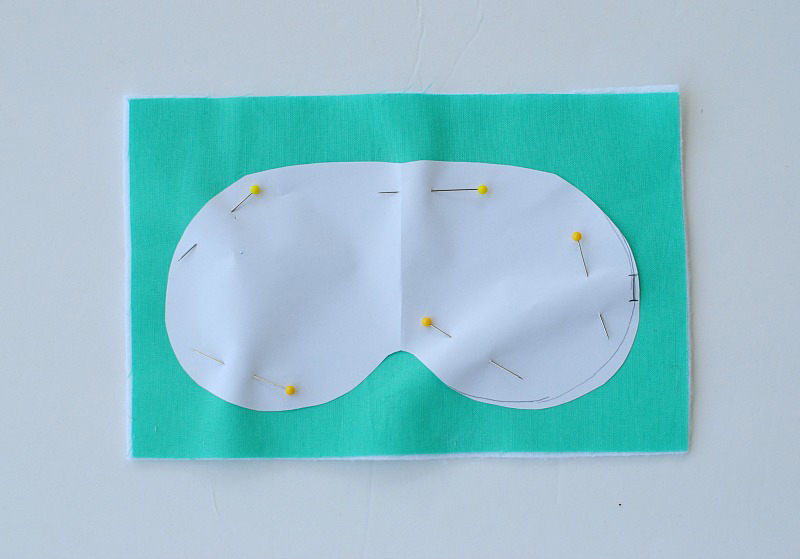
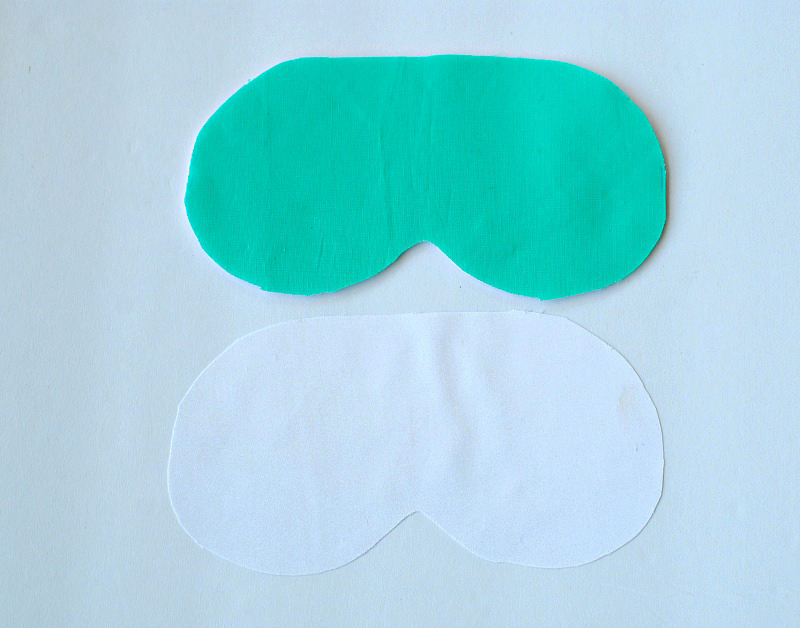
- Pin the eye mask pattern to the exterior with the fused fleece and cut.
- Repeat for the liner.

Hooping:
- Think about the design/lettering you’d like for the front. I embroidered lettering, “Relax.” I wanted it to be large enough to cover most the eye mask which was slighter larger than the hoop.
Tip: Use the template on the eye mask and mark the center. It will help give you an idea of how large the lettering or design could be.
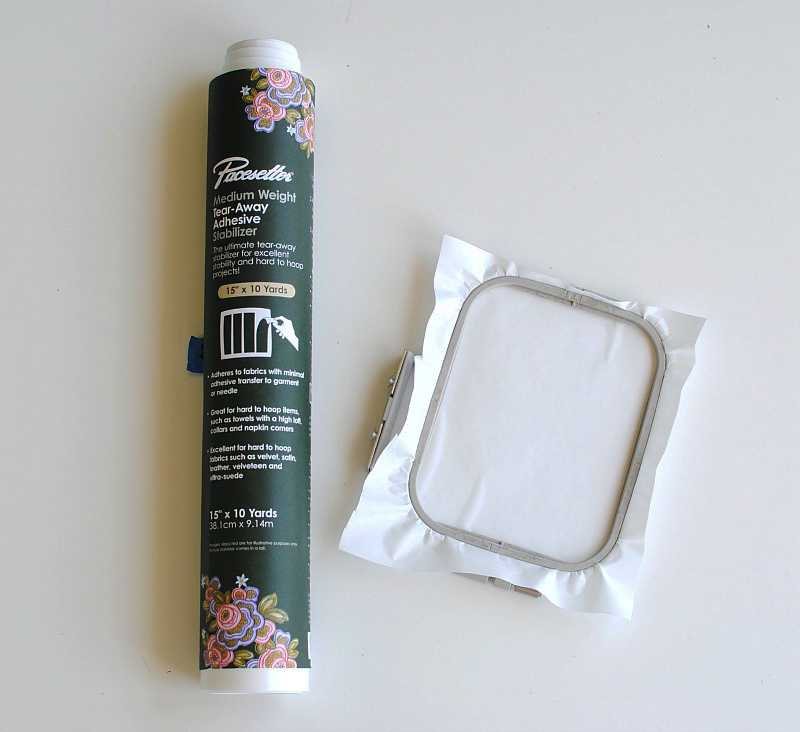
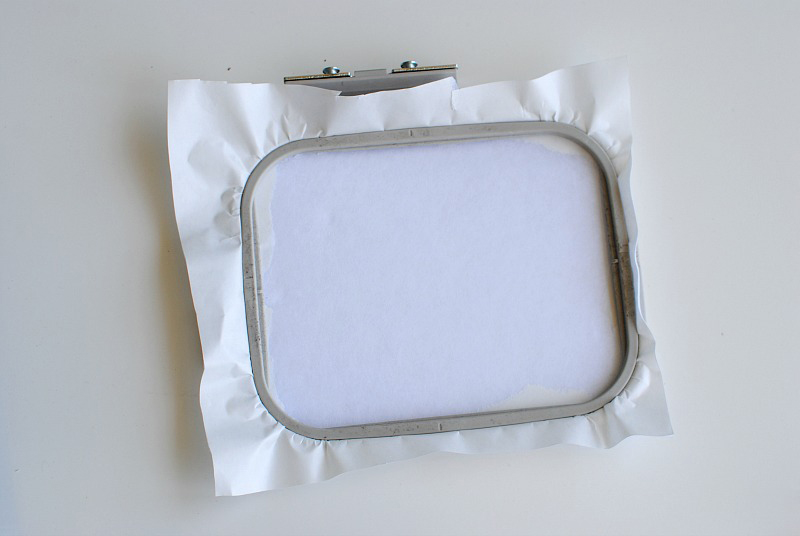
- Hoop Pacesetter Medium Weight Tear-Away Stabilizer so the adhesive side will be up once you remove the top layer. Once hooped, remove the top layer to expose the adhesive.
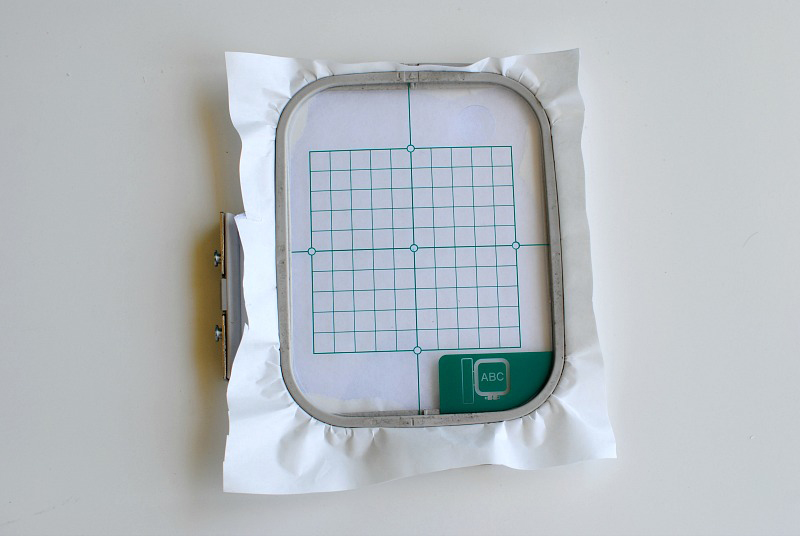
- Use the template to mark the center point of the stabilizer in the hoop.
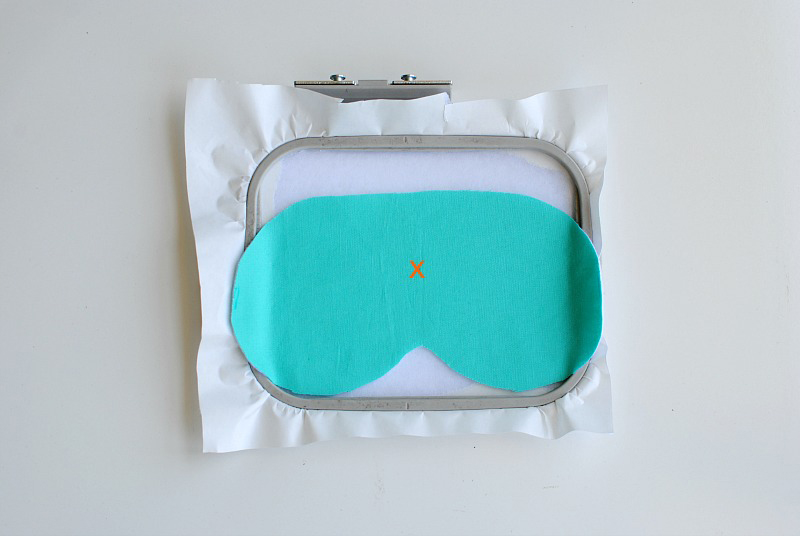
- Place the center point of the eye mask so the center point aligns as close as you can.
Set your machine up to embroider:
For lettering: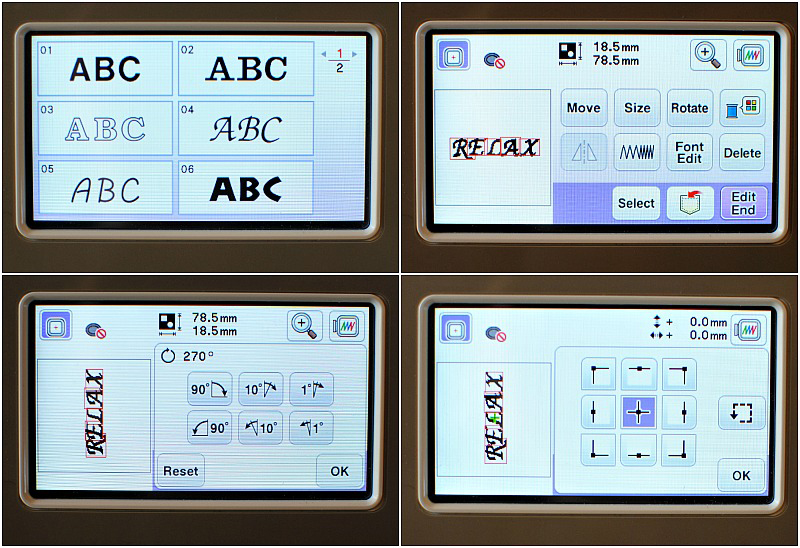
- Use the touch screen and press the letters. From here you have several options for fonts and sizes. I chose small letters, but you can do adjust this size as long as it fits in the hoop.
- Reverse it so the letters lay 90 degrees.
- From this point, you can move the lettering, so the center of the lettering will hit the center point you marked on the eye mask.
- You can also use the arrows to see where the full design will be. Adjust accordingly by moving the arrows down, right, left, up, or adjusting the size of the lettering.
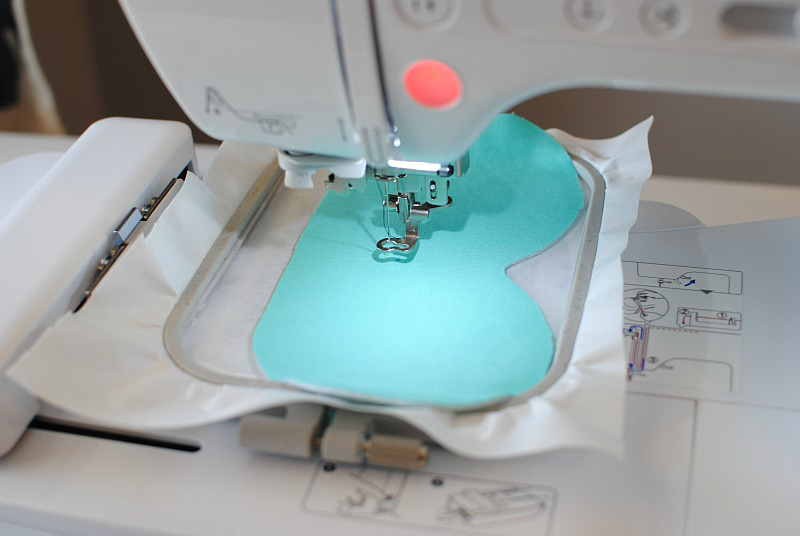
- Press the green light and embroider!

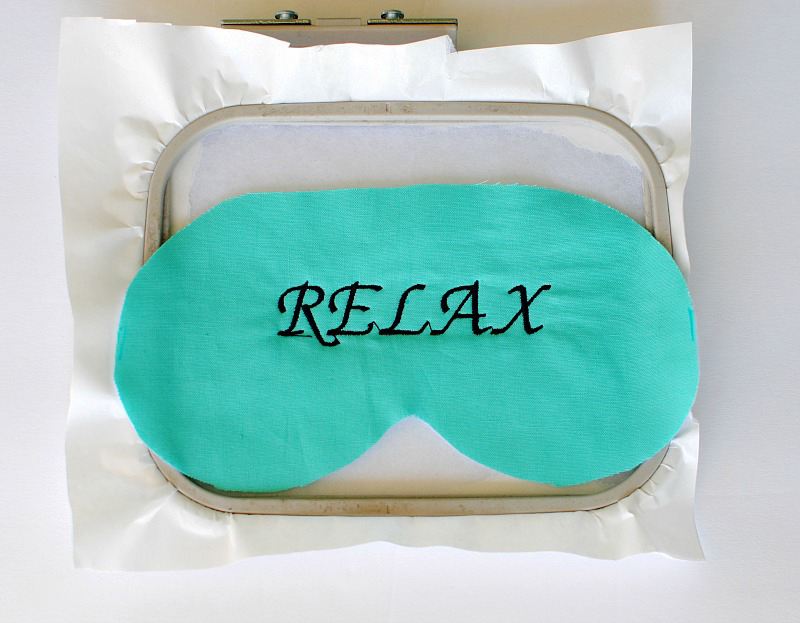
- Once the embroidery is finished, remove it from the hoop and tear away the stabilizer and cut the jump stitches.
Sewing the eye mask:
- Set up your machine to sew.
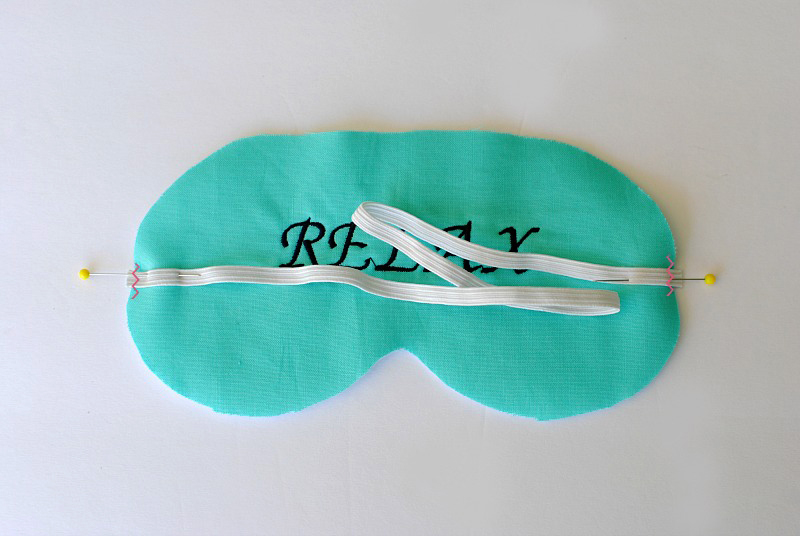
- Cut a 17.5” elastic and place the ends with a ¼” hanging over at center of each side of the eye mask. Use a zigzag stitch to secure.
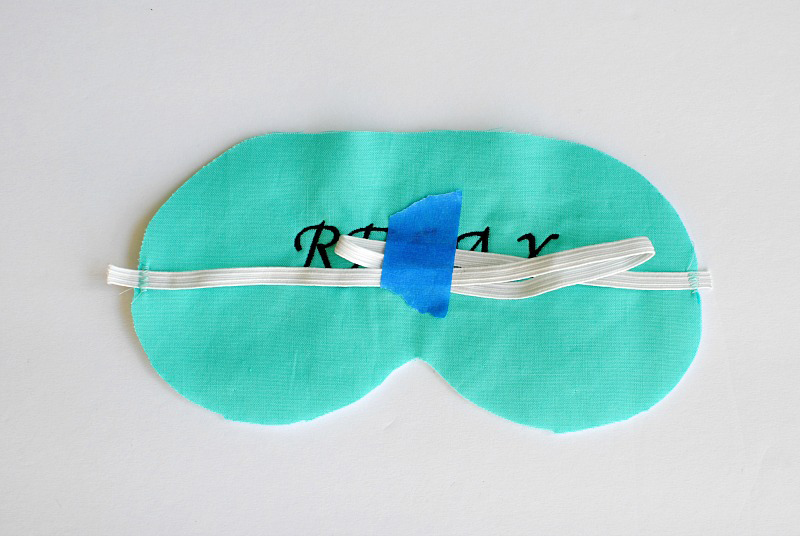
Tip: Use painter’s tape to secure down the elastic when sewing the liner on.
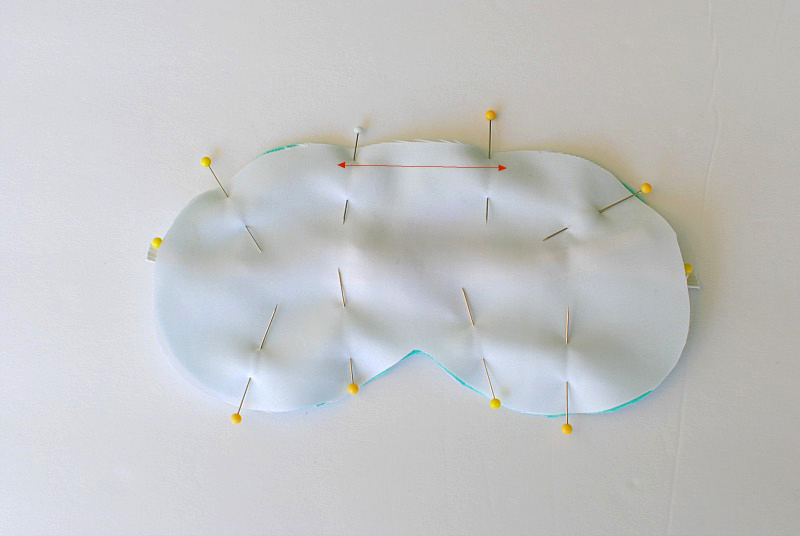
- Pin exterior and interior right sides together.
- Mark 2” at the center top edge for your opening.
Insert Sewing Eye Mask
- Sew ¼” seam allowance around the eye mask leaving the 2” mark open.
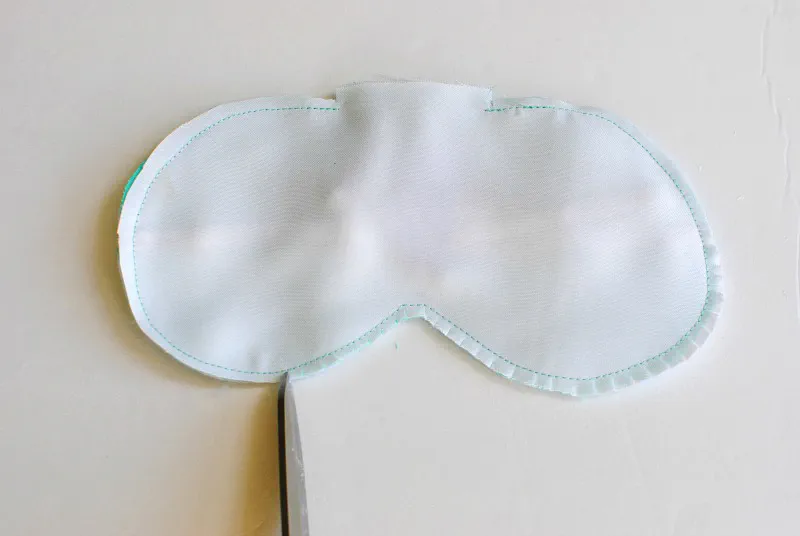
- Cut the seam allowance down to ¼” and clip the curved edges.
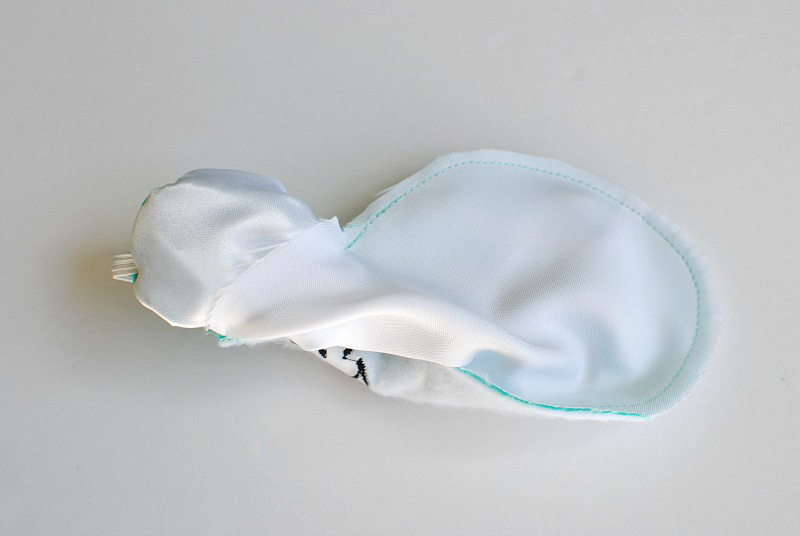
- Flip right sides out through the opening,

- Press in the seam allowance for the opening and either hand blind stitch or top stitch into place.
Related Projects
Stay Connected
* Required fields