Pencil Roll for Back to School
I love creating fabric organization tools. I’ve made several zip pouches and school totes, and today I’m sharing a simple pencil roll for storing pens, pencils, and other simple stationary supplies. This sewing project is super simple and also a great starter sewing project. These pencil rolls turn out super cute and can be made with any woven fabric. You can also add embroidery to personalize this project. To start, gather your supplies:
- Two pieces of fabric each 12” x 20”
- Elastic {colorful fold over elastic is fun}
- Bias tape or ribbon for the tie, 20” long
- Brother NS1750D Combination Sewing & Embroidery Machine

- Start by embroidering initials or a graphic in one of the corners of the top fabric.

- Place this top fabric face up on the table and in the middle of one short side, pin the tie ribbon. Pin the center of the ribbon to the middle of the short side. Place the other fabric right side together and sew around all four sides. Leave a 4” opening on one of the long sides to turn.

- Clip the corners and then turn right side out. Press flat. Fold in the seam allowance on the opening and top-stitch to close, stitch around the entire perimeter of the rectangle.

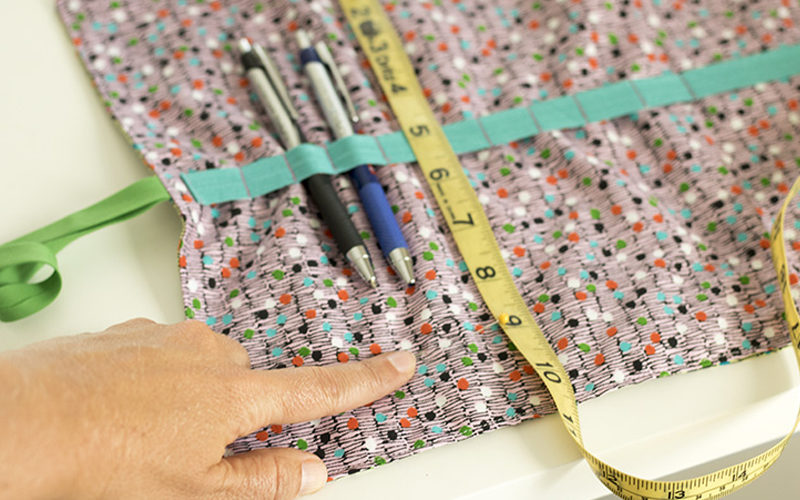
- Collect the pens, pencils, markers, scissors and other items you want to store in the roll. In the center of the roll pin the elastic on one short side. Stretch and pin over all the items. Use the pins to mark where you will sew. Secure the other end of the elastic to other side of fabric. Pull the elastic slightly as you pin to hold pencils tight.

- Now measure 1.5” towards center along each long side. You will stitch along the entire roll this distance from each long side to create a fold line. Sew along both sides.
- Now you can fold in both sides to hold in the pens/pencils and roll from the short end without the tie. When it’s all rolled up, you can wrap the ties around opposite direction and tie to close.
 Now you have a fun pencil roll! Make for gifts or to hold supplies while you stock up on back to school shopping. Organizing your things with fabric projects is so fun and stylish.

Related Projects
Stay Connected
* Required fields