How to make a personalized umbrella | Brother
-Brother Sews Blogger
Have you ever wanted to make your very own personalized umbrella? Now with your Brother Luminaire and Heat Vinyl Transfer, you can!
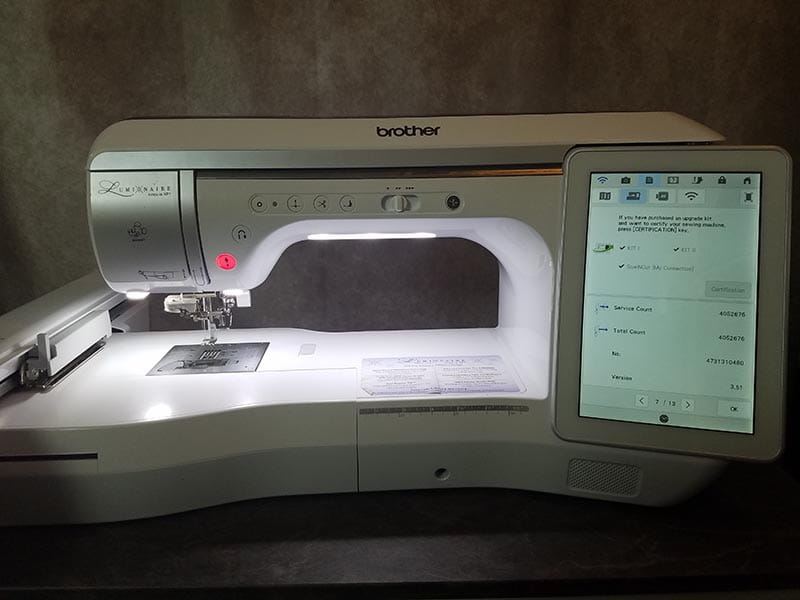
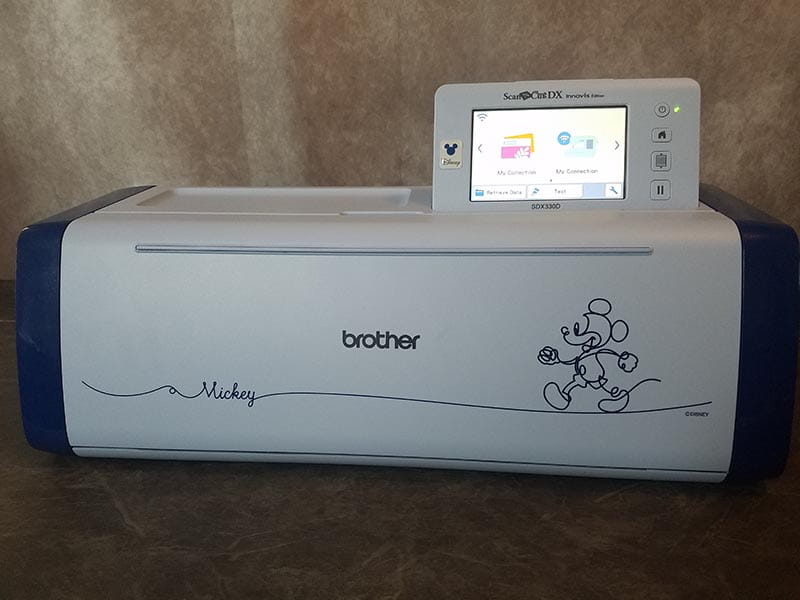
I love the Calligraphy font on the Brother Luminaire, but the thought of taking apart an umbrella so I could embroider on it was not very appealing. Instead, I created the an embroidery file in the Luminaire and used the My Connection feature available on the Brother ScanNCut DX SDX330D (and SDX325) to send the embroidery file directly to my ScanNCut DX.
Then, I was able to cut the name image from the heat transfer vinyl and apply it to the umbrella. For an extra touch, I added a fun custom border to the edge of my umbrella. – You can find the border design was built-in on the ScanNCut DX SDX330D.
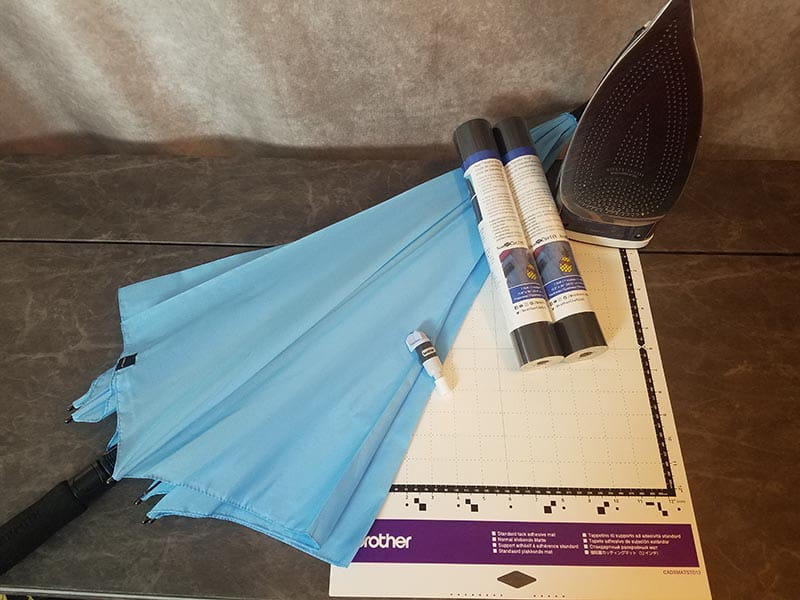
Supplies:
- Standard Tack Adhesive Cutting Mat
- Vinyl Cutting Blade
- scraper
- Brother Heat Transfer Vinyl
- umbrella
- iron
- parchment paper.
Tools:
-ScanNCut DX SDX330D or SDX325 with My Connection paired with Brother Luminaire sewing and embroidery machine.
1. Turn on Luminaire and ScanNCut DX.
2. On ScanNCut DX, open Settings. Scroll down and turn on half cut.
3. On Luminaire Click Embroidery, then select the Calligraphy Font, category 3, font 07
4. In Machine Settings turn on 1 inch grid.
5. Select first letter of name that is to be placed on the umbrella, touch set. In the workspace, rotate the letter 90º clockwise and move to the top of the hoop area.
6. Add remaining letters and rotate the same way. Move letters into position until arranged as desired. Group and center design.
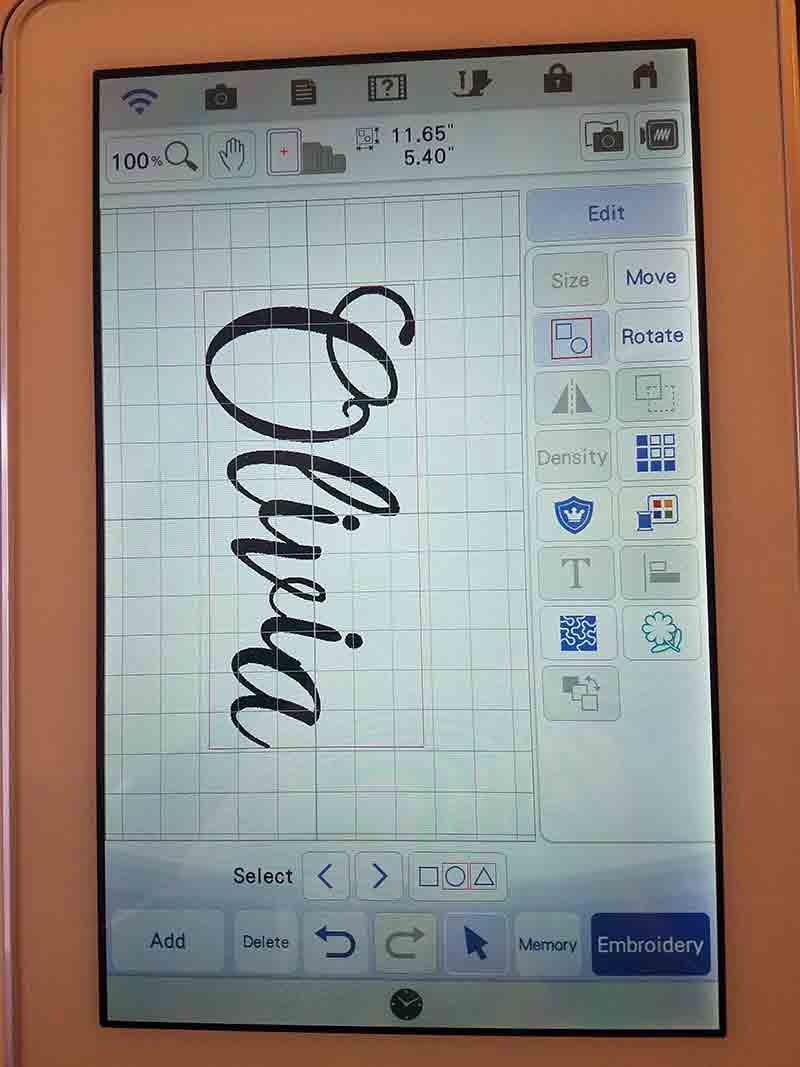
7. Press Memory, choose ScanNCut DX button.
8. Press Transfer.
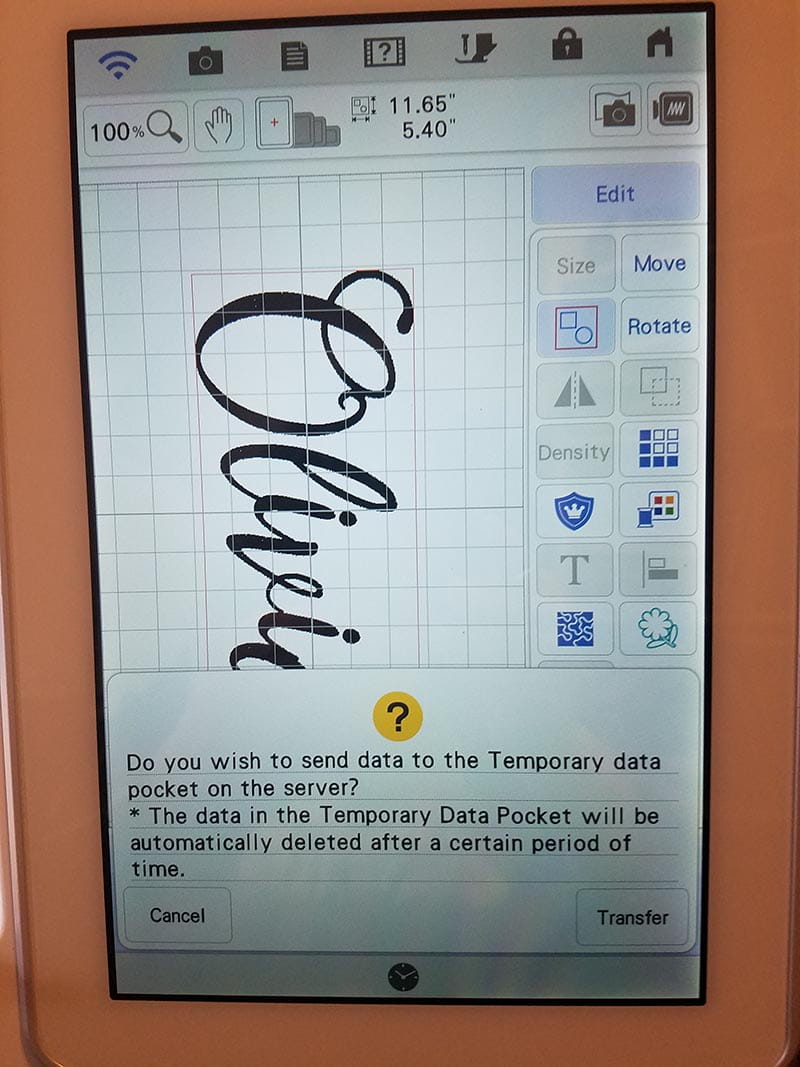
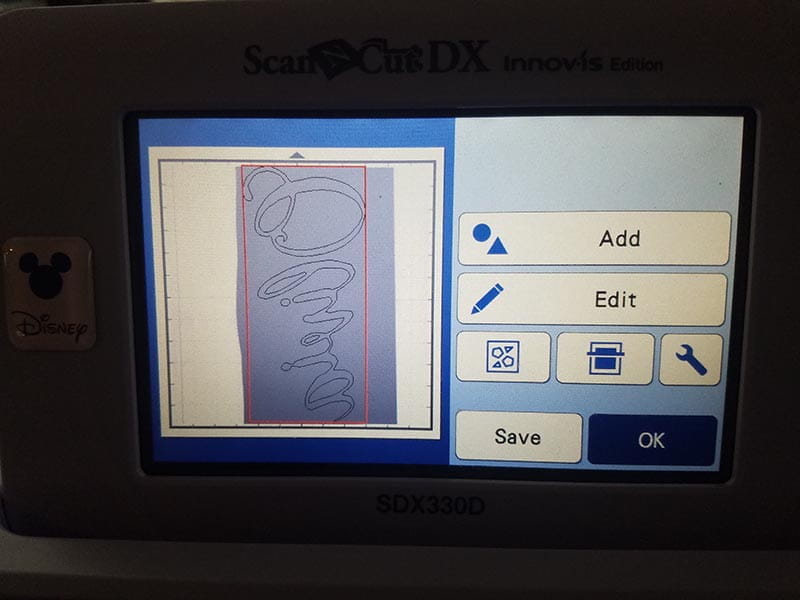
9. On ScanNCut DX screen, scroll to the left and touch My Connection.
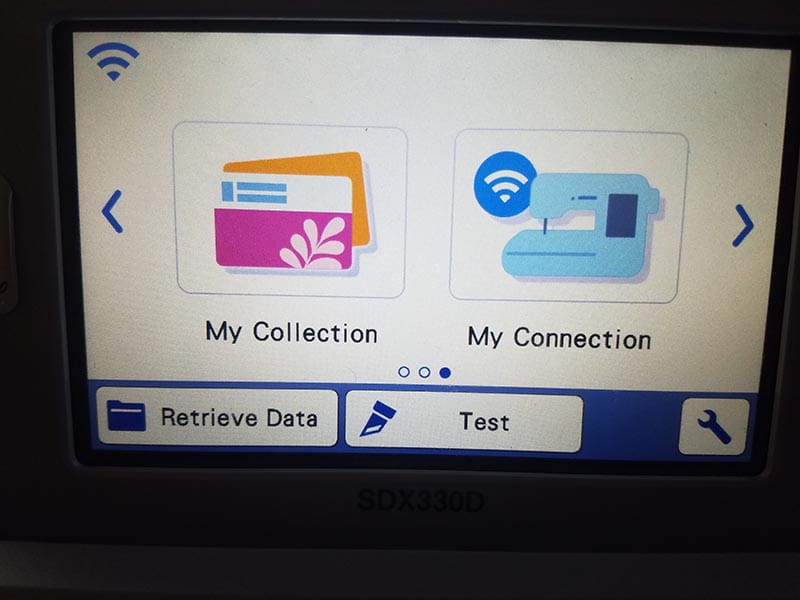
10. Click Retrieve
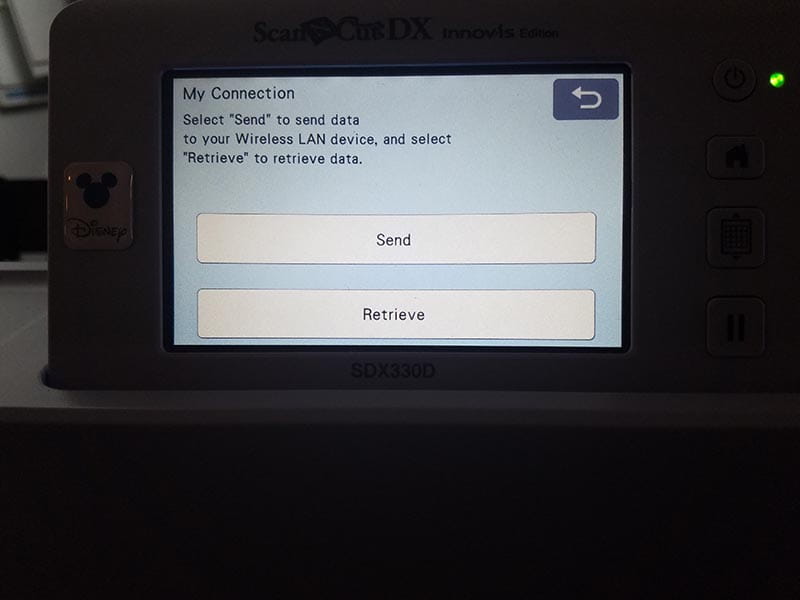
11. Choose the Wireless LAN device
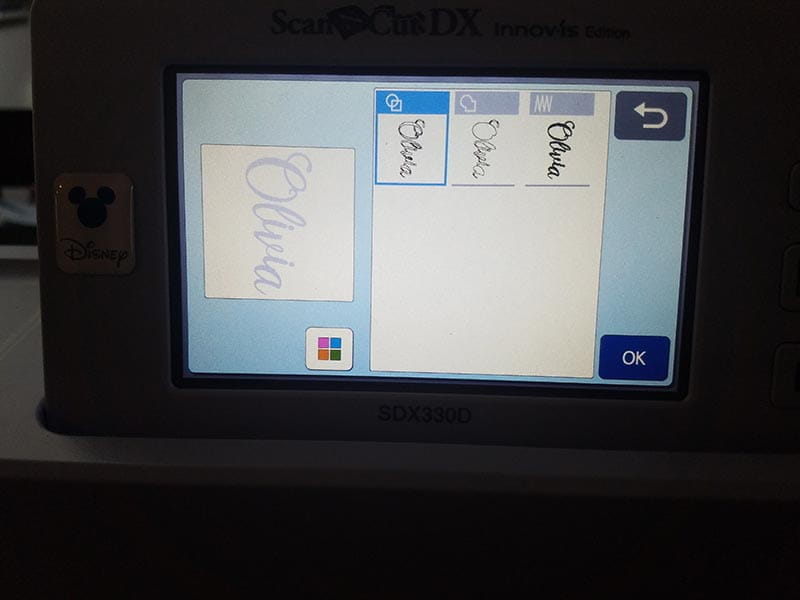
12. Press the Flower which converts the embroidery data to cutting/ drawing data. Change size if needed.
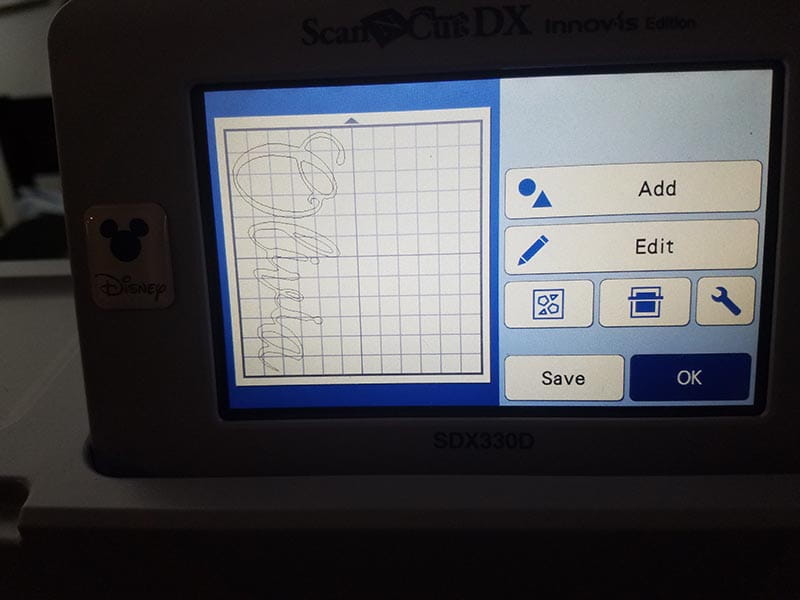
13. Push the first option, region detection.
14. Select OK, then Set
15. Press Edit
16. Touch Object Edit
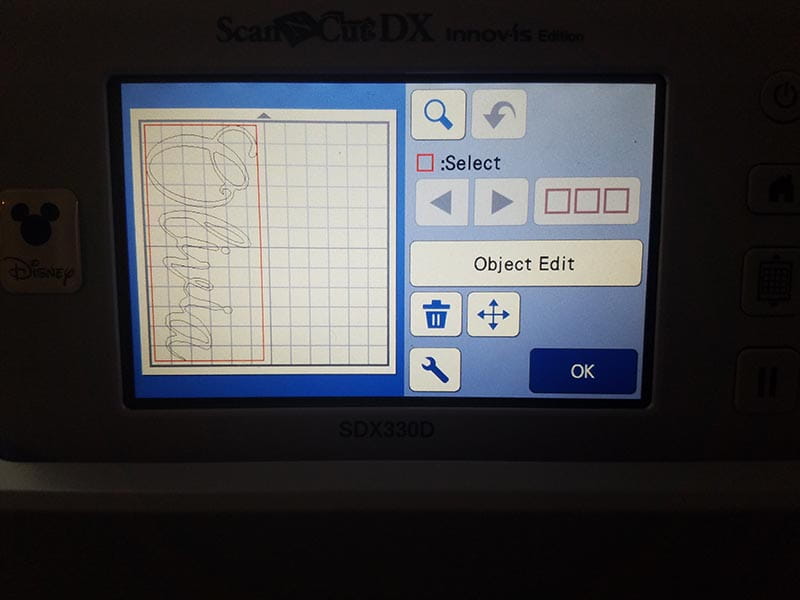
17. Select last icon on the third row, smoothing, leave on low and press OK.

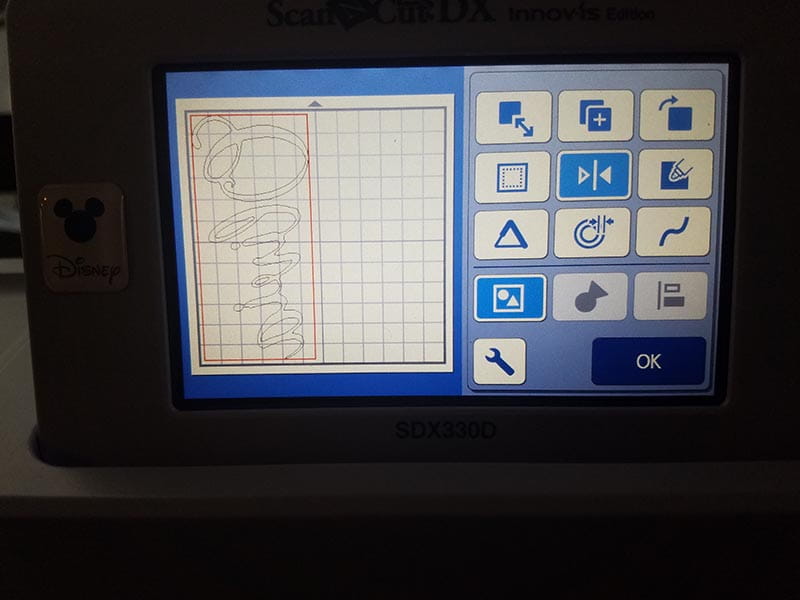
18. Since the design is going to be cut out of heat transfer vinyl mirror image the design.
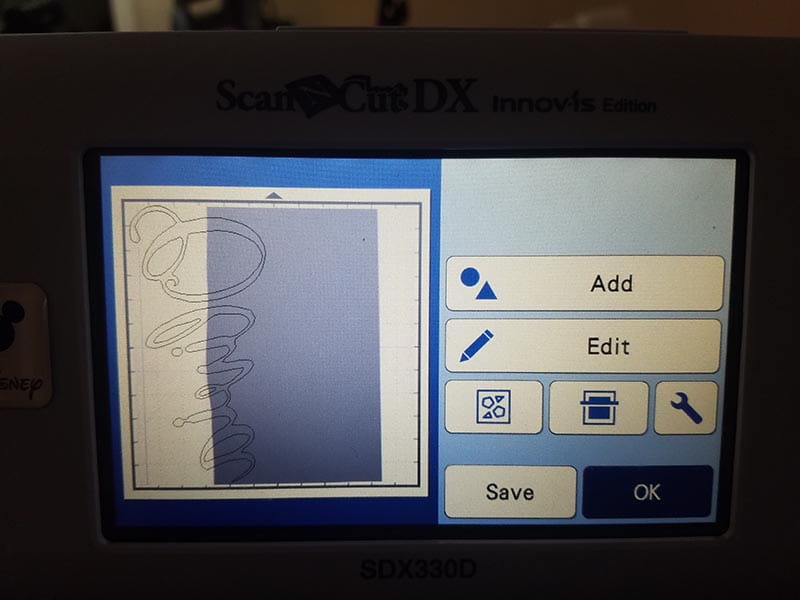
19. Select Cut, install vinyl blade, place heat transfer vinyl on standard mat carrier side down using scraper to adhere vinyl to mat.
20. Load the mat and scan background.
21. Move design so it is on the vinyl and cut, finish remove mat and weed design.
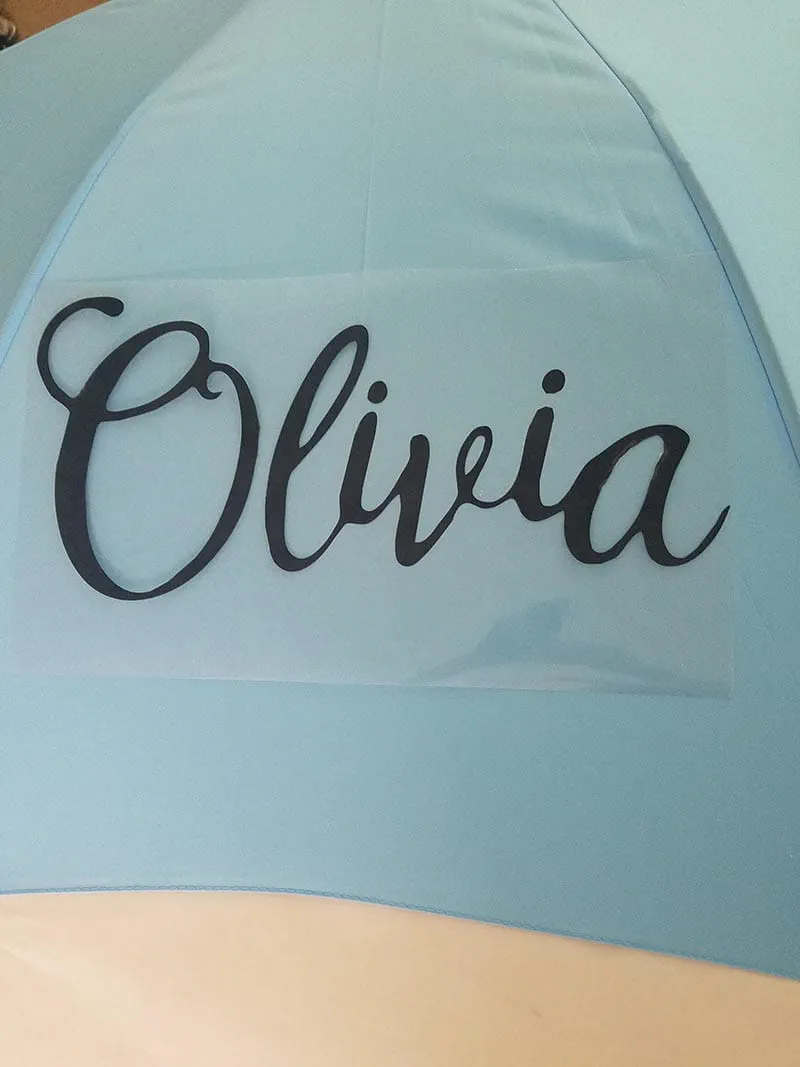
22. Open umbrella place on ironing board so the design can be transferred. Put parchment paper between the umbrella and ironing board. Center design on umbrella, cover with parchment paper and press. Let cool and remove carrier sheet.
23. For designs at the bottom of each section of the umbrella, determine the length of the design by measuring the bottom of one of the umbrella sections. Select a border design from the border category, like BO-A103, BO-A014, or BO-A016. Size the design to fit, mirror image design if needed. Cut design from Heat Transfer Vinyl. Center design on a section of the umbrella, press ends first and work to center.
Enjoy Your Embellished Custom Umbrella!
Tags
Shop this Project
No ScanNCut? No problem! Any products mentioned in this project are available to buy here.
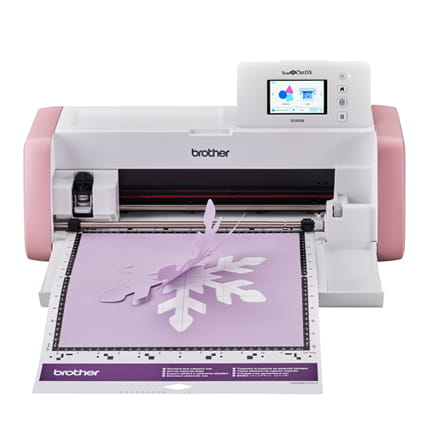
Brother ScanNCut DX
- 251 Built in Designs
- True Auto Blade, no manually adjusting blade pressure settings
- Built-in Scanner; scan in head-drawn creations and cut them out!
Related Projects
Stay Connected
* Required fields
Follow Us
- Product Support
- Product Support Assistant
- Terms of Sale
- Product-Registration
- Search Supplies/Accessories
- Ordering & Shipping Information
- Ordering & Account FAQs
- View Order Status
- Warranty & Extended Warranty Information
- Recall Information
- Return Policy
- Security Support Information(Opens in a new tab)
- Contact Brother
