Quick Tip Embellishing with Serged Pintucking

Did you see this week's Pintucked Glasses Case Project?
Check out Angela's post: Serged Eye Glass Case with FREE Patternwhere she shows you how to achieve the technique she mentions in this weeks tip. She includes the pattern for the case for FREE too!

Whether it's for yourself, a friend or for Mother's Day which is only a few weeks away, here's a fun Serger Tutorial for a custom Eye Glass Case! First, we're going to embellish the fabric with a Brother Serger. Then, add a beautiful finish to the edge and, finally, finish the Eye Glass Case with a serged seam. Let’s get started! Skill Level: Beginner Machine: 5234PRW Project Runway™ Limited Edition Serger
, but note the settings will be the same on all Brother Sergers
Editor's Note: Please note that the serger settings that Angela has provided are for Brother Sergers. Please be sure to consult your serger manual for settings if you are using another brand.
Materials and Supplies
- 2 pieces of cotton fabric cut 13” by 13” (33cm by 33cm)
- 1 piece of fleece or fusible fleece 13” by 13” (33cm by 33cm)
- 3 spools of rayon or embroidery thread
- Tailors chalk or fabric marking pen
- Quilters ruler
- Iron
- Hand sewing needle
- Brother Serger
- Eye Glass Pattern
Serger Stitches Used:
- Pintuck Stitch
- Faux Piping Stitch
- 3-Thread Overlock (both wide and narrow)
Serger Accessory Foot:
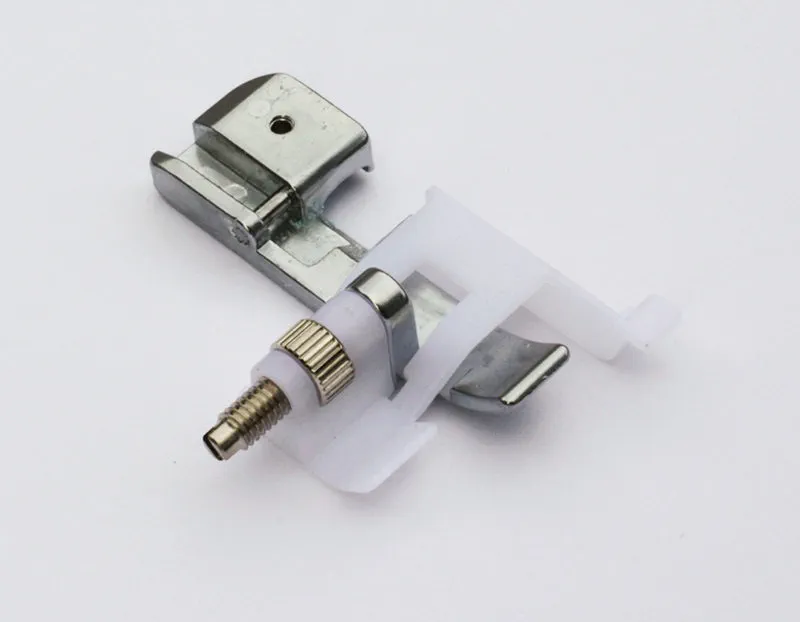
- Blind-Hem Foot
 For the rest of the good stuff and the downloadable pattern, click on over to the post Serged Eye Glass Case with FREE Pattern
.


