Quick Tip: Stacking Decorative Stitches
Here’s a quick tip for expanding the use of decorative stitches built into your machine.
 Call it stacking, combining, or layering, whatever name you choose this technique is just plain fun! The pre-purchased pillowcase you see in this project was trimmed using this technique. Pillowcases are a welcome gift any time of the year and they are ideal for trying out this special decorative technique. Are you ready? Let’s go sew!

You’ll need the following supplies:
- Brother
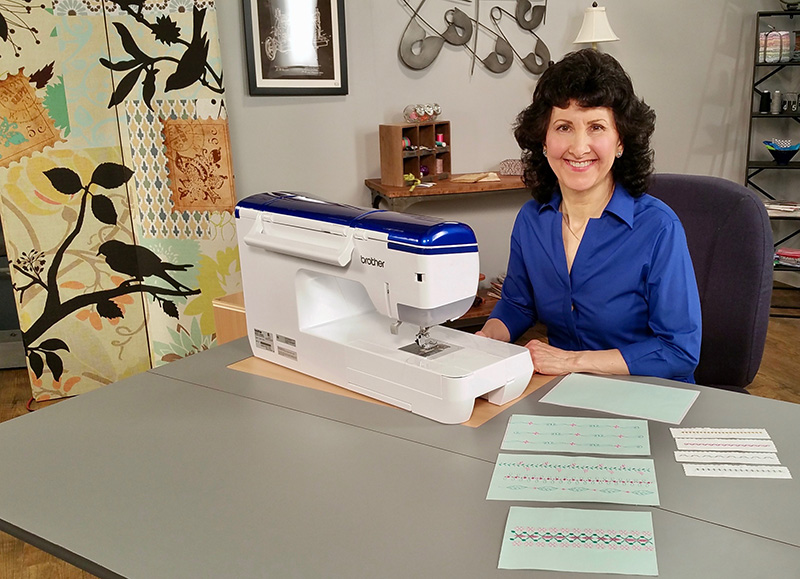
sewing machine with decorative stitch capability. Note: Examples were created on a computerized machine with an extensive menu of decorative stitches and special features to make stitch stacking easy and effortless. The Brother model XV8550D
was used to create the samples below. Please see Options and Ideas at the end of these instructions for alternatives for using other Brother machine models. - Brother
embroidery threads. - Embroidery needle and additional stabilizer as needed.
- Select a project such as a blank pillowcase with a firm band to try out this technique. Tip: Stiffen fabric with spray starch to prepare for stitching. Add tear away stabilizer on the wrong side for a firm sewing surface.
- Fabric remnants similar to actual project to use for testing.
 1. Thread machine with first thread color. Tip: Prepare a piece of fabric and test the technique before you stitch on a pillowcase. Changing machine to free-arm mode will help when you stitch circular items.
2. Choose Needle Placement ON in Set mode. This will help you place the stacked decorative stitch between the first set of stitches. See Figure #1.
[caption id="attachment_22804" align="aligncenter" width="575"]
 Figure #1[/caption]
3. Go to the decorative stitch menu to select a stitch. This example features stitch 6-268, size small. Choose the single pattern option. Use horizontal flip option to turn the stitch. Activate tie off, pivot function, and auto cut features. All of these features will make this technique easy to accomplish. See Figure #2.
[caption id="attachment_22805" align="aligncenter" width="553"]
 Figure #2[/caption]
4. Next, select stitch 6-032 four times to create space for decorative stitch in second color. Re-select stitch 6-268, single pattern option, de-select the horizontal flip option, mirror image the stitch and change to option for stitching a row. See Figure #3.
[caption id="attachment_22806" align="aligncenter" width="552"]
 Figure #3[/caption]
5. Stitch design combination in first thread color. Thread machine with second color. Delete stitches on the screen. Now, select stitch 6-245, using size small with the single pattern option. Turn on the camera feature. See Figure #4.
[caption id="attachment_22807" align="aligncenter" width="461"]
 Figure #4[/caption]
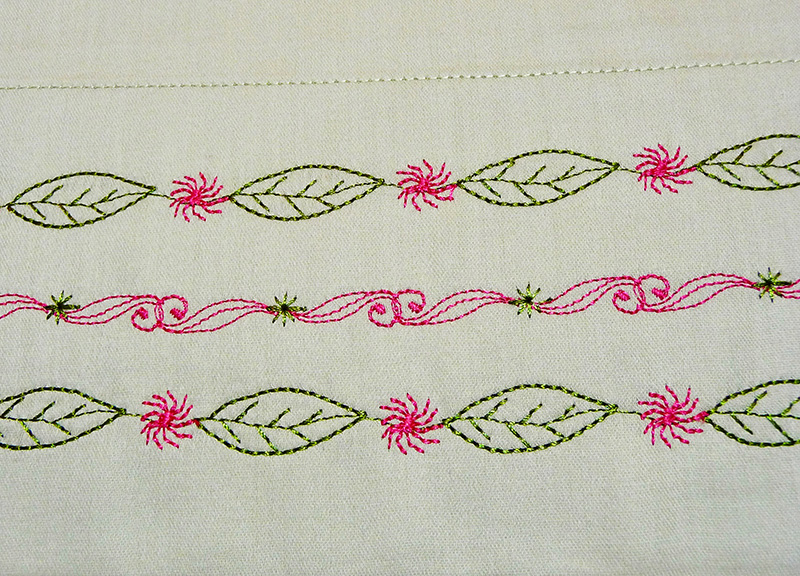
6. Place fabric under the foot near the spot where you want to add the pattern. Lower presser foot, and then lower needle with the needle up/down button. The foot and needle will “hover” slightly so you can slide fabric around and use the camera to perfectly align the stitch in the open space. When you’re satisfied with the position simply begin to stitch, stitching one at a time, and aligning each one with the camera feature. When you finish with each motif, tap the machine will magically tie off the stitch, cut the thread, and raise the presser foot! Simply begin again in the next spot where you have created space for the stitch. Below is a close up of stitch combinations I used for the pillowcase.
 Stitch multiple rows repeating the steps you learned here and see how it adds interest to a plain piece of fabric. Try this technique with a variety of different stitches and have fun making beautiful projects with your built-in decorative stitches!
Options and ideas:
- If you have the Brother XP1 Luminaire,
you can take advantage of onboard StitchVision Technology to preview your stitches on the fabric in place of the camera. This machine uses a projection system, allowing you to perfectly align your second motif with a realistic preview of the design image. - For more basic machines without the capabilities detailed in these instructions, you can create similar effects by stitching single decorative stitches along marked areas on your fabric, leaving space in between. Thread with your second color and add patterns in between the spaces.
- Create bands of decoratively stitched fabric to insert into garment hems like skirts and dresses.
- Use this idea for home décor projects such as curtains and pillows.
Note: This technique was featured on the Brother sponsored PBS It’s Sew Easy TV show. I demonstrated this technique in detail on Show 1713. See the video below from my YouTube channel.


